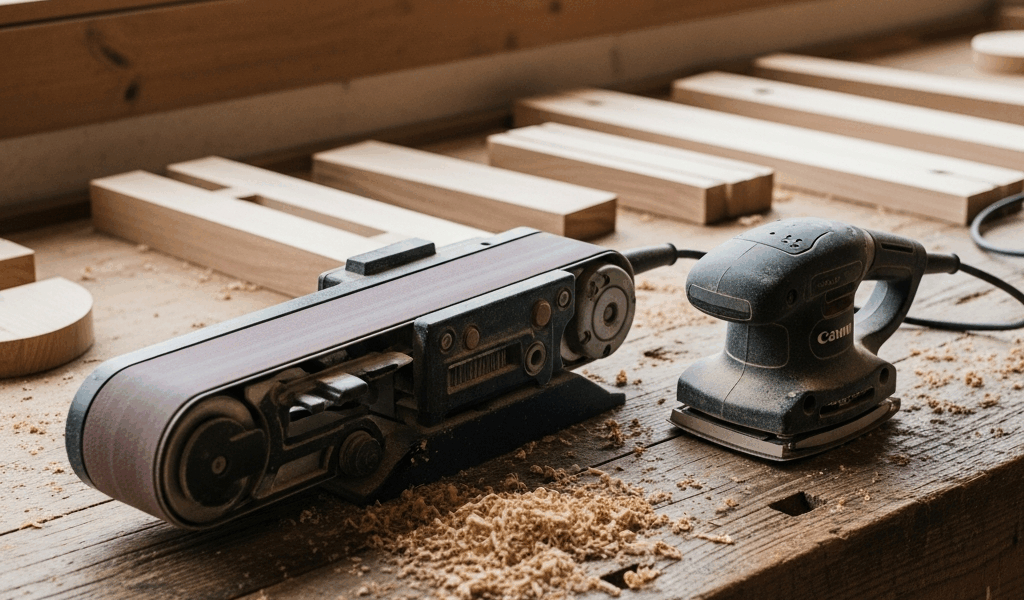
Use a belt sander for rapid stock removal and leveling; use a random-orbit sander for controlled surface preparation and finish sanding. A belt sander can flatten a glued panel, remove a damaged coating, or reduce a high spot quickly, but it can also dig trenches and round edges quickly. A random-orbit sander removes material more slowly while producing a less directional scratch pattern that is easier to refine before finishing.
“Orbital sander” is ambiguous. This guide compares a handheld belt sander primarily with a random-orbit sander. A square or rectangular finishing sander uses a different orbital motion and is discussed separately below.
Belt sander vs random-orbit sander at a glance
| Task | Better starting tool | Why |
|---|---|---|
| Level a large glued panel | Belt sander, used cautiously | Fast removal across high areas |
| Remove a thick failed coating | Belt sander or chemical/mechanical system chosen for the coating | Aggressive removal, subject to dust and hazard controls |
| Prepare bare wood for finish | Random-orbit sander | More controllable scratch refinement |
| Sand veneer | Hand sanding or very controlled random-orbit sanding | Veneer can be sanded through quickly |
| Work near an edge | Random orbit, then hand sanding | Lower removal rate; still requires edge control |
| Inside corners and profiles | Hand sanding or a purpose-built detail tool | Neither large pad nor belt reaches safely |
| Large deck or floor | Purpose-built floor/deck equipment | Handheld tools are not automatically appropriate for the scale or coating |
How a belt sander works
A handheld belt sander drives a continuous abrasive belt around rollers. The belt’s linear action and broad contact area can remove wood and coatings quickly. That makes it useful before the final surface-preparation stages.
Its speed creates the main risks:
- holding it in one area can create a hollow;
- tilting it can round an edge or cut a groove;
- coarse abrasive can leave deep directional scratches;
- the moving belt and rollers create contact and nip-point hazards; and
- rapid removal creates substantial dust.
Begin with the least aggressive abrasive that accomplishes the task. Place the tool flat before applying work pressure, keep it moving with overlapping passes, and let the tool’s weight do most of the work. Follow the exact manual; belt direction, tracking, start-up position, guards, permitted materials, and securing the work vary by model.
How a random-orbit sander works
A random-orbit sander combines rotation with an eccentric orbit. The resulting path reduces obvious directional scratches when the abrasive, pad, dust extraction, pressure, and technique are correct. It is the more versatile single sander for typical furniture and cabinet preparation.
Random orbit does not mean scratch-free. Problems still appear when:
- coarse grit is followed by too large a grit jump;
- the disc is clogged, torn, contaminated, or worn;
- dust is trapped beneath the abrasive;
- the operator presses hard enough to slow or distort the pad;
- the tool is tilted at edges; or
- the sander is moved away before it stops, marking the surface.
For pad-size tradeoffs, see our separate 5-inch versus 6-inch random-orbit sander guide.
What about a finishing or sheet sander?
A finishing sander moves a square or rectangular pad in a small orbital pattern. It can use commonly available sheet abrasive and reach closer to corners than a round pad. It usually removes material more slowly than a belt sander and may leave visible swirl patterns if the abrasive sequence and dust control are poor.
Choose among three categories by the job:
- Belt: aggressive leveling or removal.
- Random orbit: general surface preparation and refinement.
- Finishing/sheet: lighter sanding, flat surfaces, and some corner access.
Which sander should you buy first?
For most furniture, cabinets, and general DIY woodworking, a variable-speed random-orbit sander with effective dust extraction is the more useful first purchase. It can perform moderate removal with coarse abrasive and continue through preparation grits with more control.
Buy a belt sander first only when the recurring work genuinely requires fast leveling or coating removal and you have the skill, workholding, dust control, and downstream sanding tools to remove its scratch pattern.
Choose the grit sequence from the surface
There is no universal sequence. Start coarse enough to remove the existing defect without creating unnecessary damage. Progress through smaller grit steps until scratches from the previous abrasive disappear. Stop at the finish manufacturer’s specified preparation grit.
Inspect between grits:
- Vacuum the surface and the work area rather than blowing dust into the air.
- Use raking light across the grain.
- Mark the surface lightly only when the material and finish process allow it.
- Replace clogged or damaged abrasive.
- Do not advance until the prior scratch pattern and defects are removed.
Skipping several grits may save abrasive but cost more time. Sanding to an unnecessarily fine grit can affect stain or finish absorption on some systems.
Special cases
Veneer and plywood faces
Face veneer may be thin. Avoid a belt sander unless the material manufacturer and an experienced process support it. Use minimal pressure, fine control, and frequent inspection. Edges and high spots can sand through first.
Paint and old coatings
Identify the coating and substrate before sanding. Older painted surfaces may contain lead, and other coatings or treated materials can create hazardous dust. Follow applicable testing, containment, ventilation, cleanup, and respiratory-protection requirements rather than treating every coating as ordinary wood dust.
Epoxy and resin
Follow the resin manufacturer’s cure, sanding, and exposure instructions. Partially cured material can load abrasive and expose the user to different hazards than dry wood.
Edges and narrow parts
Secure the work. Keep a round pad or belt flat and supported; overhang can tip the tool and round the edge. Hand sanding with a block is often more predictable for final edge control.
Dust collection and safety
NIOSH reports that orbital hand sanders can generate significant wood dust and that built-in removal alone may not control all exposure. OSHA’s woodworking guidance also identifies fine dust, abrasive contact, moving belts, rollers, and nip points as hazards.
- Use source extraction compatible with the sander and abrasive-hole pattern.
- Keep ports, hoses, filters, and abrasive holes clear.
- Wear eye and hearing protection appropriate to the task.
- Use respiratory protection only within a complete program where required, including correct selection and fit.
- Secure the workpiece and keep cords and hoses away from moving abrasives.
- Disconnect power or remove the battery before changing belts, discs, pads, or making adjustments.
- Do not wear loose clothing or jewelry near a belt or rollers.
- Replace torn, frayed, damaged, or excessively worn abrasives.
- Vacuum dust; avoid compressed-air cleanup that redistributes it.
For recurring extraction problems, use our orbital-sander dust collection diagnostic.
A practical two-tool workflow
When both tools are justified:
- Secure and inspect the work.
- Use the belt sander only to remove the high spots or failed surface.
- Stop before the final dimension or veneer is at risk.
- Remove dust and inspect under raking light.
- Switch to the random-orbit sander at a grit capable of removing the belt scratches.
- Refine through appropriate steps without excessive pressure.
- Hand sand profiles, corners, and final edges as required.
- Prepare for finish according to the product instructions.
Frequently asked questions
Can a random-orbit sander replace a belt sander?
It can handle many general woodworking tasks more slowly, but it is inefficient for severe leveling or heavy coating removal. The safer answer may also be a planer, hand plane, scraper, drum sander, or professional refinishing process.
Can a belt sander be used for finish sanding?
It can leave a smoother surface with finer belts, but its linear action and removal rate make it less forgiving. Most furniture workflows transition to random-orbit and hand sanding before finish.
Why does my random-orbit sander leave swirls?
Common causes include contaminated or clogged abrasive, excessive pressure, poor extraction, skipped grits, damaged backing pads, tilted technique, or moving the tool before it fully stops.
Which is better for removing paint?
That depends on the coating, substrate, flatness, hazardous-material risk, and containment needs. Identify the coating before mechanical removal; do not sand possible lead paint without the required process.
Bottom line
A belt sander is a controlled demolition and leveling tool; a random-orbit sander is the general-purpose surface-preparation tool. Most woodworkers should buy the random-orbit sander first and add a belt sander only when repeated aggressive-removal work justifies it.




Stay in the loop
Get the latest crafted wood creations updates delivered to your inbox.