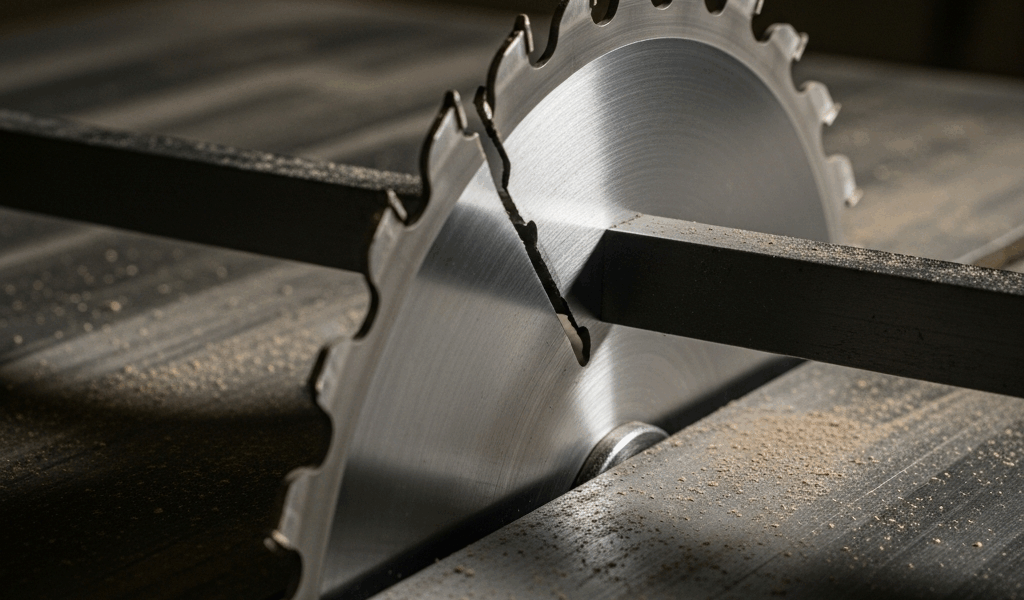
If a table-saw blade visibly wobbles, produces a pulsing cut, rubs the throat plate or riving knife, or makes a new rhythmic sound, stop using the saw. Switch it off, wait for the blade to stop, disconnect the plug or remove the battery, and diagnose the cause before making another cut.
The usual causes are a damaged or incompatible blade, debris between the blade and flange, incorrect blade installation, a damaged washer or flange, or runout/play in the arbor assembly. Work from the removable blade inward. Do not assume a universal runout tolerance or disassemble bearings without the service instructions for your exact saw.
Before You Touch the Blade
- Disconnect the saw from its power source; a switch in the off position is not enough.
- Wear gloves when handling a sharp blade, but remove them before operating the saw.
- Use the blade-changing wrenches and procedure supplied with the machine.
- Never use an impact driver, drill, or motor to loosen or tighten the arbor nut.
- Do not make a “test cut” with a blade known or suspected to wobble.
- Reinstall the riving knife or splitter, guard, insert, and other required safety components before any powered test.
1. Confirm the Symptom Is Blade Wobble
Rough cuts do not automatically mean the blade is wobbling. A dull or dirty blade, incorrect feed, fence misalignment, loose work support, motor vibration, a damaged insert, or a warped board can produce similar symptoms. With power disconnected, raise the blade as directed by the manual and rotate it slowly by hand while keeping fingers clear of the teeth and pinch points.
Look for side-to-side movement at one marked point on the blade plate, not at different teeth. Carbide teeth can differ slightly in side projection by design. If the blade rubs any stationary component during hand rotation, do not power the saw.
2. Verify Blade Compatibility and Installation
Check the manual for permitted blade diameter, arbor-hole size, plate thickness, kerf, speed rating, and compatibility with the riving knife or safety system. “Most table saws use a 5/8-inch arbor” is not a safe basis for selecting a blade. Reducer bushings, stabilizers, stacked accessories, and aftermarket cutters must be explicitly permitted for the model.
Remove and reinstall the blade using the manufacturer’s sequence. The teeth normally point down at the front of a conventional table saw, but confirm the direction markings. Install the original washers and flanges in their specified orientation. Tighten the nut with the supplied hand wrenches; excessive force can damage components, while an inadequately secured blade is dangerous.
3. Inspect the Blade on a Flat Reference
After removal, inspect the blade for cracks, missing or damaged carbide, impact marks, heat discoloration, resin buildup, and distortion. A blade with a cracked plate or damaged tooth should be removed from service. Do not attempt to hammer, bend, or heat a blade back into shape.
Place a clean straightedge across the blade plate while avoiding the projecting teeth, or follow the blade manufacturer’s inspection method. A visibly dished or kinked plate should be evaluated by a qualified sharpening service or replaced. Storage on concrete does not by itself establish why a blade warped; impact, overheating, manufacturing defects, and improper handling are all possible.
4. Clean and Inspect the Mounting Surfaces
A small chip, pitch deposit, burr, or rust scale between the blade and arbor flange can prevent the plate from seating flat. With the saw disconnected, wipe the blade faces, inner flange, outer washer, and arbor shoulder. Use only cleaning products and non-damaging methods approved for those components. An aggressive wire brush or uncontrolled abrasive can alter a precision face.
Inspect for a bent washer, damaged threads, a nicked arbor shoulder, or a flange that does not seat squarely. Replace damaged parts with the correct manufacturer-specified components. Do not add improvised washers or shims to “cancel out” wobble.
5. Use a Known-Good Blade as a Controlled Check
If the mounting surfaces are clean and undamaged, install a compatible blade that is known to run correctly. Rotate it through a full revolution by hand and check all clearances. If the known-good blade is stable while the original is not, remove the original blade from service.
If both blades show similar movement at the same angular location, suspect the mounting system or arbor rather than buying another blade. Keep the saw disconnected until the source is identified.
6. Measure Runout Without Inventing a Tolerance
A dial indicator can separate blade-plate variation from arbor or flange runout, but only if the setup is rigid and the contact point is repeatable. Mark one location on the blade plate, measure it through a hand-turned revolution, then repeat after remounting the blade at a different position on the arbor. If the high point follows the blade, the blade is implicated; if it stays with the arbor position, the saw is implicated.
Manufacturer tolerances differ. SawStop, for example, publishes a 0.001-inch maximum arbor-runout specification for certain contractor and cabinet models; that number is not a universal limit for every portable, contractor, or cabinet saw. Use the specification and measurement location in your model’s service literature. If none is published, contact the manufacturer or a qualified service center rather than declaring the shaft bent from a generic internet threshold.
7. Treat Arbor Play or Bearing Noise as a Service Issue
With power disconnected and the blade removed if the manual permits, check only for obvious looseness, rough rotation, grinding, or damaged mounting hardware. Do not reach behind an installed blade or use an arbitrary amount of hand movement as a pass/fail bearing test.
Arbor and bearing replacement can require model-specific alignment, presses, pullers, retaining hardware, torque values, and safety-system calibration. Some assemblies contain no user-serviceable parts. Stop and use an authorized or qualified repair service when the manual does not provide a user procedure, the arbor has measurable play, the flange is damaged, or the runout exceeds the model specification.
Safe Diagnostic Order
- Disconnect power and inspect for rubbing or obvious damage.
- Verify the blade’s specifications and installation against the manual.
- Inspect the removed blade and clean the mounting faces safely.
- Hand-rotate a correctly installed known-good blade.
- Measure blade/flange runout only with a repeatable method and model-specific tolerance.
- Send the saw for service if the arbor, flange, bearings, or safety system is implicated.
If the blade runs true but the cut still pinches or drifts, diagnose alignment separately with our table-saw fence alignment guide. Do not adjust the fence to compensate for a wobbling blade.



Stay in the loop
Get the latest crafted wood creations updates delivered to your inbox.