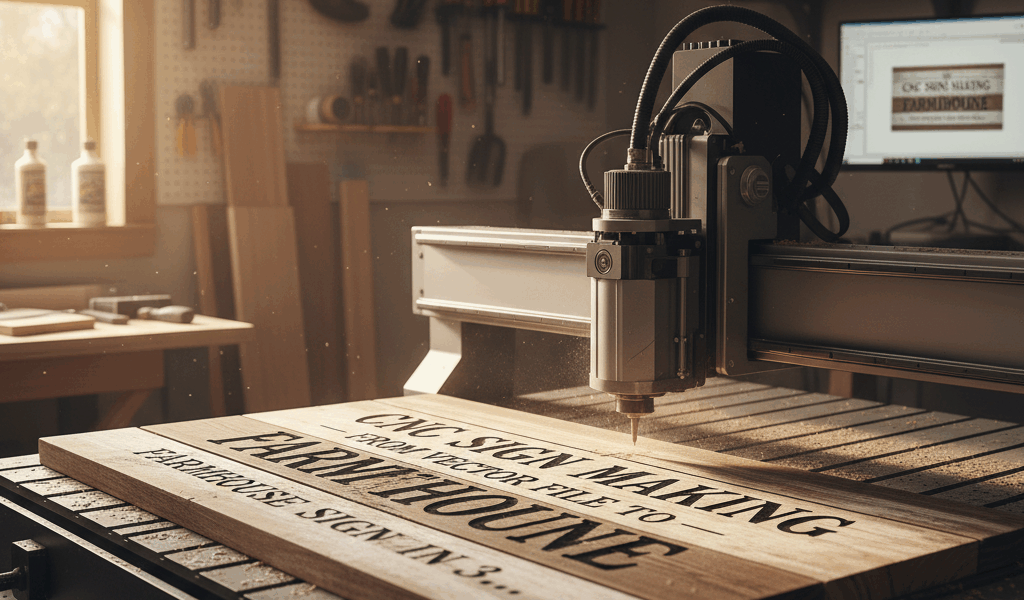
CNC routing has democratized custom signage in a way that nobody saw coming. What used to require hand-carving skills developed over decades can now happen in an afternoon with a decent machine and the right file. I’m not saying CNC replaces craftsmanship – I’m saying it opens doors for woodworkers who want to offer more to their customers. Here’s how to go from vector file to finished farmhouse sign in about three hours.

Starting With the Right File
Everything depends on your vector artwork. SVG files are the universal language here – they scale infinitely without losing quality and translate directly to toolpaths. If you’re creating your own design, Adobe Illustrator or the free alternative Inkscape will get you there. For ready-made designs, Etsy is full of commercial-use SVG files specifically designed for CNC routing.
The key to a clean sign is clean geometry. Every line should be a closed path with no gaps or overlaps. Fonts should be converted to outlines so they cut consistently regardless of whether your machine has that font installed. If you’re buying files, look for sellers who specifically mention CNC compatibility – not all SVG files are created equal.
Material Selection: The Farmhouse Look
That warm, rustic farmhouse aesthetic comes from a few specific material choices. Pine or poplar work great for painted signs – they’re affordable, stable, and the carved areas accept paint beautifully. For a stained natural-wood look, I prefer white oak or hickory. The grain pattern adds visual interest without competing with the text.
Board thickness matters for carving depth. Standard 3/4″ material gives you room for a 1/4″ to 3/8″ deep carve with plenty of structure remaining. Anything thinner gets dicey unless you’re doing very shallow engraving.
For the classic farmhouse rectangle, 12″ x 24″ is a versatile size that works above mantels, in entryways, or as kitchen decor. Scale up to 16″ x 36″ for statements and down to 8″ x 16″ for more intimate pieces.
Toolpath Strategy
Most farmhouse signs use one of two approaches: carved text with a painted background, or raised text where you carve away the background. The second option takes significantly more machine time but creates more visual depth.
For carved text, a 60-degree V-bit handles most fonts beautifully. The V-carve toolpath follows the centerline of each letter, plunging deeper in thick strokes and staying shallow in thin ones. This creates that classic hand-carved look without actually carving by hand.
For pocket-carved backgrounds (raised text), start with a 1/4″ endmill to clear the bulk of the material, then follow with a smaller bit for corners and detail work. This two-stage approach saves significant time compared to hogging out everything with a small bit.
Speeds and Feeds for Clean Cuts
Every machine is different, but here’s a starting point that works on most hobby-level CNCs. For a 1/4″ endmill in pine: spindle speed around 18,000 RPM, feed rate of 60 inches per minute, and depth per pass of 0.125″. For V-carving, slow the feed rate to 40 inches per minute to keep things clean in the corners.
Pine cuts easy but burns if you linger. Keep the bit moving. Hardwoods like oak are more forgiving but need slower feeds – drop to 40 inches per minute with the 1/4″ endmill.
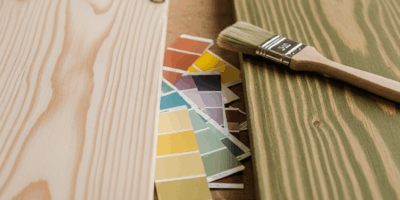
Finishing: Where Farmhouse Magic Happens
The distressed farmhouse look depends on your finishing sequence. Here’s the process that gets the most consistent results:
Sand the routed piece to 220 grit, focusing on the carved areas where toolpaths sometimes leave ridges. Apply a base coat of paint to the entire surface, including carved areas. White, cream, or soft sage green are classic farmhouse colors. Let it dry completely.
Sand the high points lightly to create wear patterns – edges, corners, and raised surfaces. Don’t go crazy; a little distressing goes a long way. Apply a second contrasting color if you want that layered vintage look, or skip straight to the topcoat.
For the letters, hand-paint with a small brush or, for raised text, apply stain to the letter surfaces while the background stays painted. Seal everything with a matte polyurethane – two coats, light sanding between.
Total Time Breakdown
File prep: 15 minutes (assuming you’re starting with a good SVG). Machine setup and material clamping: 15 minutes. Cutting time for a typical 12″ x 24″ sign: 45 minutes to an hour. Sanding and finishing: 90 minutes including dry time.
Three hours from file to finished product is realistic for a straightforward design. More complex artwork or multiple paint colors will extend that, but the core process stays the same. At craft fair prices, you’re looking at $80 to $150 for a sign that cost maybe $20 in materials and a few hours of your time. That’s a business model worth exploring.


Stay in the loop
Get the latest crafted wood creations updates delivered to your inbox.