As someone who has framed window openings during renovation projects — including the fun of learning what “king stud” and “cripple” actually mean by doing it rather than just reading about it — I’ve learned the process thoroughly. Today, I’ll share everything you need to know.
Window Framing Jack Studs and Headers
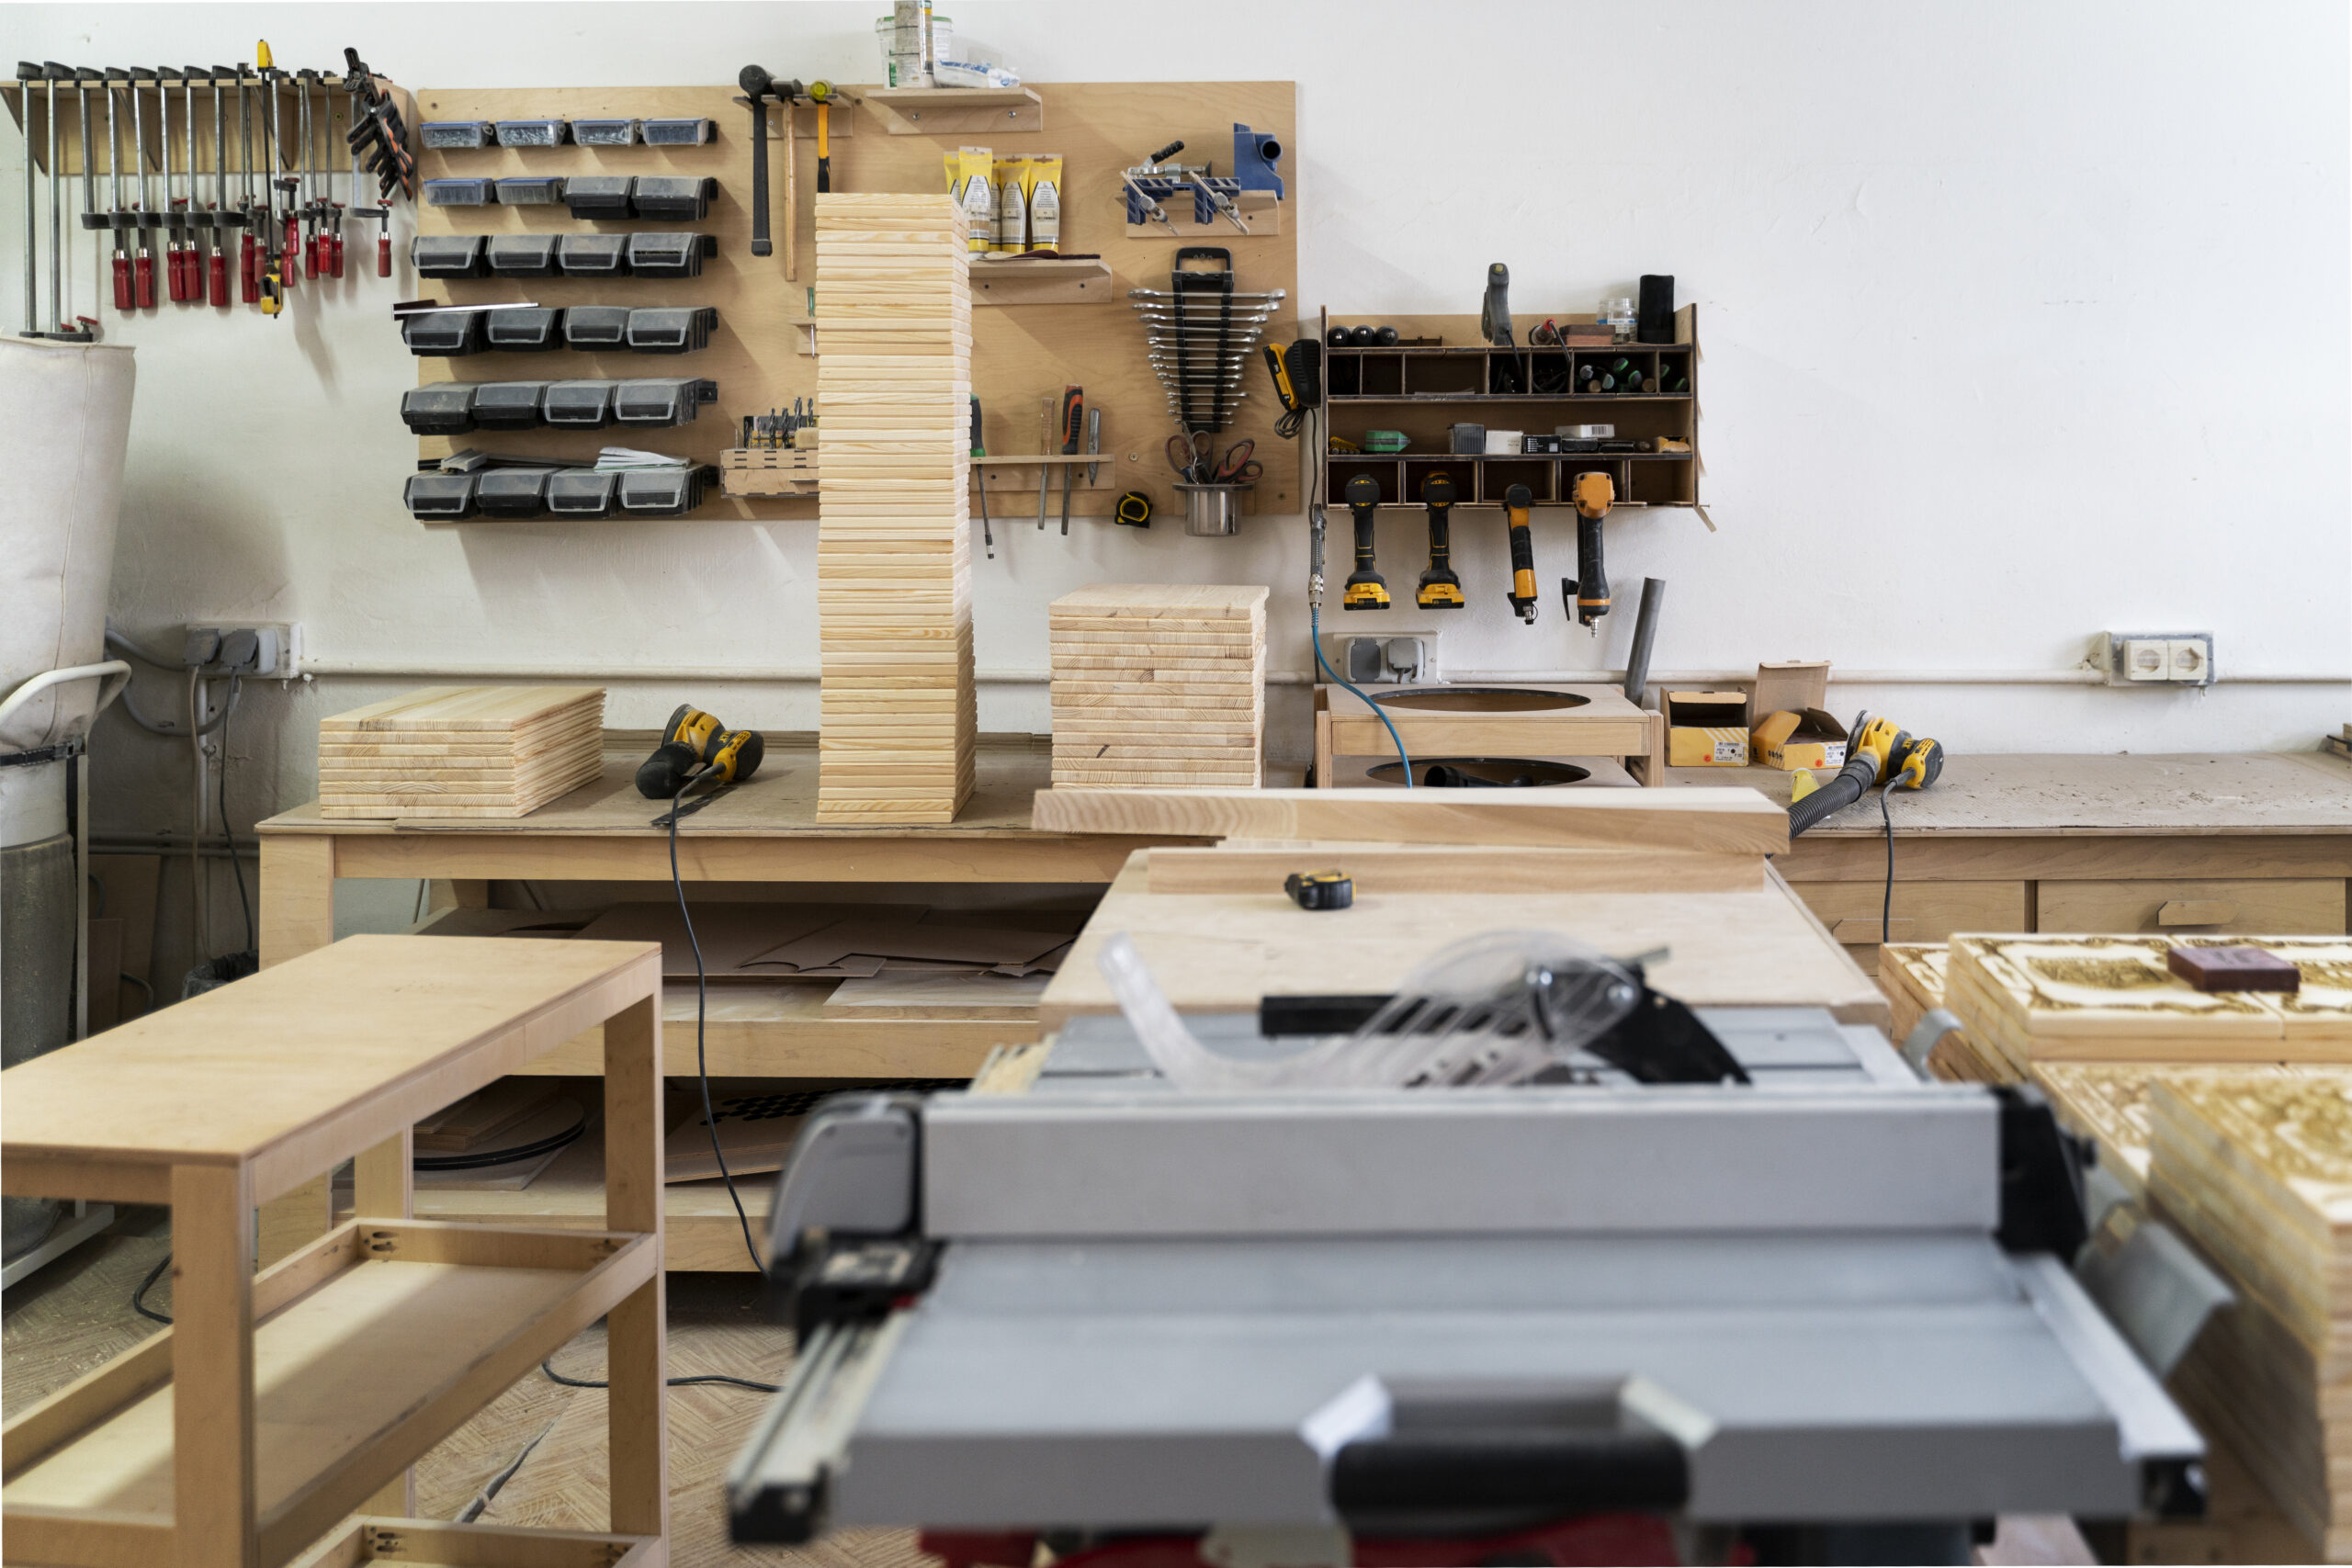
Framing Tools and Materials
Get these together before starting:
Measuring tape
Handsaw
Nails
Hammer
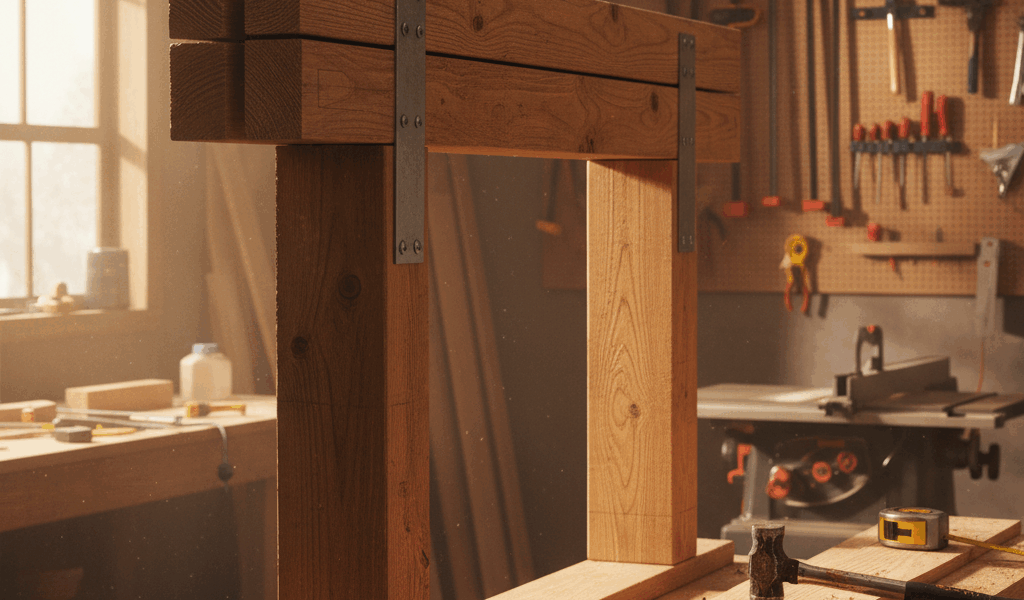
King stud
Header
Cripples
Sill
Jack stud
Each component has a specific job. They’ll make more sense as you work through the process — the names become intuitive once you see where each piece fits.
Measuring the Window Space
Accurate measurements are everything here. Get this wrong and the window won’t fit — or worse, it fits poorly and causes problems for years. Start at the base of the rough opening. Match the measurements to the window manufacturer’s recommended rough opening dimensions exactly.
Cutting the Frame Pieces
Cut the studs and sill to correspond to the vertical and horizontal measurements of the window opening. Mark cuts clearly and straight before sawing. Double-check dimensions against your measurements before making any cut.
Assembling the Frame
Attach the king studs to the header first. The king stud is the primary vertical support — it runs the full height of the wall. After the king studs are in place, attach the jack studs. The jack studs support the header directly and run from the bottom plate to the header.
Installing Cripples
Cripples are the short studs that go above and below the window opening. Below the window, they support the sill. Above the window, they distribute the load from the header to the king studs. Properly installed cripples are what keep the wall structurally sound around the opening.
Secure the Window Frame
With the frame assembled and cripples in place, secure the whole assembly to the opening. Drive nails into the corresponding wall studs throughout the frame. Each piece should join the others in a firm, secure connection — no play, no movement.
Install the Window
With a correctly built frame, the window fits snugly into the opening. Nail it firmly to the frame per the window manufacturer’s installation instructions.
Window framing requires care and accurate measurement, but it’s a learnable skill. Each opening you frame gets easier. The terminology that seemed confusing at the start becomes second nature once you’ve worked through it a few times.
As an Amazon Associate, we earn from qualifying purchases.
David Chen
Author & Expert
Jason Michael is the editor of Crafted Wood Creations. Articles on the site are researched, fact-checked, and reviewed by the editorial team before publication. Read our editorial standards or send a correction at the editorial policy page.


Stay in the loop
Get the latest crafted wood creations updates delivered to your inbox.