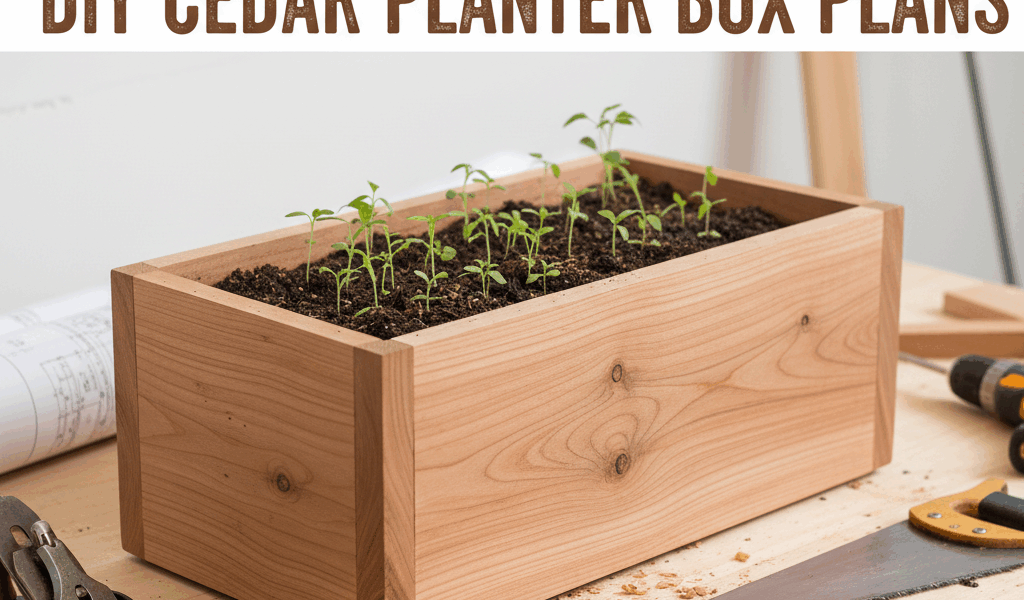
Cedar Planter Box Plans: A Practical Guide
Cedar planter boxes are both practical and aesthetically pleasing. They blend seamlessly into various outdoor spaces, from expansive gardens to compact balconies. Cedar is a popular wood choice due to its natural resistance to decay and insect infestation. It’s durable, weather-resistant, and ages beautifully, making it an ideal material for outdoor planters.
This is one of those beginner-to-intermediate woodworking projects that looks impressive, teaches real skills, and gets used every single day. A well-built cedar planter box can last twenty years outdoors with minimal maintenance.
What You’ll Actually Need
The materials list is short. Cedar boards — I use 1×6 or 1×8 Western red cedar from the lumber yard rather than the narrow fence pickets at the big box store, which tend to cup badly once they’re in contact with moist soil. Exterior screws, at least 1-5/8 inch for most joins. A drill with a countersink bit so the screw heads sit flush. A miter saw or circular saw. A measuring tape. A pencil. 120-grit sandpaper.
Wood glue is optional but I use it on every corner join — it costs nothing and adds meaningful strength when the screws eventually loosen from the seasonal wood movement.
Decisions to Make Before You Cut Anything
Size drives everything. Too narrow and you’re limited to shallow-rooted herbs. Too deep and the box gets heavy enough that moving it off the deck in winter becomes a two-person job. I built my first cedar planter box 10 inches deep because that’s what a tutorial I found said to do. Tomatoes hated it. The roots hit the bottom by midsummer and the plants stalled out completely. Now I build at minimum 14 inches deep, preferably 16 for anything beyond herbs and lettuce.
Width around 14 to 16 inches is a good general-purpose dimension. You can reach the center from either side without contorting yourself. Length is whatever your space dictates — I’ve built them at 24 inches and at 6 feet. The construction method doesn’t change.
Cutting the Wood
Lay out all your cuts before making any. This is the step most beginners skip and it’s also where most material gets wasted. Mark everything, then double-check your counts — two long side panels, two short end panels per layer of height, and base boards to cover the bottom.
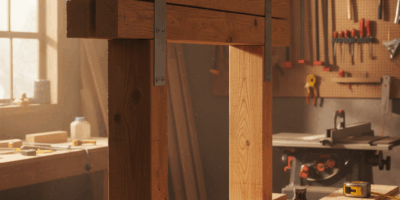
A miter saw gives the cleanest, squarest cuts here. A Bosch or DeWalt 10-inch sliding compound miter saw handles 1×8 cedar in a single pass and the cuts come out reliably square, which matters for tight corner joins. A circular saw with a fence works too, just takes more care to keep the line straight.
After cutting, sand each piece with 120-grit to knock down any splinter hazards and open up the wood surface slightly for better glue adhesion.
Assembling the Box
Start with the side panels. Lay two boards edge to edge on a flat surface and confirm they’re flush before driving any screws. Pre-drill every hole — cedar is fairly forgiving but near the end grain, it’ll split on you if you skip this step. I learned that one the hard way on a corner joint about four inches from the end of a board, snapped the cedar clean. Pre-drill, every time.
Join the end panels to the side panels to form the rectangular frame. Check for square diagonally before tightening anything fully. If the diagonals match, the box is square. If they don’t, the base won’t sit flat and the whole thing will rack in service.
The base goes in last. Space the base boards with small gaps between them — an eighth of an inch is enough — to allow drainage without losing too much soil. Add a few additional drain holes with a 1/2-inch bit spaced across the base. Root rot from poor drainage has killed more container plants than anything else I’m aware of.
Finishing
A final pass with 120-grit on all exterior surfaces. Cedar looks beautiful left natural and weathers to a silver-grey over time, which a lot of people prefer. If you want to preserve the warm reddish-brown color, a coat of teak oil or outdoor wood oil works well and is plant-safe once it cures. Avoid film-forming finishes like polyurethane on the interior — the soil contact breaks them down quickly anyway and you don’t want film-formers leaching into the soil.
Elevate the finished box slightly off any hard surface using rubber feet or small wood blocks. That gap underneath prevents standing water from wicking up into the base boards and significantly extends the life of the whole project.
Planting and Care
Use a quality potting mix, not garden soil — potting mix is formulated to drain well in containers rather than compact into a root-blocking brick. Mix in compost for fertility. Water thoroughly after initial planting to help the roots establish contact with the medium.
Check your drainage holes every spring. They have a tendency to clog with root growth over time. Inspect the box each season for loose screws and any soft spots in the wood that indicate early decay, particularly where the base boards contact the soil. Tighten screws, replace damaged boards. A well-maintained cedar box will outlast cheap plastic planters by a decade or more without much effort on your part.
Recommended Woodworking Tools
HURRICANE 4-Piece Wood Chisel Set – $13.99
CR-V steel beveled edge blades for precision carving.
GREBSTK 4-Piece Wood Chisel Set – $13.98
Sharp bevel edge bench chisels for woodworking.
As an Amazon Associate, we earn from qualifying purchases.