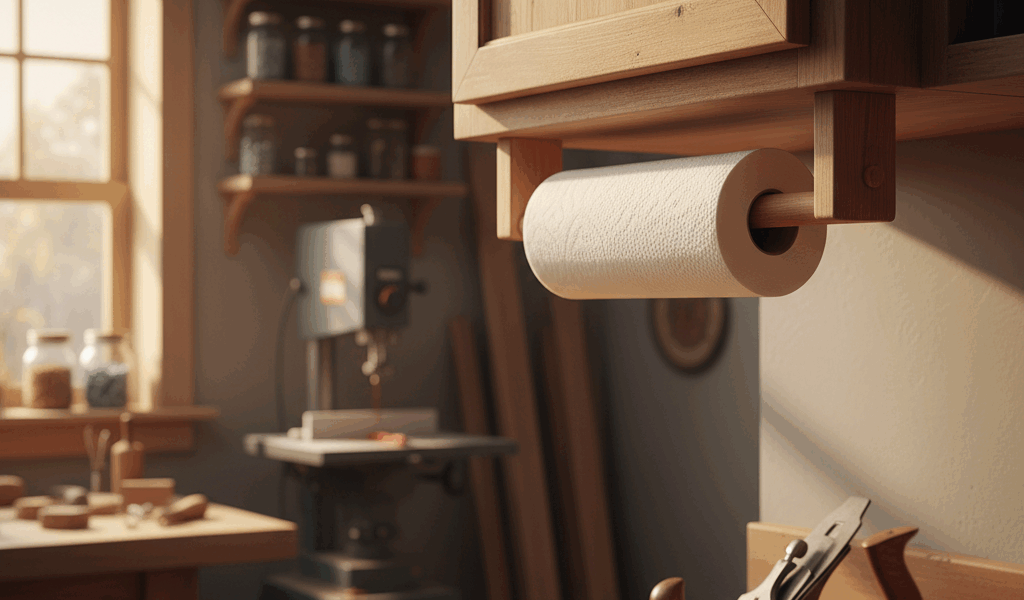
Paper towel holders belong out of sight. That’s my hill, and I’m standing on it. The countertop version takes up valuable real estate and always seems to be in the way when you’re actually cooking. The under-cabinet mount keeps towels accessible while freeing up space where you actually prep food. And building one yourself means the hardware disappears into the cabinet bottom like it was always meant to be there.
Why Hidden Hardware Matters
Walk into any kitchen store and you’ll find under-cabinet paper towel holders with giant chrome brackets that scream “afterthought.” The whole point of mounting it underneath is to get things out of the way, so why would you want hardware that draws the eye?
This build uses a French cleat system that’s completely invisible when the roll is loaded. The mounting bracket attaches to the cabinet bottom with screws that sit inside the cleat channel. The holder itself slides on and off for easy roll changes. From below, all you see is clean wood and paper towels.
The Build: Simpler Than You Think
You need two main pieces: the mounting cleat and the holder body. The cleat is a strip of hardwood (I use maple for strength) about 10″ long and 1-1/2″ wide, with one edge beveled at 45 degrees. A matching strip with the opposite bevel attaches to the holder body. When they engage, the weight of the roll locks everything in place.
The holder body is a U-shaped piece that cradles the roll. I make mine from 1/2″ maple, with sides about 4″ tall and a bottom roughly 6″ wide. The dowel that holds the roll sits in shallow dadoes cut into each side – just deep enough to keep the dowel from walking out, shallow enough that removing the dowel for roll changes is effortless.
Sizing for Standard Rolls
Standard paper towel rolls are about 11″ wide, so the inside dimension between your holder sides should be 11-1/4″ to 11-1/2″. The dowel itself is 5/8″ diameter – sturdy enough to handle the weight without sagging. I typically cut the dowel at 12-1/2″ so it has some extra length for a decorative end cap if you want to get fancy.
For those mega rolls that seem to be taking over the market, add another inch to your interior width. The extra size doesn’t hurt with standard rolls either.
Installation Without the Headache
Mounting to the cabinet bottom is the step that makes most people nervous, but it’s straightforward with the right approach. Hold the cleat in position and mark your screw holes. Pre-drill through the cleat and into the cabinet using a countersink bit. Use screws long enough to bite into the cabinet material – usually 1-1/4″ for standard cabinet construction, shorter if you’re attaching to a thin shelf.
Here’s the key tip: mount the cleat about 2″ back from the front edge of the cabinet. This positions the holder far enough forward that reaching for a towel is natural, but far enough back that it doesn’t interfere with cabinet doors.
Finish Options
Since this lives in a kitchen, finish matters. A few coats of wiping polyurethane give good protection against humidity and the occasional splash. For a more natural look, a penetrating oil finish works well but may need refreshing every year or two.
I’ve made these in maple to match light-colored cabinets, walnut for darker kitchens, and even painted versions where clients wanted the holder to blend with painted cabinet bottoms. The hidden hardware design means the wood is the only thing showing, so match it to your kitchen’s style.
The Gift Factor
This project takes about 90 minutes including finish time, uses minimal materials, and solves a real problem that most people just live with. I’ve given these as housewarming gifts and watched recipients install them the same day. That’s the mark of a good project – when someone can’t wait to put it to use.
The clean look and clever mounting system give this simple build a custom-furniture quality. Nobody ever suspects it cost less than $15 in materials.




Stay in the loop
Get the latest crafted wood creations updates delivered to your inbox.