Wall storage has gotten complicated with all the bracket options and mounting hardware flying around. As a woodworker, I’ve made a lot of shelves and thought hard about how to hang them well. Bracket-free installation in particular requires getting a few things right from the start. Today, I’ll share everything I know about hanging shelves without brackets.
How to Hang Shelves Without Brackets
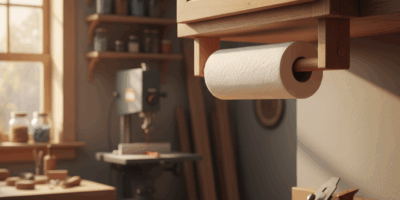
Bracket-free shelves create a clean, floating look that works well across a range of interior styles. The visual result is cleaner than bracket-mounted shelves — the support is hidden, the shelf appears to emerge from the wall, and the space beneath it stays completely open. Getting there requires some care, but the process is straightforward if you approach it methodically.
What You’ll Actually Need
A stud finder is the first tool to reach for. Everything else follows from whether your mounting points hit studs or go into drywall. For the mounting itself: a drill, appropriate screws or lag bolts for stud mounting (or quality toggle anchors for drywall-only situations), a level — 24-inch minimum — and a pencil. Measuring tape. Safety glasses for drilling. That’s the kit.
The floating shelf hardware or concealed rod system you choose depends on the shelf weight and depth. IKEA’s BERGSHULT system, Kvarby floating shelf hardware, or similar concealed-rod systems all work for lighter shelves. For anything heavy — stone, thick solid wood, objects with real weight on them — a French cleat or custom welded bracket that hits studs directly is the right approach.
Find the Studs First, Always
Run the stud finder across the wall and mark stud locations clearly. Studs are typically 16 inches on center in most residential framing, occasionally 24 inches. Mark both edges of the stud so you know where the center is — drive screws into the center of the stud, not the edge. Into a stud you can put several hundred pounds. Into drywall alone with toggle anchors, you’re relying on the shear strength of the drywall and the anchor geometry, which is substantially less.
If your shelf placement doesn’t align with studs, use quality toggle anchors — not the cheap plastic ones that come in hardware variety packs. Toggler snap toggles or Molly bolts are the ones worth using. Check the rated load on the packaging and use anchors rated for significantly more than your expected load. Don’t guess.
Mark Level Before Drilling Anything
Hold the level on the wall at shelf height and mark the horizontal line. Then mark your mounting point locations along that line. This step sounds obvious and gets skipped constantly. I’ve had to fill and repaint a wall because I eyeballed a shelf level and it was visibly off once the shelf was loaded and I was looking at it from across the room. Use the level. Mark the line. Drill to the marks.
Double-check measurements between your attachment points against the hardware spacing requirements before drilling. Fix a measurement error on paper; fixing it in the wall after drilling takes patching compound and time.
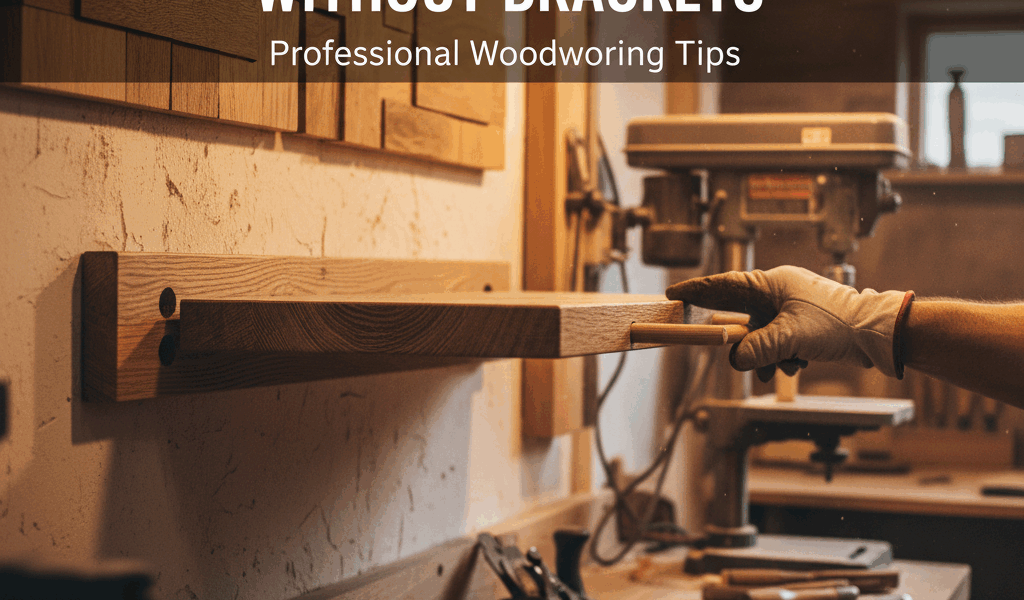
Drilling and Mounting the Hardware
Drill pilot holes slightly smaller than your screw or bolt diameter. This makes driving easier and prevents the wall from cracking around the hole. If using toggle anchors, drill to the anchor’s specified diameter — follow the packaging spec, not guesswork. Insert anchors fully before the screws go in.
Mount the concealed hardware, insert the shelf, and apply firm downward pressure to confirm it seats completely. A floating shelf that’s partially seated will feel solid until you load it, then drop. Load test with hand pressure before putting anything on it permanently.
French Cleats for Heavier Applications
A French cleat system uses two mirrored angled pieces — one wall-mounted, one shelf-mounted. They interlock and the geometry makes them load-bearing under weight rather than relying purely on fastener strength. For any shelf carrying real weight, a French cleat mounted into two or three studs is stronger than any commercial floating shelf system and adjustable later without re-drilling. The cleat is visible from the side but hidden from the front, which is acceptable for most applications.
Loading the Shelf
Heavier objects close to the wall. Lighter things toward the front and center. The leverage force on a cantilevered shelf increases with distance from the wall — a 5-pound object 12 inches from the wall exerts more stress on the mounting than the same object 4 inches from the wall. Keep the heavy books and storage toward the back near the attachment points. Decorative objects toward the front. That distribution keeps the shelf performing well over time rather than developing a downward lean at the front edge.
Before You Go
Bracket-free shelves live or die on the installation. Get the studs or anchors right, level the hardware before drilling, verify the shelf is fully seated before loading. Done correctly, these shelves are both functional and genuinely clean-looking — they hold what you put on them without advertising how. That combination is worth the extra care during installation.