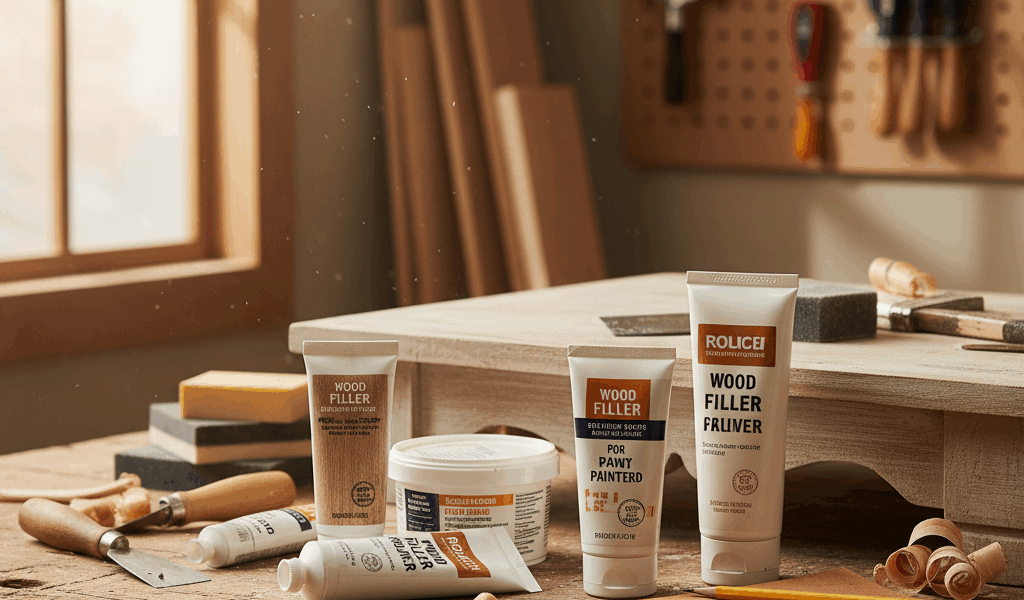
For most painted interior woodwork, use a sandable, paintable water-based or latex wood filler for nail holes, shallow dents, and small surface defects. Use a two-part repair filler when the damage is deeper, an edge must be rebuilt, or the repair will face exterior moisture and movement—only when the product is labeled for that use. Wood filler is not a substitute for sound wood, structural joinery, correct fasteners, or replacement of extensive decay.
The best filler is determined by the repair and finish, not by a universal product ranking. A filler that sands beautifully on painted MDF trim may be a poor choice for a rotten exterior sill, a moving joint, a stained tabletop, or a screw hole that must carry load.
Wood filler selection chart
| Repair | Useful starting category | Avoid |
|---|---|---|
| Interior nail holes and small dents under paint | Ready-mixed water-based or latex wood filler | Flexible putty that remains soft beneath paint |
| Painted trim with a damaged corner | Knife-grade filler labeled for molding/sculpting, or an appropriate two-part repair compound | A thin skim that lacks enough body to rebuild the edge |
| Deep gouge or missing section | Layered application approved by the manufacturer, or a two-part repair system | One thick application when the label limits depth |
| Exterior painted wood | Filler explicitly labeled for exterior use, followed by the required coating | Assuming “paintable” means weatherproof |
| Soft or rotted wood | Diagnose and stop moisture; remove unsound material; use a compatible repair system only within its instructions | Smearing ordinary filler over active decay |
| Stained or clear-finished wood | Test a stainable/color-matched filler on scrap | Expecting filler to absorb stain exactly like surrounding grain |
| Open grain across an entire surface | Purpose-made grain filler | Using patching filler as a full-surface pore filler |
| Joint that moves seasonally | Fix the joinery or use the specified flexible joint material | Rigid filler as a cure for wood movement |
Wood filler, wood putty, grain filler, and epoxy are different
Ready-mixed wood filler
Typical water-based or latex fillers spread into small defects, dry hard, and can be sanded and painted. They are convenient for baseboards, casing, cabinet parts, furniture, plywood edges, and other prepared surfaces when the product label permits the application.
Wood putty
“Wood putty” often refers to a softer repair product used on already-finished wood, though manufacturers do not use the terms consistently. Some putties are intended to remain workable and may not sand or accept paint like a hard-drying filler. The site’s wood filler vs wood putty guide explains the practical distinction.
Grain filler
Grain filler is spread across open-pored woods such as oak or mahogany to reduce visible pores before a smooth finish. It is not primarily a nail-hole patch. Confirm compatibility among the grain filler, sealer, primer, paint, stain, and topcoat.
Two-part repair filler
Two-part polyester or epoxy-style systems cure by chemical reaction and may rebuild larger missing areas more effectively than a ready-mixed filler. They introduce mixing ratios, limited working time, heat, harder sanding, chemical exposure, and compatibility requirements. Follow the product instructions and safety data rather than treating all two-part compounds as interchangeable.
Four current product types worth comparing
These are examples with manufacturer documentation, not universal winners. Packaging, formulas, availability, and instructions can change; verify the current label before use.
DAP Plastic Wood-X
DAP describes Plastic Wood-X as a latex-based, stainable and paintable filler for cracks, gouges, holes, and surface imperfections. Its drying indicator changes from pink to a natural color. DAP recommends slightly overfilling before sanding, gives longer dry times for deeper repairs, and says damage deeper than 1/4 inch should be filled in layers. Exterior repairs require paint or another coating for long-term durability.
Practical fit: general painted trim and furniture repairs where the ready-mixed formula, water cleanup, and dry indicator are useful.
FAMOWOOD Latex Wood Filler
Eclectic Products lists FAMOWOOD Latex as a ready-to-use, low-odor filler that can be sanded, drilled, planed, stained, or painted and is labeled for interior/exterior use. The manufacturer lists a 30-minute dry time, but temperature, repair geometry, and conditions affect drying; use the actual label and verify the repair is dry before sanding or coating.
Practical fit: a range of small and larger surface defects when a wood-tone option and a hard, workable repair are useful.
Minwax High Performance Wood Filler
Minwax describes this as an interior/exterior, two-part, all-purpose filler for gouges and holes in split, damaged, or rotted wood. Its instructions call for clean, dry wood free of paint, varnish, dirt, and grease; loose material must be removed. The manufacturer says the cured repair can be sanded, carved, planed, or drilled.
Practical fit: deeper or more demanding painted repairs where the complete Minwax repair system and instructions suit the substrate. First identify and correct the moisture source; filler does not stop rot.
A manufacturer-approved color-matched filler
Color-matched fillers are useful when some grain or finish may remain visible. Minwax, for example, says its Color-Matched Wood Filler is for defects in finished or unfinished wood and directs users to its High Performance product for holes larger than 3/4 inch. Even a “stainable” filler can appear different because it lacks the surrounding wood’s grain and porosity.
Practical fit: small visible defects where color is more important than a perfectly invisible painted patch. Always test with the actual stain and topcoat.
How to fill wood before painting
- Determine why the defect exists. A nail hole is a finish issue; an opening joint, recurring crack, loose board, or soft sill may signal movement, fastening, or moisture problems that filler cannot solve.
- Read the complete product label. Confirm substrate, interior/exterior rating, maximum depth, required coating, application temperature, cure conditions, and safety controls.
- Remove loose material. Scrape away failing paint and crumbly wood only to the extent appropriate for the repair. Extensive decay may require replacement or professional assessment.
- Clean and dry the area. Dust, wax, oil, grease, moisture, and loose fibers interfere with adhesion. Do not trap active moisture beneath filler and paint.
- Mask delicate edges if helpful. Tape can limit smearing and reduce sanding around profiles, but remove it at the time recommended for the product.
- Press filler into the defect. Use a clean putty knife and work the product against the sides and bottom rather than bridging over a void.
- Observe depth limits. Apply layers when required, allowing each layer to dry or cure as directed.
- Leave the correct amount proud. Many fillers are slightly overfilled for sanding. Excessive buildup creates unnecessary sanding and can dish the surrounding softwood.
- Wait for full drying or cure. A dry-looking surface can hide soft material beneath. Time claims are conditional, not a substitute for the label.
- Sand flush. Start only as coarse as necessary, use a sanding block on flat trim, and feather the boundary without changing the wood profile.
- Remove sanding residue. Use a method compatible with the filler and planned coating. Do not contaminate the repair with oily cloths or incompatible solvents.
- Prime the repair when the coating system calls for it. Primer helps equalize porosity and reveals pinholes, ridges, and shrinkage before finish paint.
- Inspect under raking light. Light across the surface exposes depressions and edges that overhead light hides. Correct them before the final coat.
Why filler shows through paint
- Different porosity: filler and wood absorb primer or paint differently.
- Sanding halo: glossy paint around the patch was not feathered or deglossed as required.
- Low spot: the filler shrank, was underfilled, or was sanded below the surrounding surface.
- High edge: excess filler was not fully feathered.
- Trapped moisture: filler or substrate was coated before it dried.
- Movement: the wood joint continues to open and close beneath a rigid patch.
- Contamination: wax, silicone, grease, or incompatible cleaner interfered with the coating.
Apply primer over the repaired area—or the full component when appearance demands uniformity—using the primer and paint manufacturers’ instructions. Spot-primer edges can still flash under glossy finishes, especially in strong side light.
Exterior and wet-area limits
“Exterior use” does not necessarily mean a bare repair can remain exposed to weather. DAP, for example, instructs users to paint or coat exterior Plastic Wood repairs for long-term durability. Water entering through end grain, failed joints, flashing, or peeling paint must be corrected first.
For outdoor repairs, use the separate guide to water-resistant and exterior wood fillers. Replace wood that is structurally unsound, cannot hold required fasteners, or continues to decay. Do not use cosmetic filler to conceal a safety-critical railing, stair, structural member, or load-bearing connection.
Safety and cleanup
Review the current label and safety data sheet. Filler dust and existing paint dust require control; older painted surfaces may contain lead. Use ventilation, eye and skin protection, dust collection or other controls specified for the product and task. Do not mix components by guesswork, add unapproved solvents, or use a product near ignition sources when its instructions prohibit it.
Allow leftover material and used applicators to cure or be disposed of as the manufacturer and local rules require. Keep products away from children and pets.
Official manufacturer references
- DAP Plastic Wood product guidance
- Eclectic Products FAMOWOOD Latex instructions
- Minwax High Performance Wood Filler instructions
This guide is general information. The current product label, technical data, safety data, coating instructions, substrate condition, and project requirements control.




Stay in the loop
Get the latest crafted wood creations updates delivered to your inbox.