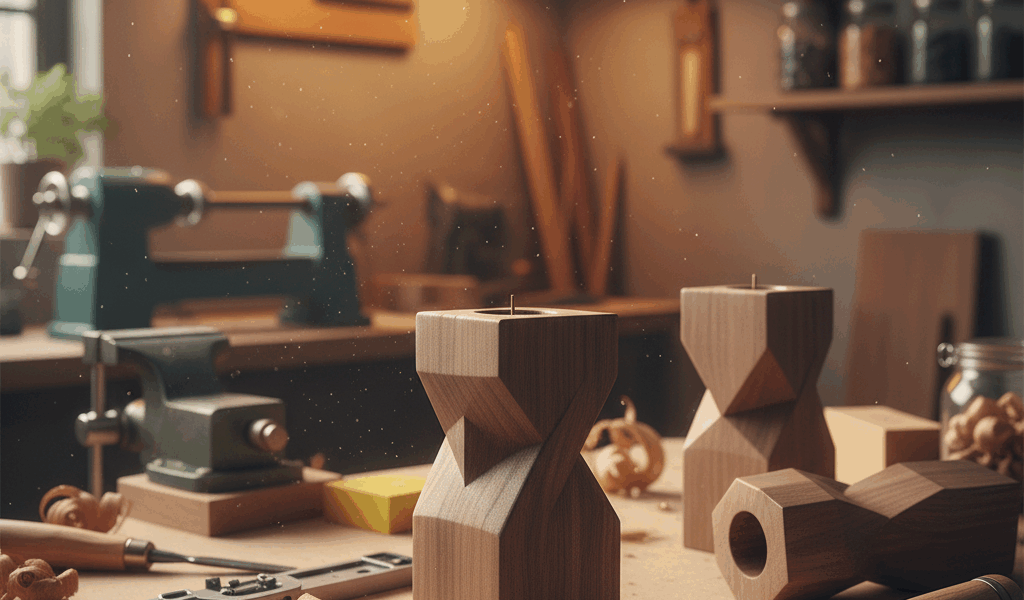
Wooden Candle Holder Projects
Wooden candle holders combine natural warmth with functional design. From simple turned pieces to complex multi-candle centerpieces, these projects offer opportunities for woodworkers at every skill level. The key is balancing aesthetics with fire safety.
Design Considerations

Safety First:
- Keep flames away from wood—use metal or glass inserts for actual candles
- Design holders for LED candles if wood will be near flames
- Never leave real candles unattended regardless of holder design
- Test with a candle before declaring a design finished
Candle Types to Accommodate:
- Tea lights: Standard 1.5″ diameter, 3/4″ tall
- Votives: Approximately 2″ diameter
- Tapers: Standard 7/8″ base diameter
- Pillars: Vary widely—design around specific candles
Basic Turned Candle Holder
A lathe project perfect for beginners:
- Start with a 3″ x 3″ x 4″ blank of hardwood (cherry, walnut, or maple work well).
- Mount between centers and turn to round.
- Create a tenon for chuck mounting or work with a faceplate.
- Shape the exterior with a bowl gouge, creating your desired profile.
- Drill the candle cavity: Use a Forstner bit sized for your candle (1.5″ for tea lights).
- Hollow to appropriate depth—tea lights need about 3/4″ depth.
- Sand on the lathe through 320 grit.
- Apply finish: Friction polish works well for decorative pieces.
Rustic Log Candle Holders
Use natural wood for organic style:
- Select a dry hardwood branch or log section 3-6″ diameter
- Cut to desired height with chainsaw or bandsaw
- Level the bottom so it sits flat
- Drill holes for candles using Forstner bits
- Leave bark on for rustic look or remove and sand
- Seal with oil finish to prevent checking
Multi-Candle Centerpiece
Create a stunning table display:
- Use a single board 2-3″ thick, 6″ wide, and length to suit
- Drill multiple holes for tea lights or votives at varying depths
- Shape edges with router or leave live edge for natural look
- Add metal inserts in each hole for safety and easy cleaning



Stay in the loop
Get the latest crafted wood creations updates delivered to your inbox.