Zero-waste woodworking sounds like marketing speak until you actually do it. Then it becomes a satisfying puzzle: how much can you get from a single board? Bookends are the ideal project for this exercise. Two matched pieces, meaningful weight, and a design that practically demands you use every usable inch of the stock you start with.
The Single-Board Philosophy
Start with a board about 30″ long and at least 8″ wide. That’s enough material for a complete pair of substantial bookends with barely any scrap left over. The exact species matters less than choosing something dense enough to do the job – walnut, oak, maple, or cherry all work. Softwoods look nice but lack the mass needed to support a shelf of books without additional weighting.
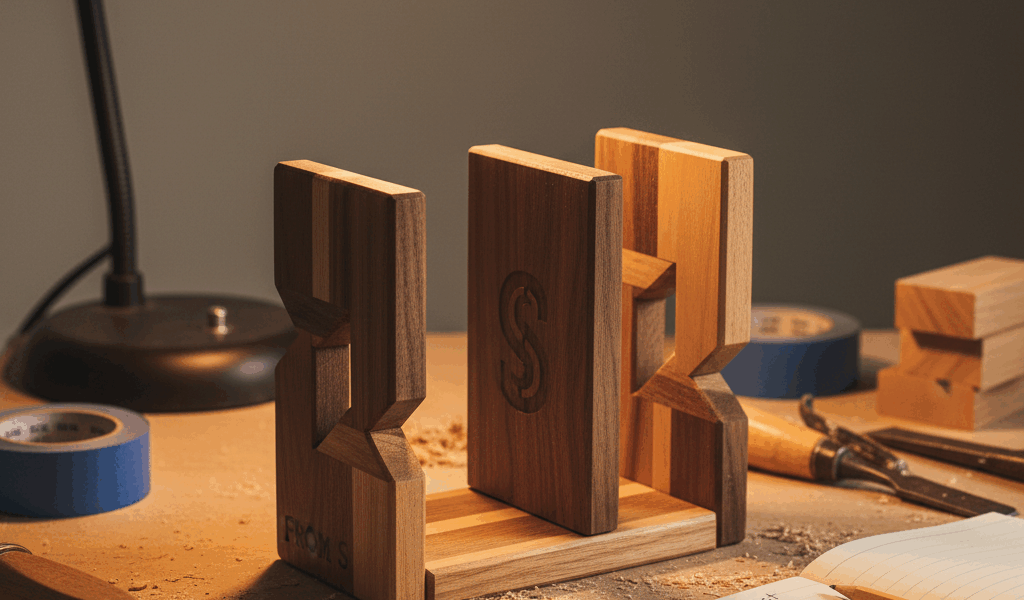
The Design: L-Shaped Classic
The most reliable bookend design is an L-shape: a vertical panel that presses against the books and a horizontal base that slides under them. Books’ weight on the base prevents the bookend from tipping. Simple physics, endlessly effective.
From your 30″ board, here’s the cutting sequence:
First, crosscut two pieces at 8″ long – these become your vertical panels. Then crosscut two more pieces at 7″ long – these are your bases. The remaining scrap gets cut into decorative elements, splines for the joinery, or – if you’ve calculated carefully – disappears entirely.
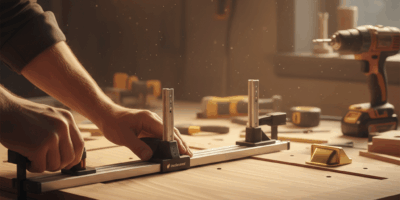
Preparing the Pieces
Mill all four pieces to final thickness – I use 3/4″ for a classic look, though 1″ stock makes more imposing bookends. Joint one face and one edge of each piece. Rip the bases to about 5″ wide (deep enough to support heavy books) and leave the verticals at the full board width.
If your starting board had a live edge or interesting feature, position that on the vertical panels where it’ll be visible. Natural edges look stunning on bookends when finished properly.
The Joinery: Multiple Options
The L-joint between vertical and base needs to be strong – this is where all the stress concentrates. Several approaches work:
Dado joint: Cut a 3/4″-wide dado across each base, about 1/2″ from the back edge. The vertical panel stands in this channel. Strong and invisible from the front.
Splined miter: Cut 45-degree miters on both the base’s back edge and the vertical’s bottom edge. Reinforce with a plywood spline glued into kerfs cut in both mating surfaces. Elegant and very strong.
Simple butt joint with screws: Quick and serviceable. Counterbore and plug the screw holes with matching wood. Less refined but perfectly functional.
My preference is the dado joint – it’s quick to cut, positions everything automatically, and creates a mechanical lock in addition to the glue bond.
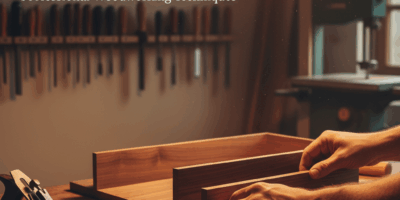
Assembly
Dry-fit first. The vertical should stand truly vertical when seated in the dado (or mated to the miter). Any lean gets amplified by the stack of books pressing against it.
Apply glue sparingly – squeeze-out is particularly annoying in a tight corner. Clamp the joint and check for square. Leave clamped until fully cured; this joint really does bear significant stress in use.
Matching the Pair
Bookends work in pairs, so yours should look like they belong together. The easiest way to ensure this is to process both simultaneously: joint both verticals at the same time, cut both dados in one setup, sand both pieces through each grit together.
Small variations between the two are inevitable and honestly look more handmade than industrial. But major differences – one bookend noticeably taller or leaning differently – undermine the set.
Adding Mass
If you’re using lighter wood or smaller dimensions, the bookends might need help staying put. Options include:
Lead weight: Drill one or more large holes in the underside of the base, fill with lead shot and epoxy, and plug flush. Invisible and effective.
Steel plate: Mortise a steel plate into the bottom of the base. Less hidden but very stable.
Extended base: Make the base longer so more books sit on it. This changes the proportions but works purely through leverage.
For hardwood bookends at the dimensions I described, additional weighting usually isn’t necessary unless you’re propping up oversized art books.
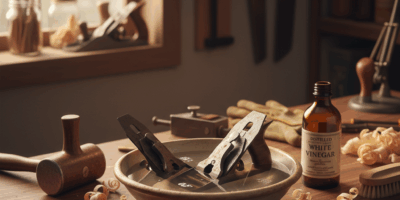
Finishing
The finish should match the intended setting. A natural oil finish suits library settings and studies. A satin lacquer or polyurethane works better in modern spaces where dust and handling are concerns.
Pay attention to the base’s underside – it will contact the shelf surface. A felt pad here prevents scratching and keeps the bookend from sliding. Cut peel-and-stick felt to match the base footprint and apply after the finish has cured.
The Zero-Waste Accounting
From a 30″ x 8″ board (about 1.7 board feet), you’ve produced a complete pair of bookends. The waste consists of saw kerfs and possibly a small offcut from initial squaring. If you planned the cuts carefully, that offcut becomes a coaster, a phone stand, or gets added to your box of future small-project blanks.
Total project time runs about three hours including finish work. Material cost is whatever your per-board-foot rate is times 1.7. The result is a functional, matched pair that will last for generations. That’s the satisfaction of thoughtful making – nothing wasted, everything used, quality built in.

Stay in the loop
Get the latest crafted wood creations updates delivered to your inbox.