Wood repair products have gotten complicated with all the options and conflicting advice about when to use what. As a woodworker who has dealt with a lot of defects, gaps, and nail holes over the years, I’ve developed clear opinions about wood filler versus wood putty. Using the wrong one leads to finish failures and repairs that show through the final surface. Today, I’ll share everything I know about choosing between them.
Wood filler and wood putty serve genuinely different purposes in repair and finishing work. They’re not interchangeable, and understanding the difference saves you from having to redo work that was almost finished.

Wood Filler: What It Is
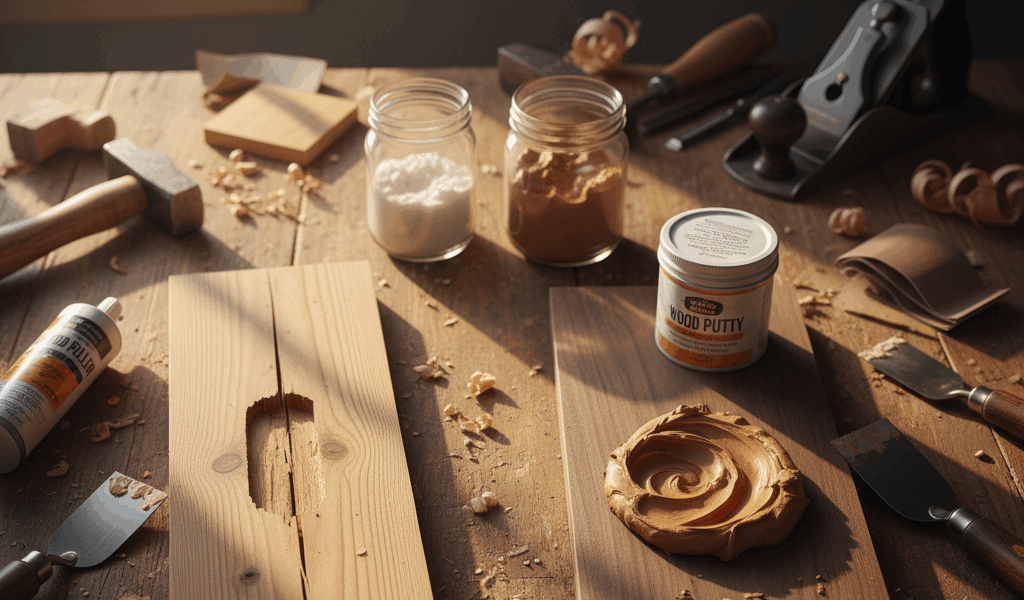
Wood filler is a water-based or solvent-based product designed to fill larger voids, gaps, and defects in bare wood before finishing. It contains wood particles or cellulose fibers in a binder. When it dries, it hardens completely and can be sanded smooth.
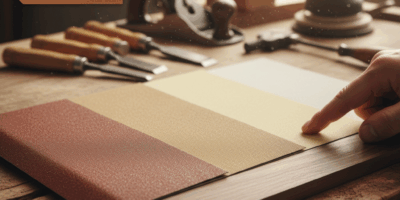
Quality fillers accept stain reasonably well, though they never match surrounding wood perfectly. The stain absorption rate differs from solid wood — filled areas will be slightly lighter or darker than the wood around them. That’s a characteristic to plan for, not a defect.
Wood Putty: What It Is
Wood putty is an oil-based product that stays pliable even after application. It’s designed for filling small holes and defects in finished wood — meaning after staining and sealing. Because it doesn’t fully harden, it can flex with the wood through seasonal movement without cracking or losing adhesion.
Putty won’t accept stain since it’s applied over sealed wood. Instead, it comes pre-colored to match common wood tones and stain colors. You select the shade closest to your finished wood and press it in.
When to Use Wood Filler
Use wood filler for:
- Gaps in joints that opened during glue-up
- Nail holes in trim before painting
- Defects in bare wood before staining
- Gouges and dents in unfinished wood
- Filling around knots that need stabilizing
Apply filler generously and let it mound slightly above the surface — it shrinks as it dries, so overfilling prevents depressions. Sand it flush after it’s completely dry, which takes 30 minutes to a few hours depending on depth and humidity. I’m apparently a “overfill and sand back” person and that approach always works better for me while trying to apply exactly flush never does because of the shrinkage.
When to Use Wood Putty
Use wood putty for:
- Nail holes in stained and sealed trim
- Small defects discovered after finishing
- Touch-ups on furniture with an existing finish
- Filling small gaps in finished cabinetry
Press putty into the hole with your finger or a putty knife, then wipe away the excess with a clean cloth. The pliable consistency makes it easy to work into small holes without disturbing the surrounding finish.
Staining Considerations
If you’re staining, use filler before applying any finish. Let it dry fully, sand it flush, then stain the entire surface together. The filler will absorb stain differently than the wood, but this approach beats trying to color-match putty to a finished surface later — that’s a harder problem to solve cleanly.
One technique worth knowing: mixing sawdust from the project wood with wood glue creates a custom filler that color-matches better than commercial products. It works well for small repairs on stained work where the color match matters. Not practical for large voids, but useful for precise work.
Painted Surfaces
For painted projects, wood filler is always the right choice. Apply it before priming and painting, sand smooth, prime the surface, then topcoat. Under opaque paint, the filler disappears completely — no color match required. Water-based fillers work well under water-based paints and primers. Either type works under oil-based paints, though solvent-based fillers may integrate slightly better with oil-based primers.
Structural Repairs
Neither wood filler nor wood putty adds structural strength. For repairs that need to bear load, use epoxy wood filler or replace the damaged section entirely. Standard filler and putty are cosmetic products — they hide defects but don’t restore the structural capacity of damaged wood. That distinction matters for anything that carries weight.
Timing Differences
Filler requires drying time before you proceed with finishing — a minimum of 30 minutes for thin applications, several hours for deep fills. Putty applies to finished surfaces and needs no drying time; you can work over it immediately after wiping away excess.
That timing difference is practical: if you discover a nail hole after finishing, putty gets you back on track immediately. The same hole found before finishing means filler, drying time, sanding, and then returning to your finish schedule. That’s what makes knowing which product to reach for so useful — it determines your timeline for the rest of the project.
Recommended Woodworking Tools
HURRICANE 4-Piece Wood Chisel Set – $13.99
CR-V steel beveled edge blades for precision carving.
GREBSTK 4-Piece Wood Chisel Set – $13.98
Sharp bevel edge bench chisels for woodworking.
As an Amazon Associate, we earn from qualifying purchases.