Garage and barn doors have gotten complicated with all the prefab options and installation debates flying around. As a woodworker, building carriage doors from scratch is exactly the kind of project that combines design thinking with real joinery and finishing work. Today, I’ll share everything I know about building DIY carriage doors.
DIY Carriage Doors: A Practical Build Guide
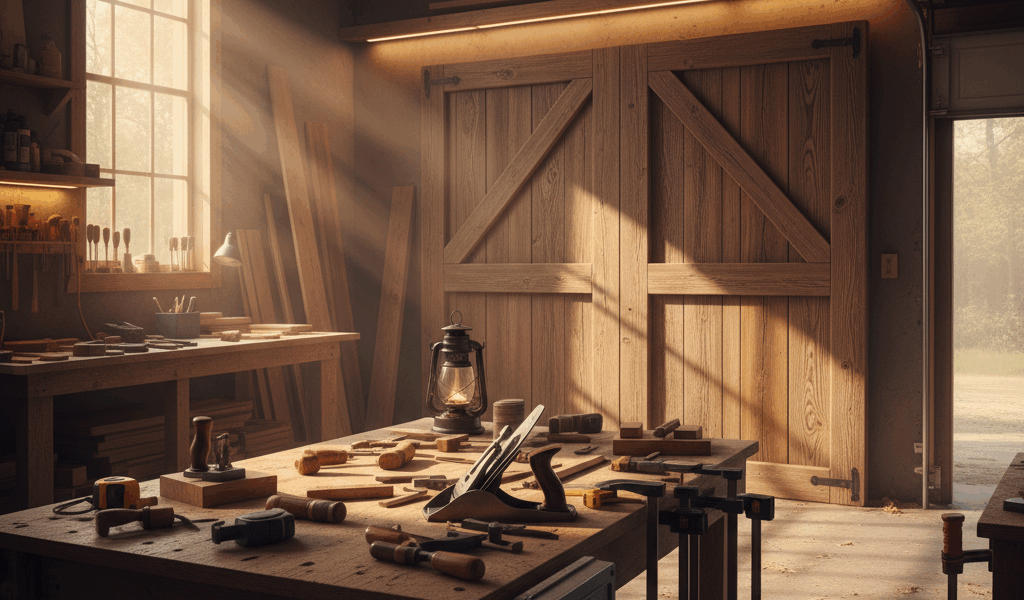
Carriage doors bring a quality of character to a home that standard raised-panel garage doors simply don’t have. They swing open rather than lift, which means the mechanics are simple and entirely within reach of anyone comfortable with basic woodworking and finish carpentry. Here’s how to build a pair that will last.
Materials Worth Getting Right
Cedar is the correct choice for exterior carriage doors. It’s dimensionally stable, naturally resistant to decay and insects, and holds paint and stain well. Pine is cheaper and works, but it requires more rigorous finishing to hold up outdoors and is less forgiving if any moisture gets into the wood. The cost difference per door is small enough that it’s not worth building pine carriage doors and having to deal with rot in five years.
Use exterior-grade screws throughout — the coated type, not bright zinc. Exterior wood glue for any edge joints. Sandpaper in 80, 120, and 180 grit. Primer plus exterior paint or penetrating stain. Heavy-duty exterior hinges, two per door for standard heights and three per door for anything over six feet. And door handle hardware — get the hardware in hand before you build so you can size the door appropriately for it.
Measure the Opening Carefully
Measure the opening width and height. Divide the total width in half to get each door’s starting dimension. Subtract 3/8 inch from each door’s width for clearance — you need the doors to swing without binding against the frame or each other at center. I measure three times on exterior door work. Cut once short and you’re buying more material; cut once binding and you’re planing the edge of a finished door, which is annoying and avoidable.
Sketch the design on paper before committing material. Classic carriage doors use vertical planks with a Z-brace: horizontal members at top and bottom, a diagonal member running between them from the hinge side down to the latch side. The diagonal is structural — it transfers load from the free end of the door up toward the hinges and is what prevents the door from sagging over time. Skip it or get the direction wrong and the door will sag within a season.
Cutting the Parts
Cut vertical planks to height first, all at the same dimension. Then cut the horizontal braces to the door width. Cut the diagonal last, measuring from corner to corner of the brace layout — the diagonal cut angles at both ends and fits neatly between the horizontals. A DeWalt or Bosch sliding compound miter saw handles all these cuts cleanly and accurately. A circular saw with a guide fence works fine if you’re careful to keep the cuts square.
Assembly
Lay the vertical planks face-down on a flat surface — a clean garage floor works, a dedicated assembly table is better. Align them edge to edge. Apply exterior wood glue to the mating edges and clamp them together. Let the glue cure fully before touching the assembly — at least an hour for most exterior glues, overnight is better.
Once the glue sets, pre-drill and drive exterior screws through the braces into the planks from the back. Pre-drilling is not optional here — cedar near the end grain splits under direct screw pressure, and a split near a brace end looks terrible and weakens the joint. Drill first, every time. Position the Z-brace so the diagonal runs from the lower hinge side up to the upper latch side — this is the direction that resists the weight of the door pulling down on the latch side.
Sanding and Finishing
Work through the grits: 80 to knock down mill marks and roughness, 120 to refine, 180 for a surface ready to accept primer. Pay attention to end grain at the top and bottom of the door — it absorbs more finish than face grain and needs an extra coat of primer before topcoating, otherwise the end grain soaks through and shows a different sheen from the rest of the surface.
Prime before painting. Two coats of a quality exterior primer — I’ve used Zinsser 123 with good results on cedar — provides a sealing base that extends topcoat life meaningfully. Apply exterior paint or penetrating stain in at least two coats, letting each dry completely. Don’t rush the finish. This is the door’s primary weather protection for the next ten to twenty years and it takes two days to do properly.
Hanging the Doors
Attach hinges to the door first. Mark and pre-drill pilot holes — exterior hinge screws are heavy and without pilots you’ll split cedar or strip screws trying to drive them in. Two hinges per door for standard-height doors; three hinges for anything taller than seven feet or heavier than average.
Get a helper for the hanging step. Hold the first door in the opening and confirm it’s plumb with a 24-inch level before driving a single screw into the frame. A door hung slightly out of plumb will drift open or swing closed on its own, which is endlessly annoying to fix after the fact. Plumb it, then attach the hinges to the frame. Test the full swing before tightening anything fully. Repeat for the second door and confirm both doors close cleanly at center without binding.
Hardware and Final Details
Install the door handle and latch per the manufacturer’s instructions. Confirm the latch engages with both doors in the closed position before calling the job done. Add strap hinges on the face if the design calls for the traditional carriage-door look — they’re purely decorative but they’re what makes the doors read as carriage doors rather than barn doors. Add any window inserts or trim details last.
Maintenance
Inspect annually for loose screws, particularly at hinge locations where the load concentrates. Cedar expands and contracts with seasonal moisture changes — check for finish cracking or peeling at joints and end grain and recoat before moisture gets into the wood. Address loose hardware before it becomes a structural problem. A properly maintained pair of cedar carriage doors should last thirty years without replacing any major components.
Before You Go
Carriage doors are a project where the result is visible every day and the work is well within reach of any woodworker comfortable with a saw and a drill. Get the Z-brace direction right, use exterior-grade materials throughout, and spend the time on the finish. Those three things are the difference between doors that last and doors that become a repair project in five years.