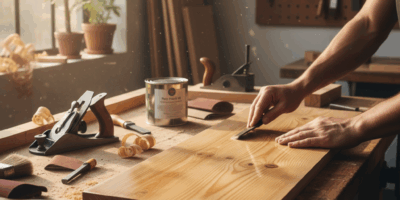
Understanding Wood Circle Cutters: A Comprehensive Guide
Wood circle cutting has gotten complicated with all the tool options and jig setups flying around. As someone who has cut circles for everything from lazy Susans to clock faces to custom furniture inlays, I’ve learned what actually works for different situations. Today, I’ll share everything there is to know.
Types of Wood Circle Cutters
The type of circle cutter you need depends entirely on the diameter you’re cutting and the tools you already have. Here’s an honest breakdown.
Router Circle Jigs
The router circle jig is the go-to for precise, clean circles. It attaches to your router and guides it in a smooth circular path. Having spent a lot of time with router jigs, I’ll say they’re the most versatile option — adjust the radius and you’re cutting a completely different size without swapping tools. The edge quality is excellent too.
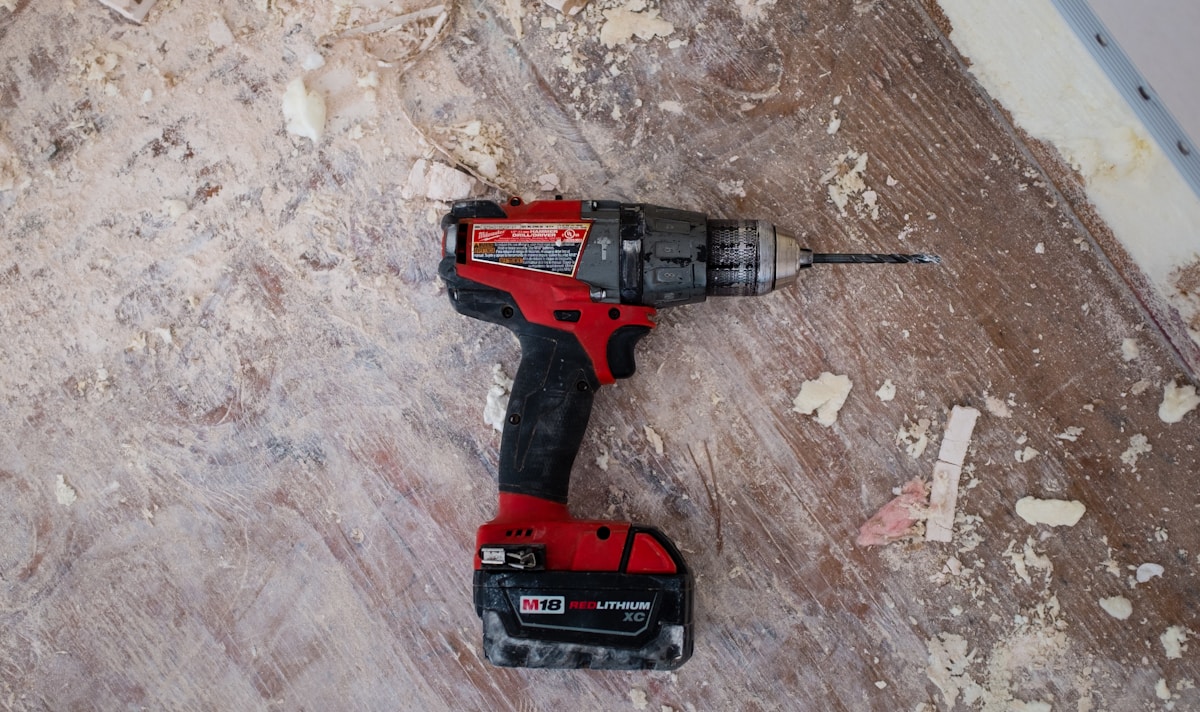
Hole Saw Kits
Hole saws attach to power drills and are mainly used for cutting circular holes rather than free-standing circles. They’re limited in diameter range but invaluable for their specific use case. If you need a circular opening in a cabinet or panel, this is your tool.
Band Saw Circle Cutting Jig
For larger circles — say, a round tabletop — a band saw with a custom circle cutting jig is often the best approach. The jig holds the wood at a fixed radius while the band saw cuts around it. Slow, steady, and consistent for large diameters.
Compass-like Cutters
Also called beam compasses, these operate like a traditional drawing compass. One end is fixed at the center point and the blade rotates around it, cutting the wood. These are manually operated and ideal for smaller, more precise circles — especially useful when you don’t want to set up a full router jig for a quick cut.
The Importance of Precision
Precision matters a lot with circle cuts. A slight deviation off-center ruins symmetry, and in applications like furniture inlays or decorative panels, that’s immediately visible. Proper tool setup and securing the workpiece before you start are essential steps — not optional ones.
Using guides or templates adds extra assurance. Probably should have set up templates earlier in my woodworking — they save significant time once made.
Choosing the Right Material
The wood you’re cutting affects which method works best. Softer woods like pine or cedar don’t need heavy-duty tools. Hardwoods like oak or mahogany demand more — sharper bits, slower feed rate, and sometimes a pilot hole to get centered cleanly.
Treated woods or boards with varying moisture content can behave differently during cutting. These factors influence tool wear and edge quality. Dry, stable wood always cuts cleaner.
Setting Up Your Workspace
An organized workspace makes a real difference. I grabbed my clamps and spent one Saturday morning getting my jig setup dialed in — it paid off every subsequent project. You need enough room to maneuver safely, good clamps to stabilize the workpiece, and proper lighting to see what you’re doing.
Dust collection or a mask is also worth mentioning here. Circle cutting generates a lot of sawdust, and it gets in your eyes before you notice it.
Safety Considerations
Wear goggles, gloves, and ear protection when using power tools. Make sure blades and bits are sharp and in good condition before starting — dull tooling is more dangerous than sharp tooling because it requires more force and is more likely to slip.
Be careful with power and speed settings, especially on routers. Too aggressive on the feed rate can cause tearout or, worse, tool breakage.
Maintaining Your Tools
Clean bits and blades after each session to prevent resin buildup. Sharpen them regularly. Check moving parts on jigs for wear. For power tools, inspect electrical components for any damage before use.
Advanced Techniques and Tips
Once you’re comfortable with basic circle cutting, templates unlock more complex designs. Different router bits give varied edge profiles — a roundover bit on a circle produces a completely different look than a straight bit. Worth experimenting.
On thick or hard woods, starting with a small pilot hole before using a jig helps stabilize the center point and gives you a cleaner, more centered start. It’s a small step that makes a noticeable difference in result quality.
That’s what makes circle cutting endearing to us woodworkers — once you’ve mastered it, you see circular design possibilities everywhere.
Project Ideas Using Circle Cutters
Circle cutters open up a lot of creative territory. Some favorites:
- Lazy Susans: A rotating kitchen platter — classic project for testing your circle cutting skills.
- Game Boards: Circular chess or checkers boards make for a fun and technically challenging build.
- Wooden Clocks: Cut a perfect circle for the clock face and customize the design from there.
Common Mistakes to Avoid
Applying too much pressure when cutting causes uneven edges and can burn out your tool. Don’t rush the setup — every minute you spend securing the workpiece and checking alignment saves ten minutes of frustration later. Skipping blade maintenance leads to inconsistent cuts. And skipping protective gear leads to injury, full stop.
One Final Thought
Mastering wood circle cutters takes some practice, but the payoff is worth it. Understanding your options, setting up properly, and prioritizing precision and safety are the keys. Whether you’re making simple projects or intricate inlay work, the ability to cut clean, accurate circles is a fundamental woodworking skill.
Recommended Woodworking Tools
HURRICANE 4-Piece Wood Chisel Set – $13.99
CR-V steel beveled edge blades for precision carving.
GREBSTK 4-Piece Wood Chisel Set – $13.98
Sharp bevel edge bench chisels for woodworking.
As an Amazon Associate, we earn from qualifying purchases.