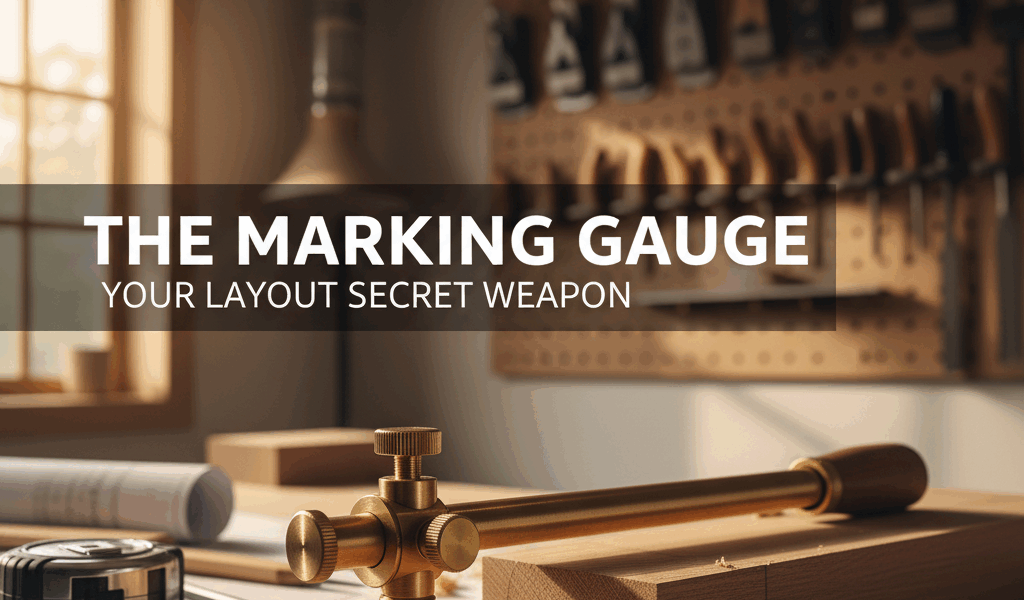
Marking gauges have gotten overlooked with all the fancy layout tools and laser gadgets flying around. As a woodworker who does a lot of hand-cut joinery, I’ve used marking gauges on nearly every project for years and learned what actually matters with them. Today, I’ll share everything I know about using a marking gauge well.
The marking gauge creates consistent parallel lines from an edge. It’s one of the most underused layout tools in a lot of shops — which is a shame, because once you’re comfortable with one it speeds up joinery layout considerably.
Gauge Types
Wheel gauges use a rotating cutter that slices fibers cleanly. They excel on cross-grain work and leave crisp lines for chisel work — the wheel severs the fibers rather than dragging across them.
Pin gauges scratch a line with a pointed steel pin. Simple and effective for with-grain work, though they tear cross-grain fibers and leave a rougher mark. I’m apparently a “wheel gauge for everything” person and it always works better for me while switching to a pin gauge for cross-grain work never does.
Mortise gauges have two pins for marking both sides of a mortise in one pass — one of the real time-savers in hand-cut joinery.
Setting Up
Set the fence distance by measuring from the cutter to the fence face. Use a combination square or ruler for accuracy. Don’t eyeball it — a marking gauge is only useful when it’s set precisely.
Lock the fence firmly. Test on scrap before marking good stock. Adjust until the line lands exactly where needed. Those test marks on scrap are never wasted effort.
Making Clean Lines
Hold the fence tight against the reference edge. Tilt the gauge slightly away from you so the cutter leads rather than drags — this is the detail that separates clean lines from ragged ones.
Make one confident pass. Multiple light strokes create fuzzy lines that are hard to work to. Let the tool do the cutting and commit to the stroke.
For deep lines in joinery work, score once then deepen with a second firm pass.
Maintenance
Keep the cutter sharp. A dull gauge tears rather than cuts, and a torn layout line is nearly useless for precision work. Hone wheel cutters on a fine stone. Replace worn pins when they stop leaving a clean scratch.


Stay in the loop
Get the latest crafted wood creations updates delivered to your inbox.