Wood finishing has gotten complicated with all the product options and conflicting technique advice flying around. As a woodworker who has finished a lot of furniture over the years, I’ve used both brush and wipe-on polyurethane extensively. Each has its place, and knowing which to reach for makes the finishing stage go considerably better. Today, I’ll share everything I know about brushing versus wiping on polyurethane.
Polyurethane goes on by brush or by cloth, and the application method affects appearance, build speed, and how much skill the job demands. Here’s what each method actually delivers.

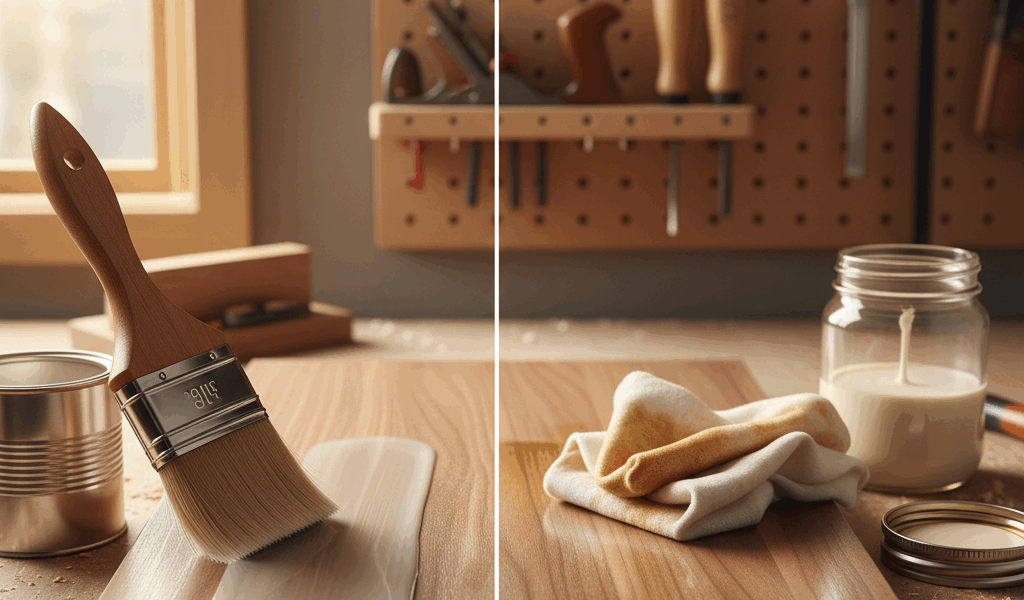
Brush Application
Brushing applies a thicker coat per pass, building up protection in fewer applications. Use a quality natural bristle or synthetic brush designed for oil finishes. Pour finish into a separate container rather than working from the original can — contaminating your supply with brush residue is a problem you don’t want on future projects.
Apply with long, even strokes following the grain. Once you’ve spread the finish, leave it alone. Additional brushing after the finish starts to set introduces bubbles and drag marks. Work methodically, maintaining a wet edge to avoid lap marks where new material overlaps partially dried finish.
Wipe-On Application
Wipe-on application uses polyurethane thinned 50% with mineral spirits. Some manufacturers sell pre-thinned wipe-on formulas; you can also mix your own from standard polyurethane. Apply with a lint-free cloth in circular motions to work the finish into the wood, then wipe off excess with long grain-direction strokes.
Each coat goes on thinner than brushed poly. Three to four wipe-on coats equal approximately one brushed coat in thickness — so you’re looking at more coats to reach equivalent protection. I’m apparently a “wipe-on for complex pieces” person and that method always works better for me on anything with carvings or turnings while brushing always gives me grief on anything that isn’t flat.
Appearance Differences
Brushed polyurethane can show brush marks if your technique isn’t clean. Dust nibs and bubbles appear more readily in a thick film. The heavier coat amplifies any application defect — what would be a minor blemish in a thin coat becomes a visible flaw in a thick one.
Wipe-on poly produces a thinner coat that naturally shows fewer marks. The cloth removes excess and works the finish into the pores. Brush strokes don’t exist in wiped finishes. Dust nibs, when they occur, are less prominent because the thin coat means less material accumulated around them.
Build-Up Time
Brushing builds faster. Two to three brushed coats provide adequate protection for most furniture pieces. Each coat needs 4-6 hours of drying time before recoating — or overnight if you want guaranteed results with no adhesion issues.
Wipe-on requires six to eight coats for equivalent protection. The thinner coats dry faster — typically 2-3 hours between coats. Despite shorter drying time per coat, the total project time extends because you’re applying significantly more coats. Plan accordingly when you’re working against a delivery deadline.
Skill Requirements
Brushing demands steady hand control and an understanding of wet edge maintenance. Poor technique shows immediately in the dried finish — runs, sags, missed spots, and brush marks all reveal themselves clearly. The learning curve is real.
Wiping is more forgiving. Thin coats self-level and the cloth application naturally evens out the finish. Beginners consistently achieve better results with wipe-on poly than with brushing, especially on first projects. If you’re still developing your finishing technique, wipe-on is the safer choice for appearance-critical work.
Surface Suitability
Flat surfaces like tabletops work well with brushing. Gravity helps the finish level, and you can apply even coverage without fighting the surface. Vertical surfaces risk runs with brushed poly unless you’re disciplined about application thickness.
Complex surfaces with carvings, turnings, or multiple planes suit wipe-on. The cloth reaches into details that a brush can’t access cleanly, and the thinner coat won’t pool in corners or run on vertical faces.
Durability
Both methods produce equivalent durability once you’ve built sufficient film thickness. The protection comes from total film thickness, not the application method. Three brushed coats and eight wiped coats create approximately the same protective barrier. Choose based on schedule and skill level rather than durability concerns — the end result is the same.
Sanding Between Coats
Both methods benefit from light sanding between coats with 320-grit paper. This removes dust nibs and provides mechanical adhesion for the subsequent coat. Wipe away sanding dust with a tack cloth before applying the next coat. Brushed poly may need more aggressive sanding to address brush marks or runs; wipe-on coats typically need only light scuffing.
Cost Factors
Wipe-on uses more finish per project due to additional coats. Thinning standard poly 50% means you’ll consume roughly twice the volume compared to brushing the same surface. Pre-mixed wipe-on formulas cost more per unit volume than standard polyurethane. For budget-conscious projects, brushing delivers adequate results with less material. For appearance-critical work where your brushing skills aren’t quite there yet, the additional cost of wipe-on may be worth the improved outcome.
One Final Thought
Brushing and wiping aren’t competing methods — they suit different situations. Match the application method to the surface complexity, the finish quality you need, and your current skill level, and you’ll get good results either way. The failure mode for both is the same: rushing. Take the time between coats, sand properly, and apply even coverage, and the finish will come out the way you want it.
Recommended Woodworking Tools
HURRICANE 4-Piece Wood Chisel Set – $13.99
CR-V steel beveled edge blades for precision carving.
GREBSTK 4-Piece Wood Chisel Set – $13.98
Sharp bevel edge bench chisels for woodworking.
As an Amazon Associate, we earn from qualifying purchases.