Finishing pine has gotten complicated with all the blotchy stain horror stories and product recommendations flying around. As someone who has worked pine through everything from rustic shelf builds to painted furniture, I’ve learned what actually makes the difference between a clean result and an uneven mess. Today, I’ll share everything I know.
Finishing Pine
Pine is popular because it’s affordable, available, and genuinely pleasant to work with. The finishing challenge is real though: it’s soft enough to dent and scratch, and its grain pattern absorbs stain unevenly. Understanding those properties before you reach for a finish makes all the difference.
Selecting Pine for Your Project
Pine grade matters. Select pine is free of knots and gives you a clean, even surface. Common grades have knots and defects — which can be a feature for rustic projects, or a liability for formal ones. Eastern White Pine is softer and works well for carved or painted pieces. Southern Yellow Pine is harder and more resinous, better for structural applications. Match the species to what you’re building.
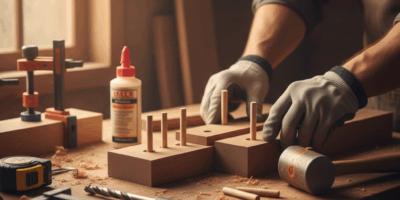
Preparing Pine for Finishing
Surface prep is where a good pine finish is won or lost. Start with coarse-grit sandpaper to remove rough spots, then work through progressively finer grits until the surface is smooth. Use a sanding block for even pressure — no random pressure dips or gouges. Vacuum thoroughly, then wipe with a tack cloth to get every dust particle off before you touch any finish.
Applying Pre-Stain Wood Conditioner
This is the step that separates blotchy stain results from clean ones. Pine’s uneven grain density causes stain to absorb at different rates across the surface, creating streaks and patches. A pre-stain wood conditioner stabilizes porosity before you apply color. Apply with a brush or cloth, let sit 5-15 minutes, then wipe off excess. Follow the manufacturer’s timing — leaving it on too long creates its own issues.
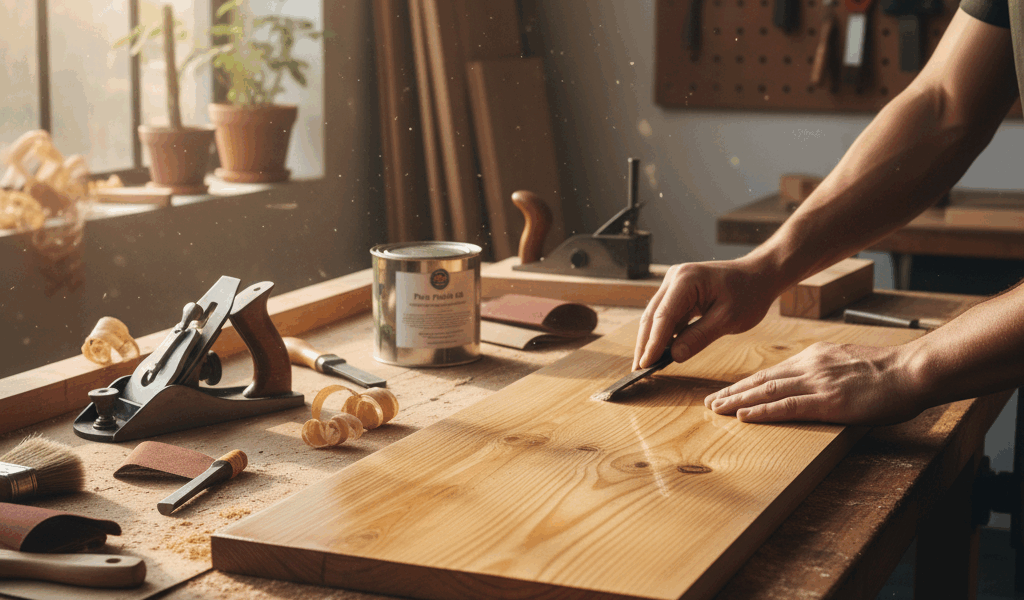
Staining Pine
Choose the stain type deliberately. Oil-based stains penetrate deeper and produce a richer, warmer color. Water-based stains dry faster and have less odor — the practical choice for most indoor projects. Stir thoroughly before applying. Work in the direction of the grain, let penetrate 5-15 minutes, then wipe off excess with a clean cloth. For a darker result, apply additional coats after the first is fully dry.
Sealing Pine
Polyurethane is the standard sealer — durable, protective, available in water-based and oil-based versions. Water-based dries faster and cleans up easily; oil-based gives a warmer amber tone and builds a thicker film. Apply with a quality brush in long, even strokes following the grain. Let dry thoroughly, then sand lightly with fine-grit paper before each additional coat.
Alternatives to Polyurethane
Lacquer dries fast and finishes glossy. Shellac adds warmth and a traditional look. Wax gives a soft, natural sheen that’s easy to apply and maintain. Each has trade-offs — lacquer scratches more easily, shellac isn’t water-resistant, wax needs more frequent reapplication. Pick based on the project’s use and your maintenance expectations.
Finishing Techniques
For projects where you want more character, distressing, glazing, and paste wax all work well on pine. Distressing artificially ages the wood for a worn, rustic look. Glazing adds depth by applying a tinted topcoat that settles into the grain. Paste wax provides final protection with a subtle sheen that complements the wood rather than dominating it.
Maintaining Finished Pine
Dust regularly with a microfiber cloth. Keep finished pine out of direct sunlight to prevent discoloration over time. Use coasters and placemats to protect against spills and scratches. Reapply furniture polish or wax periodically to maintain the finish and keep the wood protected.
Common Issues and Solutions
Blotchy staining almost always means the wood conditioner step was skipped or rushed — sand back and start that process over. Sticky finishes mean either inadequate drying time between coats or environmental conditions that aren’t right for curing; switching to a faster-drying product can help. Bubbles in polyurethane usually come from applying too thick a coat or too much brush agitation; apply thinner coats in a dust-free environment.
- Blotchy staining: Use wood conditioner before stain
- Sticky finishes: Allow proper drying time between coats
- Bubbles in polyurethane: Apply thinner coats, minimize agitation