Box joinery has gotten complicated with all the joint options and technique debates flying around. As a woodworker who has built a lot of boxes over the years — from simple storage to gift boxes to small furniture — I’ve learned which joinery approaches actually hold up and which ones are more trouble than they’re worth. Today, I’ll share everything I know about the rabbet joint box.
Building a Rabbet Joint Box
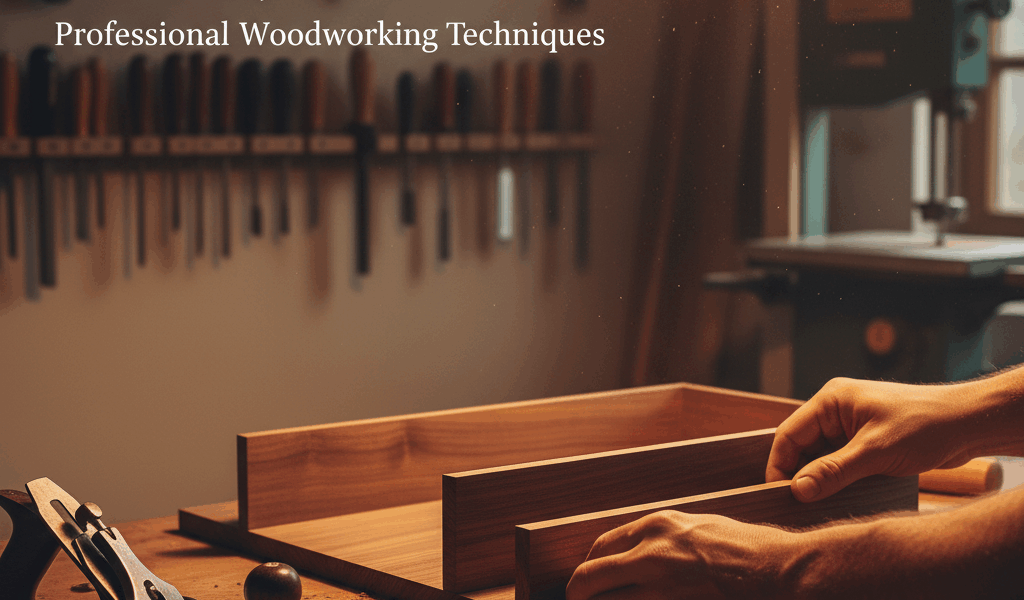
Rabbet joints are versatile, simple, and strong — and they have a well-earned reputation in woodworking circles. In a rabbet joint, a groove (the rabbet) is cut across or along the edge of one piece of wood. The adjoining piece fits snugly into that groove, creating a mechanical connection that glue then locks permanently. It’s one of those joints that’s easier to understand once you’ve made it than it is to explain.

Materials
Building a rabbet joint box doesn’t require much beyond the basics:
- Plywood or solid lumber — 1/2 inch thick or more works well for most boxes
- Table saw with a dado stack or rabbet-cutting setup
- Wood glue
- Clamps
- Wood screws or nails for additional reinforcement on larger boxes
Cutting the Wood
Measure and mark the pieces to your desired dimensions, accounting for the rabbet depth when you calculate final sizes. The table saw is the right tool here — equipped with a dado blade or a standard blade run in multiple passes to create the rabbet profile. Accurate cuts from the start mean the assembly goes together without gaps or misalignment.
Creating the Rabbets
The rabbet depth and width depend on your stock thickness. For 1/2 inch plywood, a 1/4 inch deep rabbet is typically sufficient. The objective is to create a step in your piece that the adjoining board seats into cleanly. I’m apparently a “sneak up on the final dimension” person and cutting the rabbet slightly shallow then adjusting always works better for me while trying to nail it on the first pass never does on critical joints.
Always use appropriate safety measures — push sticks, featherboards, and proper guards when working at the table saw with a dado stack.
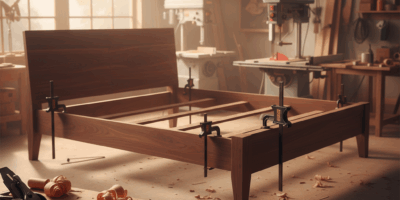
Assembly
Fit the pieces together dry first to verify the joints close tightly without gaps. When everything checks out, apply wood glue in the rabbet, then slide the adjoining piece into position. For smaller boxes, glue alone is sufficient. For larger or heavier-duty boxes that will take regular use or hold significant weight, reinforce with screws or nails.
- Glue one side piece to the base
- Glue the opposite side piece to the base
- Fit and glue the end pieces into place
Clamping and Drying
Clamp the assembled box to maintain a tight, square fit while the glue sets. If you’re short on clamps, painter’s tape wrapped tightly around the assembly works for smaller boxes — it provides enough pressure to hold the joints closed without using clamps you don’t have. Be careful not to shift the pieces out of alignment during clamping. Leave the glue to cure overnight for full strength — don’t rush this step.
Finishing
An unfinished box has its own honest appeal, but a finish extends the life of the piece and gives you a chance to show off the wood selection. Options include:
- Clear lacquer or polyurethane: preserves the natural wood appearance while protecting against moisture and scratches
- Stain: adds color and highlights the grain before a clear topcoat
- Paint: matches the box to its surroundings or gives it a distinctive look
That’s what makes the rabbet joint box endearing to woodworkers who build them: the joint is sturdy enough that the finished piece gets used rather than treated gently, and simple enough that the build doesn’t consume more time than the result warrants.
One Final Thought
The rabbet joint box is one of those projects that repays the time you put into it. The joint is straightforward, the construction is logical, and the end result is genuinely useful for storage, gifting, or as a small decorative piece. Once you’ve made one, the process becomes second nature and the joint type earns a permanent place in your joinery rotation.