Woodworking has gotten complicated with all the YouTube tutorials and gear recommendations flying around. As someone who started with a handsaw and a block plane and gradually built up a proper shop over years, I’ve learned what actually matters when you’re getting started — and what you can ignore until later. Today, I’ll share everything I know.
Understanding Woodworking: A Practical Guide

The Basics of Woodworking
Woodworking is working with wood — shaping it, joining it, finishing it into something useful or beautiful. The fundamentals don’t change: you need to understand the material, the tools that cut and shape it, and the techniques that join pieces together. Everything else builds on those three things.
Types of Wood
Hardwoods (oak, maple, walnut, cherry) come from deciduous trees and are generally denser and more durable. They’re the furniture-making standard. Softwoods (pine, cedar, spruce) come from conifers and are lighter and easier to work — good for beginners, great for painted pieces, and the standard in construction framing. The “hard” and “soft” labels aren’t perfectly accurate (balsa is technically a hardwood; yew is technically a softwood) but they hold up well as general categories for practical woodworking decisions.
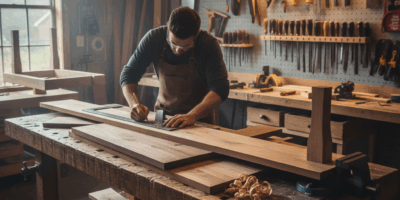
Essential Tools
You don’t need to buy everything at once. Start with what you need for the project in front of you.
Hand Tools
- Saws — for cutting wood to length and shape
- Chisels — for carving, fitting joints, and paring
- Planes — for smoothing surfaces and truing edges
- Hammers — for driving nails and assembling
- Screwdrivers — for hardware and assembly
Power Tools
- Table Saw — for precise ripping and crosscutting
- Drill — for making holes and driving fasteners
- Router — for profiles, dadoes, and hollowing
- Jigsaw — for curves and irregular cuts
Key Techniques
Accurate measuring and marking is where every project either starts right or starts wrong. Cutting follows from marking — hand tools or power tools, the goal is the cut you intended. Assembly joins pieces with nails, screws, or glue depending on what the joint needs to do. Finishing prepares and protects the surface: sanding, then paint, stain, or clear finish as the piece requires.
Starting Your First Project
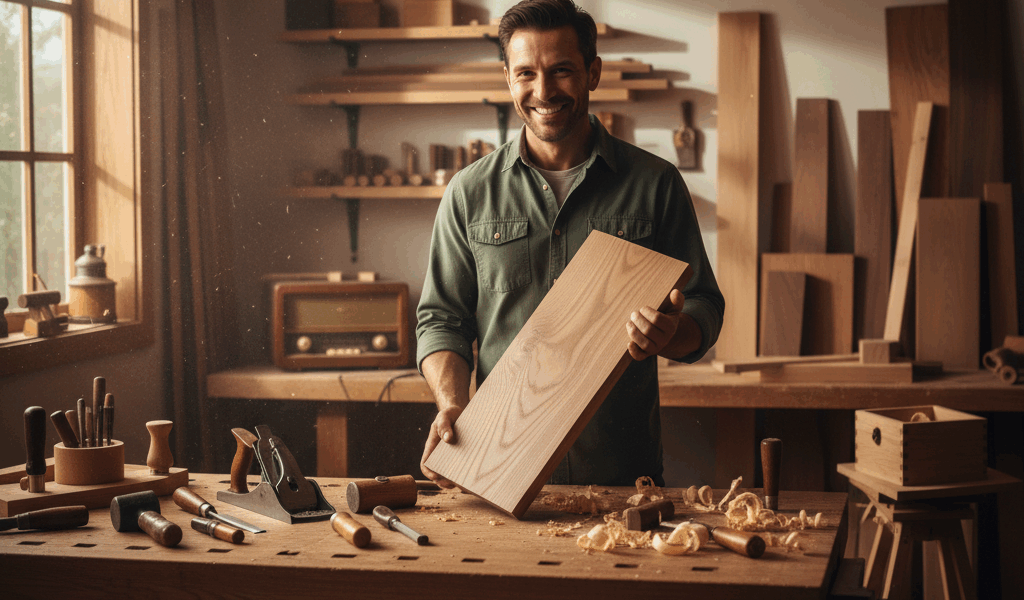
Start simple. A wooden shelf, a small box, a picture frame — these teach the fundamental operations without overwhelming you with complexity. I spent a Saturday making a basic shelf for my shop and learned more from that one piece about measuring, cutting, and assembly than from any amount of reading about woodworking.
Planning
Sketch the design before touching wood. Write down the dimensions and the parts list. Knowing what you need before you start cutting prevents the specific frustration of being one board short when the lumber yard is closed. Clear planning isn’t about being overly formal — it’s about knowing where you’re going before you leave.
Measuring and Cutting
Measure with a tape, confirm with a square. Mark with a sharp pencil, not a marker. Cut on the waste side of the line. Straight cuts use a hand saw or table saw; curves use a jigsaw. Take your time — rushed cuts are where most errors happen, and errors in early cuts compound through every subsequent step.
Assembling
Always dry-fit before committing glue or fasteners. If pieces don’t fit right dry, they won’t fit right glued. Use clamps to hold assemblies while glue cures. Dowels or biscuits in joints add alignment and strength without showing.
Finishing
Sand progressively: start coarse to remove machine marks and level surfaces, work through medium grits, finish fine. Clean thoroughly before applying finish — dust under a finish shows. Apply paint, stain, or varnish in thin coats, let each dry fully before adding the next.
Advanced Techniques Worth Learning
Joinery
Dovetails, mortise and tenon, finger joints — these connect wood without relying on fasteners. When cut well, they’re stronger than the wood around them and considerably more satisfying to make. Learning one traditional joint properly is worth more than knowing many joints superficially.
Inlay
Embedding contrasting wood or other materials into a surface creates patterns and decoration that can’t be achieved any other way. It requires precision and patience, but the results justify the time investment for the right project.
Woodturning
A lathe shapes round objects — bowls, vessel forms, table legs, pens. It’s a different discipline from flat work but it uses the same understanding of wood grain and cutting tools. Bowl turning in particular opens up material possibilities (burls, spalted wood) that don’t work well in flat woodworking.
Maintaining Your Tools
Clean tools after every use. Keep blades sharp — a dull blade requires more force, produces worse cuts, and is more dangerous than a sharp one. Store tools where they won’t rust or get damaged. Lubricate moving parts on hand planes and other mechanisms periodically. Sharp tools, properly stored, last decades.
Safety in Woodworking
Wear safety glasses every time — sawdust and chips reach your eyes faster than you can blink. Ear protection matters for power tool work; hearing loss from shop noise is cumulative and permanent. A dust mask for fine sanding and finishing work keeps wood dust out of your lungs. Keep the shop organized — clutter causes accidents.
- Safety Glasses — non-negotiable at all times around power tools
- Ear Protection — foam plugs or muffs for table saw, router, planer work
- Dust Mask — N95 minimum for sanding; respirator for finish work
- Gloves — for handling rough stock, not for power tool operation
Never wear loose clothing or jewelry near rotating blades or bits. Disconnect power tools before changing blades or making adjustments. Use push sticks when feeding narrow stock through a table saw. These aren’t optional suggestions — they’re the habits that prevent the accidents that end shop careers.
The Joy of Woodworking
What keeps woodworkers at the bench is the combination of problem-solving and physical making. Every project presents a sequence of decisions, and each decision affects the result. The material itself is alive in a way that synthetic materials aren’t — it moves, it has character, it responds differently to different tools. That’s what makes woodworking endearing to those of us who do it — there’s always more to learn, and what you’ve already learned shows up directly in what you make.