The Intersection of Charm and Durability: Mortise and Tenon
You’ve likely encountered a mortise and tenon joint in your everyday life, even if you weren’t aware of it. This woodworking staple, used extensively in furniture construction, can be found in anything from your dining table to your favorite bookshelf. Its magic lies not only in its aesthetic appeal, but also in its impressive durability.

Spotlight on the Mortise and Tenon
If you’re not notoriously familiar with woodworking, a mortise and tenon joint might sound complex. The mortise is essentially a hole or slot carved into a piece of wood. The tenon, on the other hand, is a protruding piece crafted on the end of another wood section. The tenon is designed to snugly fit into the mortise, creating a secure and sturdy joint. This simple design, made solely from wood components, has exceeded centuries, contributing to the strength and longevity of countless wooden structures around the world.
The Root Goes Deep and Wide
The esthetic beauty of the mortise and tenon is steeped in ancient craftsmanship. Excavations reveal that woodworkers of the ancient Egyptian civilization utilized the joint to construct their furniture. Chinese and Japanese woodcraft traditions, too, have relied extensively on this technique. Why so? The secret lies in its marrying of function and form. Easy to create, even with basic tools, it guarantees a robust structure while exuding a nonchalant elegance, perhaps a fitting metaphor for the cultures that championed it.
Making a Mortise and Tenon Joint
-
Choose a piece of timber. Always make sure it is sturdy and without cracks. The mortise piece should ideally be thicker than the tenon piece to ensure durability.
-
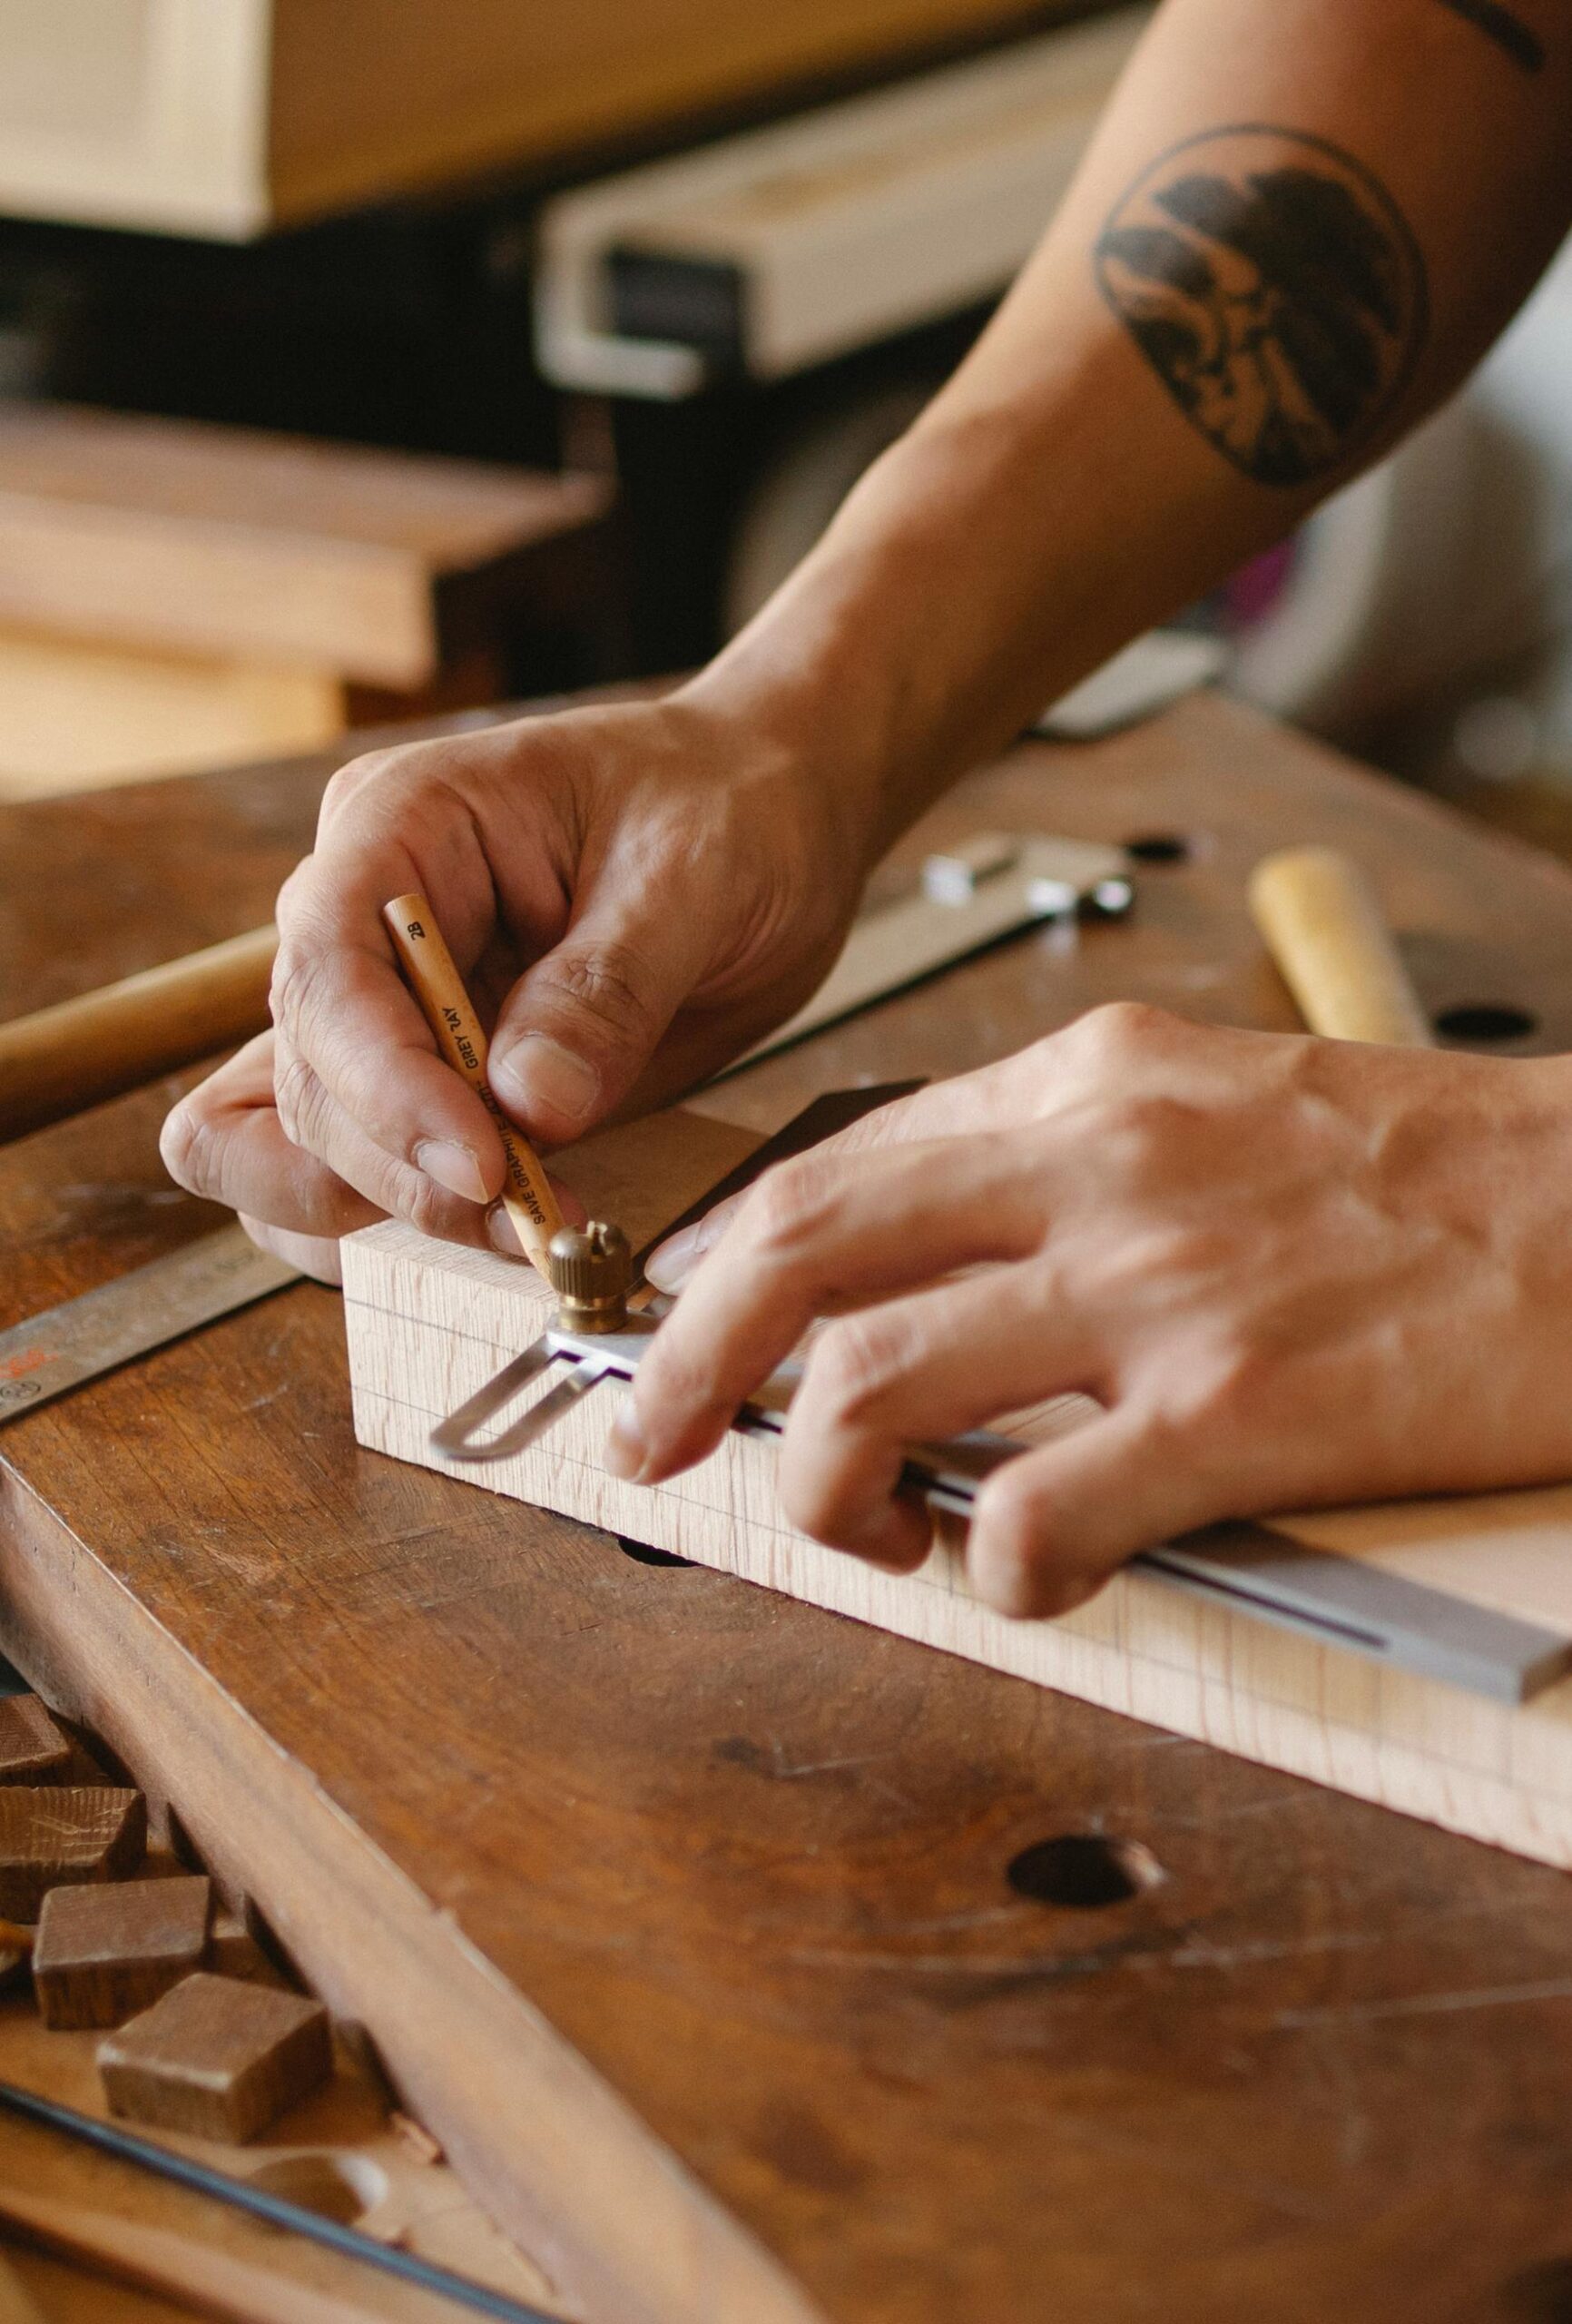
Mark the positions for your mortise and tenon on the chosen wood pieces. Remember that precision is your friend here. The tenon must correspond perfectly with the mortise for a snug fit.
-
With sharp chisels, cut the mortise first. A drill might also come handy for removing larger wood chips. Proceed gradually, keeping patient control over each chisel stroke.
-
Cut the tenon next. You’ll be trimming away wood from all four sides of its end to create a protruding section. Remember, the tenon’s thickness should be slightly less than the mortise, which allows it to slide in smoothly.
-
Finally, it’s time to fit the tenon into the mortise. It should slide in snugly. If it doesn’t, you’ll need to refine the tenon a bit more. Your joint is done once you’re sure of the snug fit.
An Evolution of Tradition
With the march of technology, one might assume that the mortise and tenon would have been consigned to the annals of history. However, this couldn’t be further from the truth. In fact, advances in woodworking tools have only made the construction of the mortise and tenon joint easier and more precise, without compromising its essential charm. Tools like electric routers and table saws have taken the rightful position in a modern carpenter’s arsenal, paving ways for more intricate and finely-tuned joints.
The Versatile Joint
Such is the magic of the mortise and tenon. Despite its antiquity, it doesn’t fade away, instead it adapts with a chameleon-like grace. With its versatile nature, it has found many friends in the modern world—from the sturdy bed you sleep on to the stealthy cabinet hiding your precious goods. And not to forget, the millions of homes and buildings still standing tall thanks to the solidarity this simple but robust joint provides.
Enriched by history and championing modernity, the mortise and tenon joint is woodworking in its purest and most elegant form. Whether as a woodwork professional or a DIY enthusiast, it’s a technique you should have on your toolbelt – reliable, timeless, and beautifully grounded in tradition. After all, there’s a reason this old dog continues to teach us new tricks.
Recommended Woodworking Tools
HURRICANE 4-Piece Wood Chisel Set – $13.99
CR-V steel beveled edge blades for precision carving.
GREBSTK 4-Piece Wood Chisel Set – $13.98
Sharp bevel edge bench chisels for woodworking.
As an Amazon Associate, we earn from qualifying purchases.


