Working hunched over a laptop for hours isn’t just uncomfortable – it’s actively damaging. I learned this the hard way after a few months of pandemic remote work left me with chronic neck pain. The fix wasn’t a standing desk or an expensive ergonomic chair. It was a simple adjustable laptop stand that I built in an afternoon and use every single day.
Why Adjustability Matters
Static positioning is the enemy of ergonomics. What works when you’re typing doesn’t work when you’re reading. What works in the morning might not work after lunch. An adjustable stand lets you dial in the exact angle and height for any task, and more importantly, it lets you change positions throughout the day.
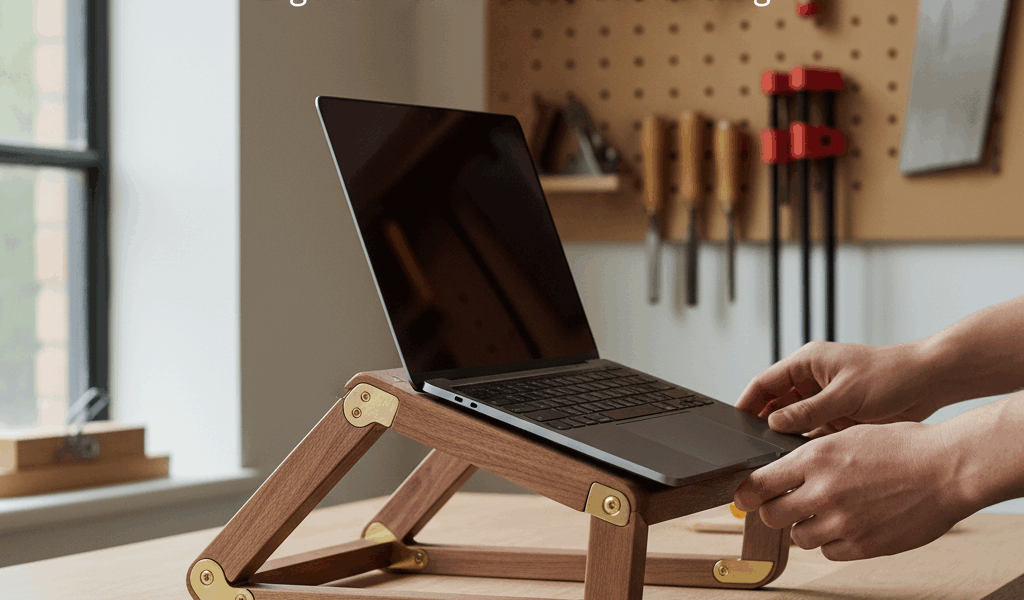
This design offers two adjustment points: the overall height (via interchangeable risers) and the screen angle (via a hinged platform). Together, they accommodate everything from slight typing tilts to near-vertical reading angles.
Materials and Cut List
The stand uses about 3 board feet of hardwood – I prefer hard maple for its durability and neutral appearance, but any stable hardwood works. You’ll also need a piano hinge (10″ to 12″ long), a support strut, and some basic hardware.
Platform: 13″ x 10″ x 3/4″ (sized for most 13″ to 15″ laptops)
Base: 13″ x 8″ x 3/4″
Back support bar: 13″ x 1-1/2″ x 3/4″
Risers (make 3 pairs): 2″ x 8″ x 3/4″, 3″ x 8″ x 3/4″, and 4″ x 8″ x 3/4″
The Hinge Mechanism
The platform attaches to the base via a piano hinge along the back edge. This allows the platform to pivot from nearly flat (typing position) to about 45 degrees (reading position). The trick is finding a way to lock it at various angles without complicated hardware.
My solution uses a support strut – a bar that connects the platform to the base and locks into different positions. Hardware store options include cabinet lid supports or folding bracket stays. For a more elegant solution, cut a wooden strut with multiple pin-hole positions that correspond to different angles.
Building the Base and Platform
Mill all pieces to final dimension. The platform needs attention on its back edge – a slight roundover or chamfer prevents the laptop from hanging up when adjusting the angle. The front edge of the platform should have a small lip (about 1/4″ high) to prevent the laptop from sliding off when tilted.
This lip is simply a strip of wood glued and pinned to the front edge. Round over its top edge aggressively so it’s comfortable when typing on a keyboard positioned in front of the stand.
The base should be completely flat on the bottom. If you’re using risers, rout or dado two shallow channels on the underside of the platform – the risers will slide into these channels for a secure fit.
The Riser System
Three pairs of risers give you four height options: no riser (platform sits directly on desk), 2″ risers, 3″ risers, or 4″ risers. Each riser pair consists of two pieces that fit into the channels on the bottom of the platform.
Cut a gentle arc on the tops of the risers so the platform sits on two high points rather than the full length – this provides stability even if your risers aren’t perfectly flat. The arc also adds visual interest.
When not in use, risers store inside the stand if you rout a storage pocket into the base, or they can live in a drawer. I keep mine right next to the stand for quick adjustments.
Ventilation
Laptops generate heat, and that heat needs somewhere to go. Cut a series of slots or drill a pattern of holes through the platform in the area where your laptop’s vents are located. This isn’t just cosmetic – proper ventilation extends laptop life and keeps the fans from running constantly.
A pattern of 3/4″ holes drilled in a grid looks clean and provides plenty of airflow. Space them about 1-1/2″ apart in a rectangle roughly matching your laptop’s footprint.
Finishing
Since this is a working surface, the finish needs to be durable. Three coats of wipe-on polyurethane provide good protection without excessive buildup. Sand between coats with 400-grit, and let everything cure for at least a week before daily use.
For the underside and risers, two coats are sufficient. The piano hinge installs after finishing – use short screws that won’t poke through the other side of your 3/4″ stock.
Using It Right
The ergonomic benefit comes from positioning the screen at eye level and using an external keyboard placed at elbow height. The stand lifts the screen; the keyboard stays low. Your neck stays neutral, your shoulders drop, and that chronic tension between your shoulder blades starts to fade.
For typing directly on the laptop keyboard, lower the stand and reduce the angle. For extended video watching or reading, raise and tilt. The adjustability is the whole point – use it.
Total build time runs about four hours including finishing. Materials cost around $35 to $40 plus the piano hinge. Similar adjustable stands sell for $150 or more, and most of those are plastic. Yours will be solid hardwood, built to your exact specifications, and infinitely more satisfying to use.


Stay in the loop
Get the latest crafted wood creations updates delivered to your inbox.