Home storage projects have gotten complicated with all the options and installation advice flying around. As a woodworker, floating shelves are one of those projects I find myself thinking about from both sides — building them and hanging them. The hanging part gets less attention than it deserves. Today, I’ll share everything I know about floating shelf installation.
Floating Shelf Installation: What You Need to Know
Floating shelves add storage and style to any room without the visual weight of traditional bracket shelving. The minimalist look works across a wide range of decor styles — which is exactly why they’re popular enough that I’ve installed more of them than I can count.
Materials and Tools You’ll Need
Before you start, gather everything first. Mid-project trips to the hardware store are a waste of time:
- Floating shelf kit
- Stud finder
- Level
- Drill
- Screws
- Anchors (if needed)
- Measuring tape
- Pencil
Preparation
Choose the location first, then use a stud finder to locate the studs in the wall and mark them with a pencil. Studs provide substantially better support than drywall alone — if you can hit studs, do it. Measure and mark the exact shelf placement, using a level to verify it’s straight before you drill anything. Getting this wrong means filling holes and starting over, which nobody wants.
If studs aren’t available where you need them, use wall anchors rated for the weight of the shelf plus whatever you plan to put on it. Don’t guess at anchor capacity — check the packaging and add a margin.
Mounting the Brackets
Drill pilot holes at your marked spots. I’m apparently a “pilot hole first, always” person and skipping this step always causes problems for me — cracked walls, stripped screws, misaligned brackets. Hold the bracket against the wall, align with the pilot holes, insert screws, and tighten securely. Check with the level again before calling it done. A bracket that’s one degree off looks worse with every passing day.
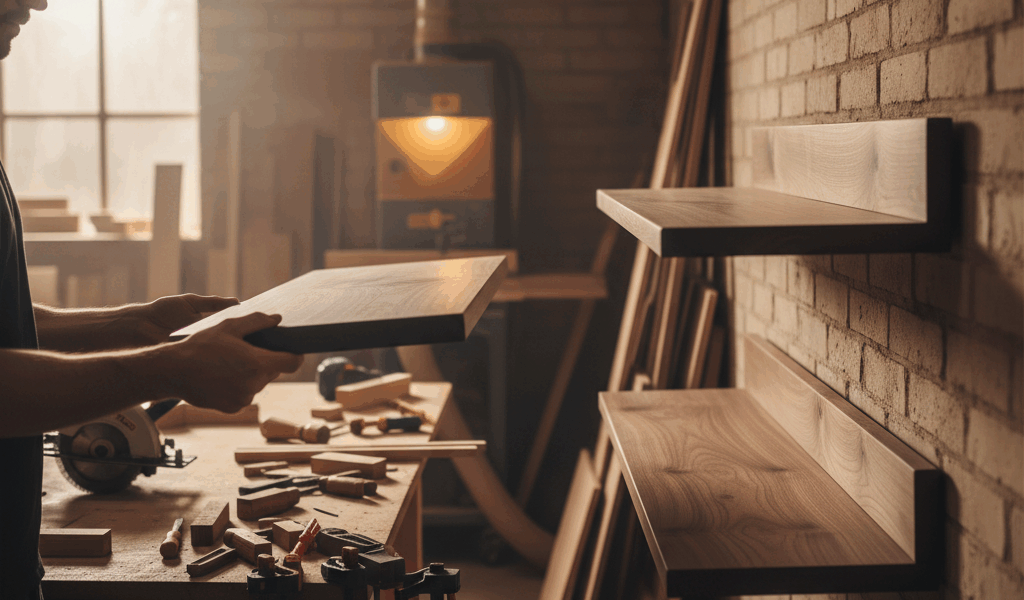
Installing the Shelf
Slide the shelf onto the mounted bracket and follow the manufacturer’s instructions for locking it in place — most kits use either a locking mechanism or additional screws through the bottom. Once it’s secured, give it a firm tug. If it moves, something isn’t right. Better to find out now than after you’ve loaded it up.
What Floating Shelves Work Well For
The versatility here is genuine. In living rooms they hold books, frames, and displayed objects. In kitchens they work for spices, mugs, and frequently used cookware — keeping things accessible without cabinet doors in the way. Bathrooms can use them for toiletries and folded towels. Bedrooms use them as nightstands or display surfaces. The same basic installation works across all of these, which is part of what makes them worth learning to hang properly.
Display Tips
Keep the display balanced — heavier items toward the ends, lighter ones toward the center. Mix heights and textures for visual interest. Avoid overcrowding: a shelf packed too full looks worse than a shelf with a few well-chosen objects. The shelf should look intentional, not like overflow storage. That’s what makes floating shelves satisfying to get right — when the display looks deliberately composed rather than just functional.
Maintenance
Dust regularly to keep them looking clean. Check the brackets occasionally — especially in the first few months after installation as the screws settle. If you notice any wobble, tighten the screws or adjust the anchors before the problem gets worse. Floating shelves that are installed well and maintained simply stay solid for years without attention.
One Final Thought
Floating shelves are one of those home projects where the installation quality makes all the difference. A shelf that’s level, properly anchored, and actually secured to the bracket looks great and holds what you put on it. Rush the installation and you’ll be dealing with a crooked shelf, a failed anchor, or a gap between the shelf and bracket for as long as it’s up. Take the time to do it right the first time.