How to Unwarp Wood
Warped wood has gotten complicated with all the conflicting fix-it advice flying around. As someone who has dealt with cupped boards, bowed shelves, and twisted panels on more occasions than I’d like to count, I’ve learned what actually works to get wood back to flat. Today, I’ll share the full process.
What Causes Wood To Warp?
Warping happens because of uneven moisture changes across opposite sides of a board. The side that gains or loses moisture first expands or contracts, and the board bends toward the drier side. Inconsistent exposure to heat and humidity — storing wood against a wall with no airflow, for example — is usually the culprit. You can’t eliminate this tendency entirely, but understanding it helps you prevent it and fix it.
Identifying the Type of Warp
Knowing what kind of warp you’re dealing with guides the repair. The main types:
- Cup: The board dips across its width — common in flat-sawn lumber.
- Bow: The board curves along its length.
- Crook: The board curves sideways along its length.
- Twist: Both ends warp in different directions — the most difficult to fix.
The Art of Unwarping
The process works by stressing the wood in the opposite direction of the warp — essentially coaxing it back to flat. It takes patience, but it works for most warps if you give it enough time.
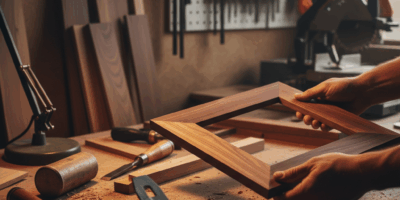
1. Gather Essential Tools for the Process
You’ll need: a bucket of water, a cloth or sponge, a flat surface (workbench works well), brown craft paper, and heavy objects. Having everything ready before you start makes the process go smoothly.
2. Initiate the Unwarping Process
Wet the concave side of the wood generously — damp, but not soaking to the point of puddles. The moisture causes the wood fibers on that side to expand, which creates the counterforce that flattens the warp. I grabbed my spray bottle and a clean cloth one afternoon and went through this process methodically; it works better than you’d expect.
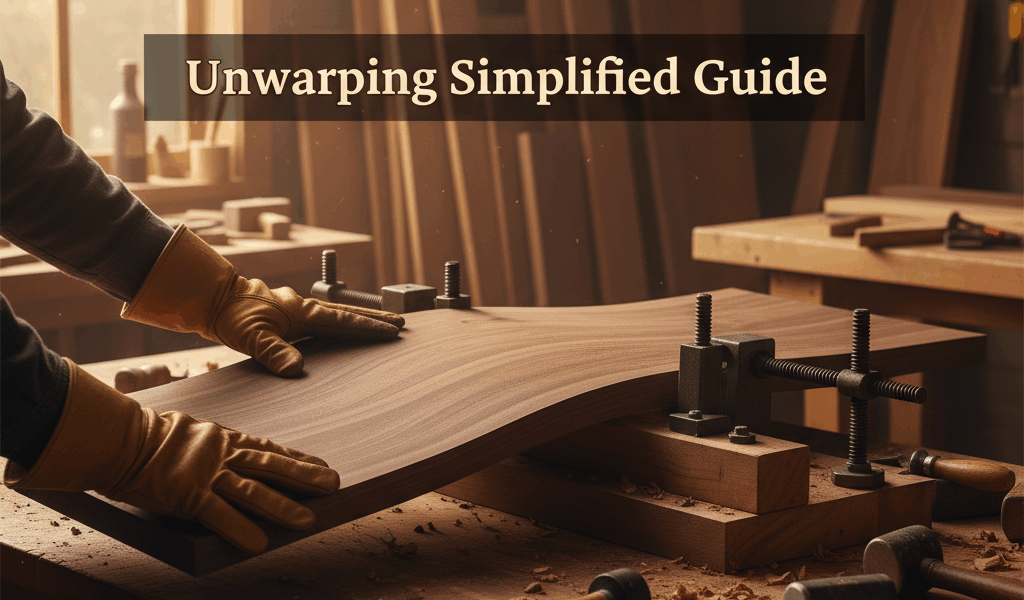
3. Apply Proper Force
Move the wood to the flat surface and cover with brown craft paper. The paper protects the wood surface from marks left by heavy objects. Stack weight on top of the warp — the force pushes the board back toward flat. For larger pieces, a makeshift press using scrap wood and clamps applies more controlled pressure than stacking weight.
4. Let Time Do Its Job
Leave it undisturbed for at least 24 hours. Severe warps may need a few days. Check periodically to see whether more moisture or time is needed. Don’t rush it.
5. Repeat If Necessary
One session often isn’t enough for a significant warp. Re-wet the concave side and go through the process again. Persistence pays off — the wood will gradually respond.
Maintaining and Preventing Future Warps
Once the board is flat, keep it that way. Store wood in a cool, dry location with consistent humidity — sticker it so air circulates on all sides. Seal finished pieces with paint, varnish, or another appropriate finish to prevent moisture from getting in unevenly.
Embrace The Imperfect
Sometimes a piece won’t come back perfectly flat. That’s worth accepting rather than fighting indefinitely. A slight character bow in a reclaimed beam or an old shelf has its own story, and in some applications that imperfection adds rather than detracts. That’s what makes working with wood endearing to us woodworkers — no two pieces respond exactly the same way.