The 5-gallon bucket chair has gotten complicated with all the “just drill some holes and call it done” instructions flying around. As someone who has built several of these for camping and fishing trips — and learned what actually makes one comfortable and safe — I’ll share everything you need to know to build one worth using.
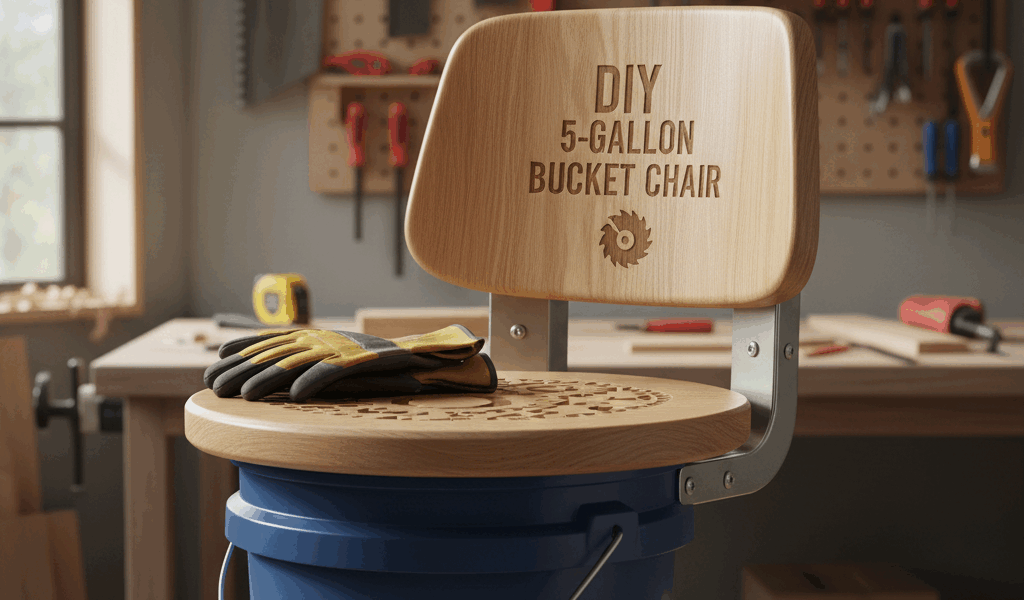
5 Gallon Bucket Chair: The Versatile DIY Seating Solution
The humble 5-gallon bucket is one of those objects that woodworkers and DIYers keep repurposing in creative ways. This is one of my favorites: a lightweight, portable chair that also functions as storage. Perfect for camping, fishing, backyard setups, or shop seating.

What You’ll Actually Need
Start with a sturdy bucket — not a cracked, sun-bleached one from the corner of the shop. The bucket is your structural base, and a compromised bucket compromises everything. Standard 5-gallon buckets from any hardware store work fine. New ones are cheap and not worth skimping on.
For the seat: 3/4-inch plywood cut into a circle matching the bucket’s opening diameter. Thinner ply flexes noticeably underweight and the sitting experience suffers. I tried 1/2-inch on my second build and felt the flex immediately. Went back to 3/4 and never reconsidered it.
Everything else is optional but meaningful: foam cushioning, fabric or vinyl for covering the seat, spray paint for the bucket, and four to six screws to fasten the seat to the bucket rim. A jigsaw makes the circular cut fast; a handsaw works if you’re patient.
Building It
Measure the bucket opening and mark the circle on your plywood. I use a compass or trace the lid directly onto the board. Cut the circle and sand all edges thoroughly — any sharp edge on plywood will eventually catch skin or clothing, and there’s no reason not to knock it down in thirty seconds with 120-grit.
If you want a padded seat — and you do, for anything more than twenty minutes of sitting — cut foam to match the plywood circle and attach it to the top surface with spray adhesive. Then wrap fabric or vinyl over the foam and the plywood edge, stapling it to the underside. The fabric tucks under and gets hidden once the seat is installed.
Painting the bucket before attaching the seat is easier than trying to work around the installed seat afterward. Rust-Oleum spray paint made for plastic adheres well and dries fast. Two thin coats beat one thick one.
To fasten the seat to the bucket: pre-drill four to six evenly spaced holes through the plywood, then through the top rim of the bucket. Drive screws to lock them together. This connection is what keeps the seat from spinning or lifting when you sit down. Skip it and the seat shifts; do it right and the whole thing becomes a single rigid unit.
Where This Thing Actually Gets Used
The camping use case is the most obvious and genuinely well-suited. Pack gear inside, sit on top while at the campsite. The bucket becomes seat, storage, and container all at once. For fishing, it’s classic: comfortable seat, live bait bucket, and catch container. I’ve had one in my shop for years as a shop stool — it lives next to the bench, holds hardware I’m sorting through, and takes up almost no floor space.
For backyard gatherings, a set of painted bucket chairs stored in the garage makes for easy extra seating that doesn’t require permanent space. Stack them vertically between uses.
Smart Variations Worth Building
Extend the seat diameter a couple of inches beyond the bucket rim on one side. That slight overhang functions as an armrest in practice — comfortable and adds nothing to the material cost. A hinged lid design lets you access the storage while still using the chair without pulling the seat off entirely. For outdoor use, waterproof vinyl over the cushion and exterior-rated hardware extends the life considerably in wet conditions.
Before You Go
The bucket chair is one of those projects that gets underestimated until you’ve actually used one. The foam-padded version, built with 3/4-inch plywood and properly fastened to the rim, is a genuinely comfortable seat for extended sitting. The bare-plywood no-cushion version is fine for twenty minutes. Know which one you’re building before you start, and build it to that standard from the beginning rather than upgrading it later.
Recommended Woodworking Tools
HURRICANE 4-Piece Wood Chisel Set – $13.99
CR-V steel beveled edge blades for precision carving.
GREBSTK 4-Piece Wood Chisel Set – $13.98
Sharp bevel edge bench chisels for woodworking.
As an Amazon Associate, we earn from qualifying purchases.