Table Construction: A Practical Guide
Building a table has gotten complicated with all the joinery debates and wood selection advice flying around. As someone who has built tables of various sizes — dining tables, workbenches, side tables — I’ve learned what the process actually looks like from start to finish. Today, I’ll share what I know.

Materials and Tools
Materials depend on the table type you’re building:
- Lumber: Hardwoods (oak, maple, cherry) for furniture tables; softwoods (pine, fir) for shop tables and benches.
- Hardware: Screws, nails, and bolts.
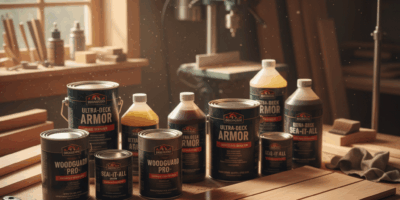
- Finishes: Stain, paint, and sealant.
- Accessories: Table legs, brackets, and apron boards.
Basic tools for most table builds:
- Saw (circular or table saw)
- Screwdriver or drill
- Measuring tape
- Level
- Clamps
- Sandpaper or sander
- Wood glue
Planning and Design
Start with a clear picture of what you’re building. Dining table, coffee table, or workbench — each has different structural requirements and height considerations. Sketch the design. A rectangle with four legs is a solid starting point; leg style and table shape can get more creative as your skills grow.
If you’re newer to woodworking, I’d genuinely recommend keeping it simple. Match the design to your current skill level. There’s more satisfaction in a simple table built well than a complex one built poorly.
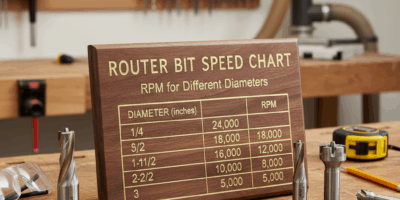
Cutting the Wood
Measure twice, cut once — that applies here more than almost anywhere else in woodworking. Use a saw to cut lumber to length. Cut the tabletop pieces first. If using multiple boards, check that edges are straight and square before gluing. Cut the legs next. Finally cut the apron boards that will connect the legs and support the top.
Assembling the Tabletop
For a multi-board tabletop, apply glue to the mating edges, press the boards together, and clamp until dry. Once the glue sets, sand the tabletop starting with coarser grit and working to finer grits. A flat, smooth tabletop makes everything downstream look better.
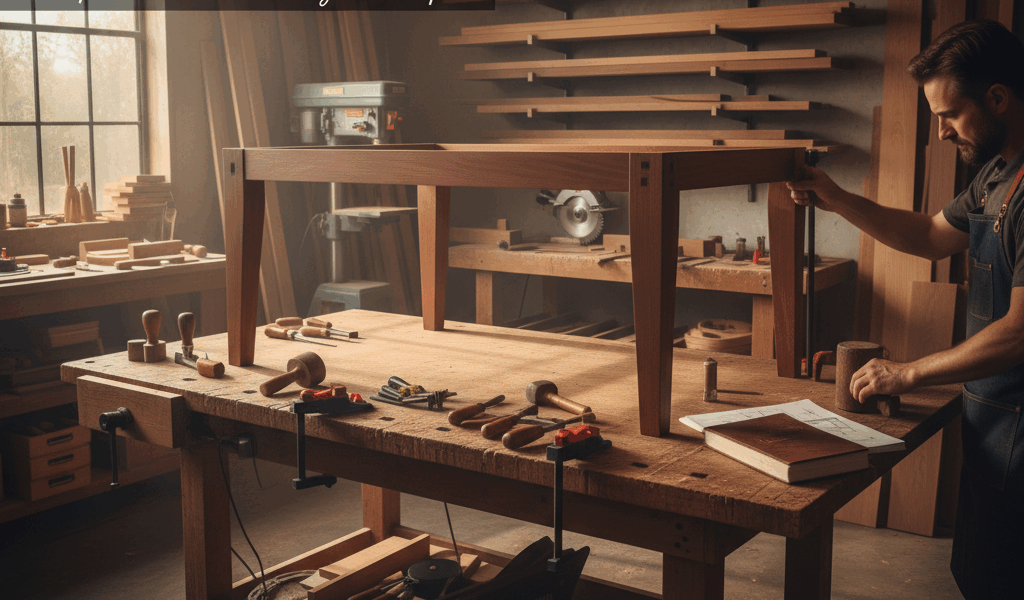
Building the Base
Start with the legs. Attach apron boards to legs using screws or bolts — pre-drill to avoid splitting. Verify square at every corner; a base that’s out of square makes the whole table look off. Add cross supports if the design calls for them. Stand the assembled base up and check for wobble before attaching the top.
Attaching the Tabletop to the Base
Center the tabletop on the base with equal overhang on all sides. Drive screws up through the apron boards into the tabletop. Brackets add strength for heavier tops. Pre-drill all holes to avoid splitting.
Finishing Touches
Sand the assembled table one final time, addressing rough edges and any proud screw heads. Apply stain to enhance the natural grain, or paint for a solid color look. Finish with a sealant as the last step. Follow manufacturer instructions for application and drying times between coats.
Maintaining Your Table
Keep hot items off direct contact with the surface. Use coasters and placemats. Dust and clean regularly — a damp cloth for most surfaces works well. Reapply sealant as it wears. If the table starts to wobble, check and tighten all screws and bolts before the movement causes further damage.