Cedar Bird Feeder Plans: A Practical Guide
Creating a cedar bird feeder is a rewarding project. Cedar wood is naturally resistant to rot and insects, making it an excellent choice for outdoor structures. In this guide, we’ll explore step-by-step plans for building a simple but effective cedar bird feeder. Using cedar ensures longevity and durability while also providing an attractive and natural look.
Materials and Tools Needed
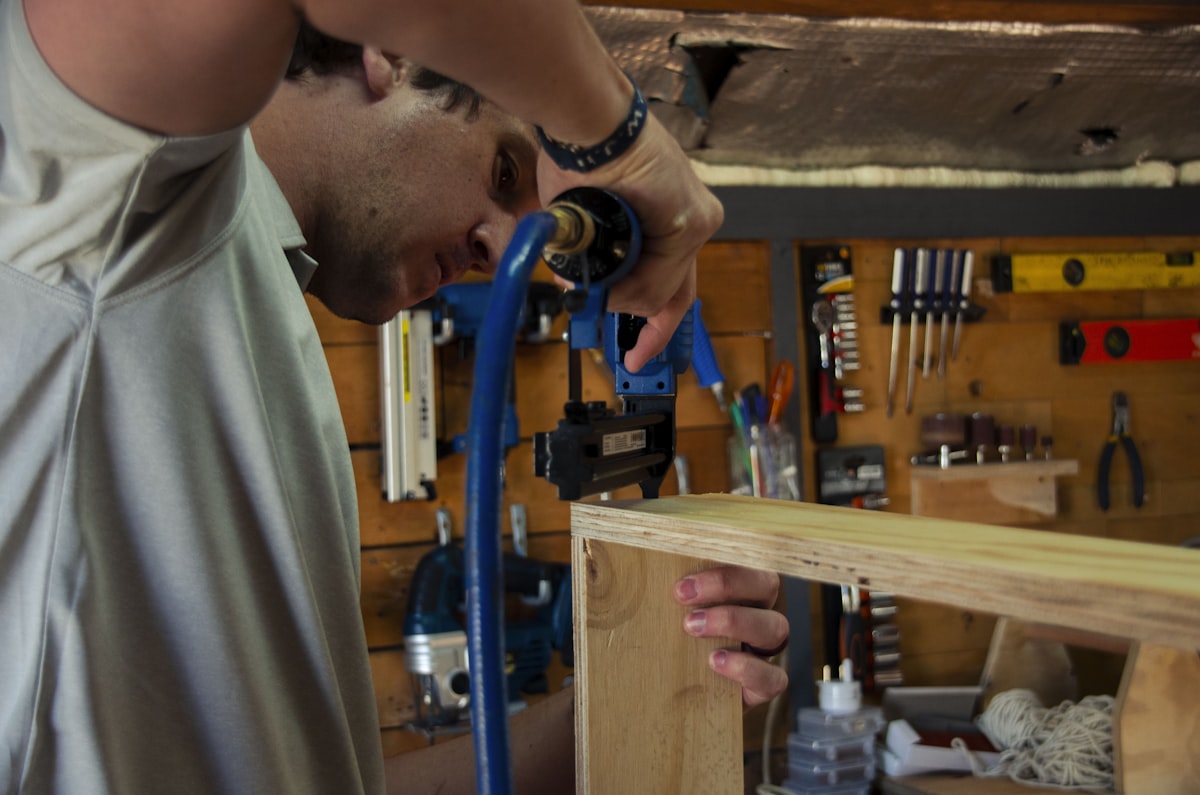
Start by gathering all your materials and tools. Here is a list of what you will need:
- Cedar wood (planks of 1”x6” and 1”x2”)
- Saw (hand saw or power saw)
- Drill and drill bits
- Screws (1 ¼” wood screws)
- Wood glue
- Sandpaper (medium grit)
- Measuring tape
- Paint or wood stain (optional)
Ensure that you have protective gear such as safety goggles and gloves, especially when using power tools.
Choosing the Right Cedar Wood
Not all cedar is the same. Western Red Cedar is commonly used for bird feeders due to its natural aroma that deters pests. Select straight, smooth planks without too many knots. The wood should be lightweight yet sturdy, allowing easy handling and assembly.
Cutting the Cedar Planks
Begin by cutting the cedar wood according to the following dimensions:
- Base: 10” x 8”
- Roof: Two pieces of 12” x 8” (for an overhanging roof)
- Sides: Two pieces of 8” x 6”
- Front and Back: Two pieces of 6” x 8” with a triangular top (8” height, 6” at the base, peaking at the top)
Measure twice and cut once to ensure accuracy. Use sandpaper to smooth any rough edges after cutting. This step is crucial for both safety and appearance.
Assembling the Base
Lay the base plank flat and prepare the side planks. Attach the sides upright using wood glue and screws. Drill pilot holes before inserting screws to prevent splitting. Each side should be flush with the base edges. Allow the glue to dry for a few minutes before proceeding to reduce the chance of shifting.
Building the Side Walls
Attach the front and back planks to the base and sides to form the main structure. Align their triangular tops centrally to create an aesthetically pleasing peak. Again, use wood glue and screws for stability. Ensure the structure is square and aligned before tightening screws. This finish maintains a balanced feeder that birds will appreciate.
Adding the Roof
Position the roof pieces to overhang slightly on each side for extra protection from rain. Attach each roof piece to the peaks of the front and back panels, creating an A-frame structure. Secure these with glue and screws, checking for symmetry and overlap. Properly aligning the roof prevents water ingress and prolongs the feeder’s life.
Drilling Feeding Ports
On the front panel, drill small holes near the bottom to allow food access. Make sure the holes are big enough for seeds to fall but not too large, letting food spill excessively. Space the holes 1 or 2 inches apart. This spacing ensures adequate access for birds while conserving the seed supply.
Finishing Touches
Sand the entire structure with medium-grit sandpaper. This process removes splinters, making it safer for both birds and humans. Optionally, apply a coat of paint or wood stain. Choose a product safe for birds and weather-resistant. Paint should complement the natural cedar color, if used.
Installing the Bird Feeder
Select a location free of excessive wind and predator interference. Ideal places include attached to a pole or suspended from a tree branch. Ensure it is visible to attract birds, and near a spot where birds can perch or escape if necessary. Secure firmly to prevent it from swaying excessively in the wind.
Maintenance and Upkeep
Regular maintenance is essential for the feeder’s longevity and cleanliness. Check for damage or wear periodically. Replace any worn-out parts promptly. Cleaning is vital to prevent diseases in birds. Use mild soap and water, ensuring complete dryness before refilling with seeds.
Building a cedar bird feeder is not only simple but beneficial for local wildlife. Following these plans, you create a sturdy, lasting habitat that attracts a variety of feathered friends. Enjoy the opportunity to appreciate nature in your backyard with a practical, hands-on project.
“`
Recommended Woodworking Tools
HURRICANE 4-Piece Wood Chisel Set – $13.99
CR-V steel beveled edge blades for precision carving.
GREBSTK 4-Piece Wood Chisel Set – $13.98
Sharp bevel edge bench chisels for woodworking.
As an Amazon Associate, we earn from qualifying purchases.
