
Building Wooden Coasters
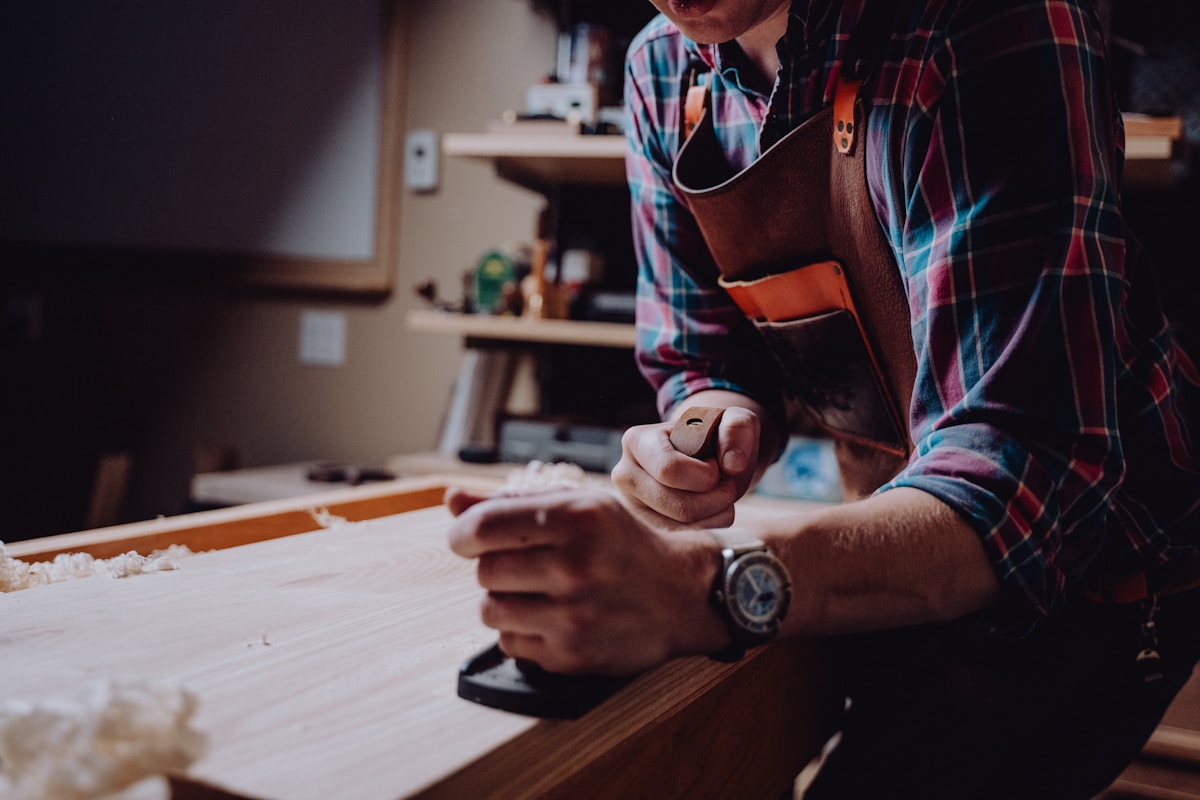
Coasters are perfect beginner projects that teach fundamental woodworking skills while producing useful gifts. They require minimal material, can be completed in an afternoon, and offer endless design possibilities from simple to elaborate.
Wood Selection for Coasters
Choose wood that handles moisture well:
- Hardwoods preferred: Oak, walnut, maple, and cherry resist denting and water damage better than softwoods.
- Exotic options: Teak, ipe, and purpleheart offer natural water resistance.
- Avoid: Pine and cedar work but dent easily and require more finishing.
- Thickness: 3/8″ to 1/2″ provides good stability without excessive weight.
Coaster Design Options
Basic Square or Round:
- Cut 3.5″ to 4″ squares or circles from solid wood
- Round over or chamfer edges
- Sand and finish
End-Grain Coasters:
- Cut cross-sections from a branch or turning blank
- End grain is more absorbent but very durable
- Requires stabilization with finish or epoxy
Inlay or Pattern Designs:
- Create checkerboard patterns by gluing contrasting strips
- Add resin inlays for color
- Engrave or burn designs into the surface
Step-by-Step Basic Coaster Set
- Mill your stock: Plane wood to consistent 3/8″ thickness.
- Cut blanks: Use a miter saw or table saw for squares, bandsaw or hole saw for circles.
- Shape edges: Router with roundover bit or sand by hand.
- Sand progressively: Work through 120, 180, then 220 grit.
- Apply finish: Use water-resistant options like polyurethane or tung oil.
- Add cork or felt: Adhere pads to the bottom to protect furniture.
Finishing for Water Resistance
Coasters face moisture constantly, so choose finishes carefully:
- Best options: Marine-grade polyurethane, epoxy, or tung oil (multiple coats)
- Seal end grain: End grain absorbs more finish—apply extra coats
- Cure fully: Wait at least a week before use to ensure complete curing


Stay in the loop
Get the latest crafted wood creations updates delivered to your inbox.