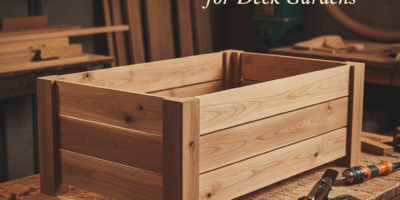
The first time I saw end-grain cutting boards selling for $80 at a craft fair, I did the mental math. A board foot of maple costs maybe six bucks. The glue is pennies. Even accounting for finish and my time, the margins were absurd. Then I tried to make one and understood. End-grain work is trickier than it looks. But once you figure it out, it’s one of the most profitable projects a hobbyist woodworker can produce.
Why End-Grain Works Better
On a traditional edge-grain board, the knife cuts across wood fibers, severing them. Over time, the surface gets fuzzy and scarred. On an end-grain board, the knife slides between fibers without cutting them. The wood is “self-healing” – fibers that get pushed aside spring back into place. Professional kitchens have known this for decades.
End-grain also looks distinctive. The cut surface shows wood growth rings as a grid of small rectangles or squares. Different species create different patterns. It’s immediately recognizable as something special.
The Basic Process
Building an end-grain board is counter-intuitive until you’ve done it once. Start by gluing up a panel of strips – just like a regular edge-grain board. Then crosscut that panel into slices. Rotate those slices 90 degrees so the end grain faces up. Glue the slices back together. That’s the whole trick.
The first glue-up creates your pattern. The crosscuts and rotation expose that pattern on the working surface.
Wood Selection
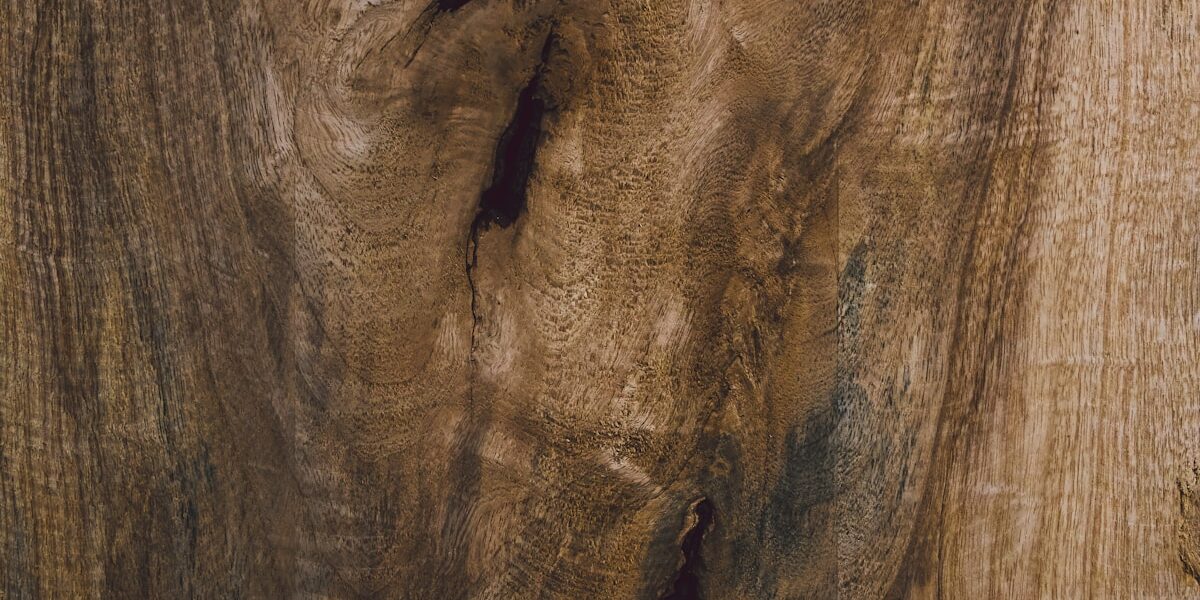
Hardness matters for end-grain boards. Maple is the gold standard – it’s hard, tight-grained, and pale enough to show off contrasting accent woods. Cherry and walnut are slightly softer but work well. Avoid woods that are too soft (pine), too porous (oak, ash), or treated with anything toxic (most exotics need research before food contact).
A classic combination: hard maple with thin stripes of walnut for contrast. The light and dark pattern catches the eye without being busy.
Starting the Panel
Mill your maple and walnut to identical thickness – 1-1/2″ is a good starting point, as end-grain boards should be thick for stability. Rip into strips of your desired width – a mix of 1″ and 1-1/2″ strips creates visual variety.
Arrange the strips to create your pattern. For a classic checkerboard look, alternate species. For a more random appearance, cluster similar woods and vary strip widths. Glue up as a single panel, using the same clamping technique as any edge glue-up.
The Cross-Cuts
After the first panel has cured and been flattened, crosscut it into slices perpendicular to the original strips. Each slice should be about 1-1/2″ thick (same as the original strip thickness) for cubes, or vary the thickness for rectangles.
A miter saw or table saw sled works for these cuts. The slices are relatively short pieces being cut from a wider panel, so workholding matters. Clamping a stop block ensures consistent thickness.
The Second Glue-Up
Rotate each slice 90 degrees so end grain faces up. Arrange the slices side by side, flipping every other one to create a pattern if desired. The faces that were crosscut surfaces now become the top and bottom of your board.
This glue-up is different from the first. End grain absorbs glue aggressively, so you need to apply a sizing coat, let it soak in, then apply a second gluing coat before assembly. Clamp firmly but not so aggressively that you squeeze all the glue out of the thirsty end grain.
Flattening End Grain
Here’s where many first attempts go wrong. End grain is hard to plane without tearout. A drum sander is the ideal tool – the slow rotation and continuous feed prevent the dramatic catches that a planer creates.
If you’re hand-planing (which is doable with sharp tools and patience), work diagonally across the board rather than straight across. Take whisper-thin cuts. The blade must be razor sharp – there’s no margin for error with end grain.
Alternatively, a belt sander with 60-grit paper removes material quickly, followed by finer grits up to 220.
Shaping and Details
Round the edges with a router and roundover bit – 1/4″ radius is comfortable for handling. For serving boards, add finger grooves or a juice channel routed around the perimeter about 1/2″ from the edge. Drill through for a hanging hole if desired.
Sand the faces through 220 grit minimum. For the most impressive finished surface, wet the board, let it dry (this raises the grain), sand to 320, repeat one more time. The result is glass-smooth even after contact with moisture.
Finishing
Mineral oil is standard, applied liberally and allowed to soak in. End grain drinks oil like a sponge – you’ll use way more than on edge-grain boards. Three applications over three days, wiping off excess after 30 minutes each time.
Follow with a beeswax/mineral oil blend for protection. Some makers use food-safe walrus oil or butcher block conditioner. All work. The point is building up protection in that open end grain.
Pricing Reality
Material for a 12″ x 16″ end-grain board runs $15 to $20 in hardwood. Labor is 3 to 4 hours when you account for two glue-ups and all that flattening. At craft fairs, these sell for $70 to $100. Online, even more if your photography is good.
The profit margin makes this project worthwhile for anyone considering selling work. The technique, once learned, becomes efficient. And the product genuinely improves people’s kitchens – that’s a selling point that’s easy to explain.