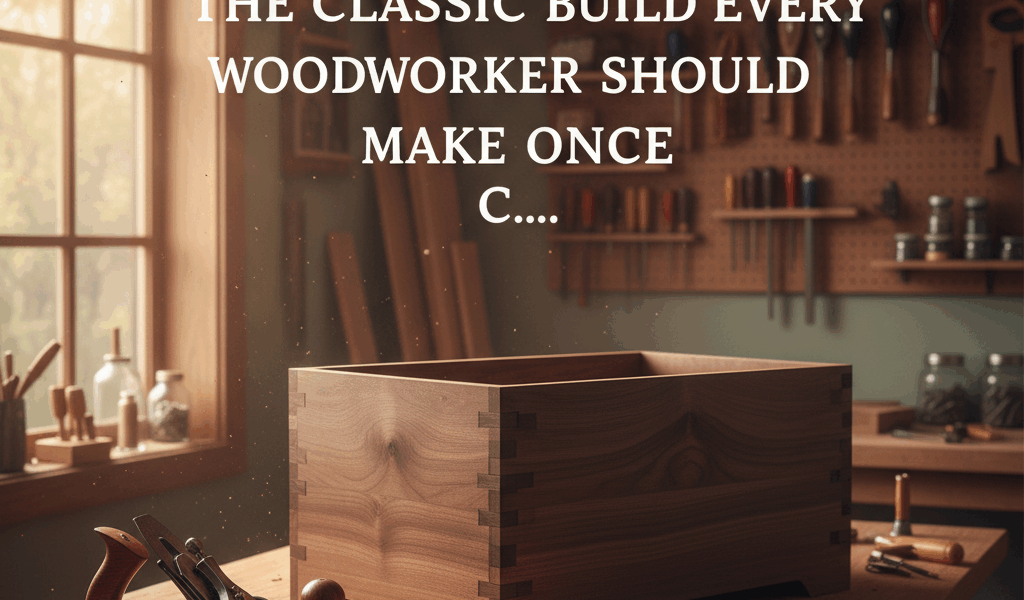
Every woodworker should build at least one birdhouse. Not because birds are counting on us – they’ve been finding shelter for millions of years without our help. But because a birdhouse distills woodworking to its essence: simple joinery, accurate cuts, and the satisfaction of making something that actually gets used. The cedar version I’m about to walk you through takes maybe three hours and teaches more than you’d expect.
Why Cedar (Again)
Birds don’t care if their house is made from exotic hardwood or construction lumber. But you care about your project surviving more than one season, and cedar delivers. It’s lightweight, rot-resistant, and won’t warp much as it cycles through wet and dry seasons. An untreated cedar birdhouse can last 10 to 15 years outdoors with zero maintenance.
A single 6-foot 1×8 cedar fence board gives you enough material for a classic front-entry birdhouse with some left over. These run about $8 to $12 at most lumber yards. Total material cost for this project: under $15.
The Classic Proportions

Different bird species prefer different entrance hole sizes and interior volumes. For the most common backyard birds – chickadees, wrens, and nuthatches – a 1-1/8″ entrance hole works perfectly. Bluebirds want 1-1/2″. Anything larger invites sparrows and starlings, which most people are trying to discourage.
Interior floor dimensions of 4″ x 4″ suit small cavity-nesters well. Make the walls about 8″ to 10″ tall from floor to roof peak. These proportions feel right and function well for the species most likely to move in.
The Build: Cuts and Assembly
Here’s your cut list from that 1×8 board:
Front: 5-1/2″ wide, 10″ tall, with the top cut at an angle (about 30 degrees) to match the roof slope. Drill the entrance hole 7″ up from the bottom, centered.
Back: Same as front, but extend it 3″ to 4″ taller for a mounting tab. Don’t angle the top – leave it square for easy attachment to a post or tree.
Sides: 5-1/2″ wide, 8″ tall on the short edge, 10″ on the tall edge (to match the roof angle). Cut matching angles on both pieces.
Bottom: 4″ x 4″ square. Clip the corners off at 45 degrees to create drainage gaps.
Roof: Two pieces, 5-1/2″ x 7″. One overlaps the other at the peak.
Assembly uses galvanized or stainless steel screws – 1-5/8″ for most joints. Attach sides to back first, then add the bottom, then the front. The front should be hinged or removable for annual cleaning. I use a single screw at the top as a pivot and a hook-and-eye at the bottom to secure it.
Details That Matter to Birds
No perch. Cavity-nesting birds don’t need them, and perches just give predators a place to stand while raiding the nest.
Rough interior surfaces. Birds grip better on unplaned wood. If your lumber is smooth, score horizontal lines on the inside of the front panel below the entrance hole – gives fledglings something to grab as they climb out.
Ventilation gaps. Those clipped corners on the bottom and a 1/8″ gap under the roof overhang provide airflow without creating drafts.
Drainage. The clipped corners let water escape. A solid bottom traps moisture and breeds mold.
Mounting and Placement
Face the entrance away from prevailing weather – usually that means facing east or southeast in most of North America. Mount at least 5 feet off the ground, higher if you’re in an area with climbing predators. Post mounting works well; tree mounting is fine but makes the house harder to clean.
Put it up in late winter and leave it alone. Check once a year in late fall, remove old nesting material, and let it dry before the next season begins.
What You Learn
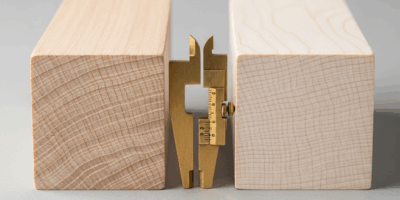
A birdhouse project forces you to work accurately at small scale. Every angle has to match its mate. Every edge has to be square enough that joints close properly. You’re working with cheap material, so mistakes don’t cost much, but you still want it to look good because it’s going in your yard.
This is one of those builds I recommend for anyone getting started in woodworking. Low stakes, high satisfaction, and there’s a chance you’ll look out your window next spring and see a family moving in. That never gets old.

Stay in the loop
Get the latest crafted wood creations updates delivered to your inbox.