Staining oak and pine has gotten confusing with all the prep debates and product recommendations flying around. As a woodworker who has stained both species extensively — often on the same project — I’ve developed a clear approach to handling each. Today, I’ll share everything I know about staining oak vs. pine and why the technique has to be different.

Oak Grain Structure
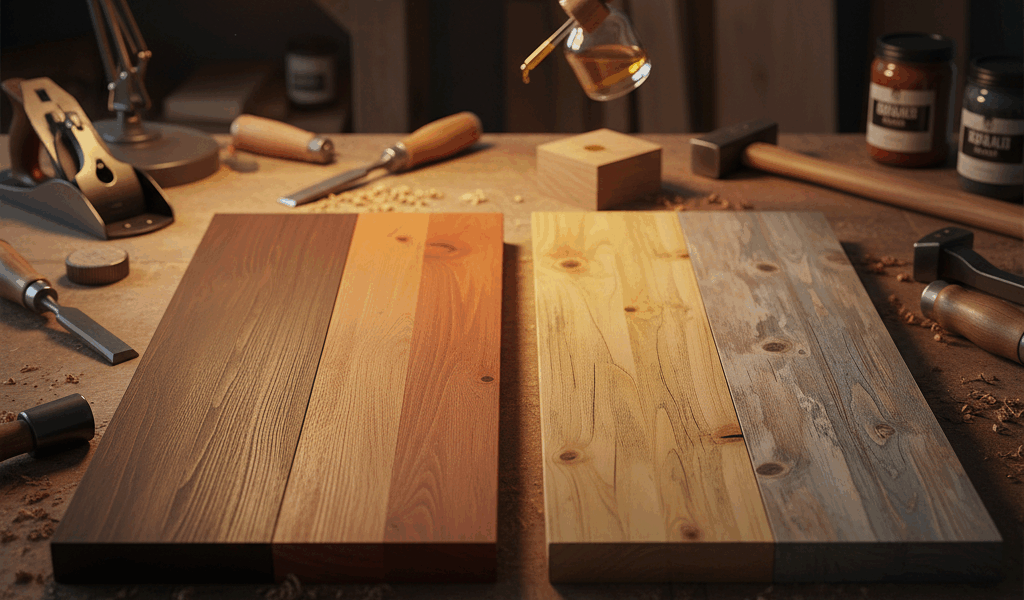
Oak features open, porous grain with distinct early wood and late wood zones. The early wood (lighter areas) absorbs more stain; the late wood (darker grain lines) is denser and absorbs less. This contrast actually works in your favor — stain enhances the natural grain pattern rather than fighting it. Red oak shows more pronounced grain than white oak due to larger pores, and both species accept stain well without extensive preparation.
Pine Absorption Problems
Pine is a different situation entirely. Pine contains alternating bands of very soft early wood and significantly harder late wood. The soft areas absorb stain aggressively while the harder areas barely darken — the result is blotchy, patchy color that doesn’t follow the grain logically. Southern yellow pine shows the worst blotching due to extreme density variation. I’m apparently a “test pine on scrap before touching the project” person and that habit always works better for me while assuming pine will stain like a well-behaved hardwood never does.
The Mineral Spirits Test
Apply a small amount of mineral spirits to a scrap piece before staining. Areas that darken quickly will absorb more stain; areas that barely change are denser and will absorb less. On oak you’ll see relatively even darkening with the grain pattern visible. On pine you’ll see dramatic differences — some areas go dark immediately while others barely respond. This test reveals the problem areas before you’ve committed any stain.
Oak Staining Technique
Apply stain to oak with a brush or cloth, work it into the grain, let it sit 3-5 minutes, then wipe away excess. The open pores hold pigment well while the denser areas provide contrast. Sand to 180-220 grit before staining — finer grits close the pores and reduce absorption. You can apply stain fairly liberally on oak; overlap strokes blend together without creating obvious boundaries.
Pine Requires Pre-Treatment
Use wood conditioner on pine before staining. The conditioner is a thin sealer that partially fills the soft early wood pores, reducing their absorption capacity and bringing it closer to the harder late wood. Apply, let it penetrate 10-15 minutes, wipe away excess, then wait the manufacturer’s recommended drying time before staining. After conditioning, apply stain more sparingly than you would on oak, working in small sections and wiping quickly.
Gel Stain as an Alternative
Gel stain sits on the surface rather than penetrating deeply — which works better on pine because it doesn’t soak aggressively into the soft early wood areas. Apply thin coats and build color gradually. The thicker consistency gives you more control over the final appearance. Oak takes gel stain well too, though the color builds on the surface rather than in the pores, producing a more uniform appearance with less grain contrast.
Color Considerations by Species
Oak’s natural tan color accepts most stain shades well. Dark walnut and medium brown stains enhance the grain dramatically. Pine’s light, yellowish base shows through light stains and creates a golden tone. Medium stains can look muddy on pine due to blotching. Dark stains on pine hide the natural color but require careful application to avoid severe contrast issues.
Dye Stains
Dye stains penetrate more evenly than pigment stains on both species. The dissolved dye molecules color the wood fibers themselves rather than depositing pigment in the pores — which reduces blotching on pine. On oak, dye stains create subtler results with color variation driven by texture rather than pigment pooling in open pores.
Always Test First
Test stain on a scrap piece from the same board before applying to the project. Density varies even within a species and within a single board. What works on one pine board may blotch on another depending on growth conditions and where the board came from in the tree. Keep your test piece until finishing is complete so you can reference it.
Recommended Woodworking Tools
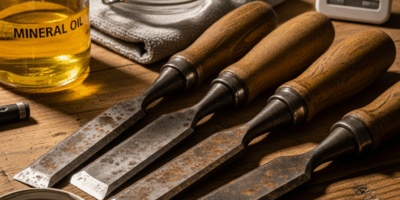
HURRICANE 4-Piece Wood Chisel Set – $13.99
CR-V steel beveled edge blades for precision carving.
GREBSTK 4-Piece Wood Chisel Set – $13.98
Sharp bevel edge bench chisels for woodworking.
As an Amazon Associate, we earn from qualifying purchases.


Stay in the loop
Get the latest crafted wood creations updates delivered to your inbox.