How to Finish Butcher Block Countertops
When it comes to adding a warm, rustic, and cozy vibe to your kitchen, butcher block countertops are a popular choice. Thanks to their robust quality and their adaptability to different designs, they’ve become a much-loved option. But what’s crucial in maintaining their beauty and durability is the finish. In this guide, we’ll walk you through how you can finish your butcher block countertops like a pro.

Step 1: Prepping the Butcher Block
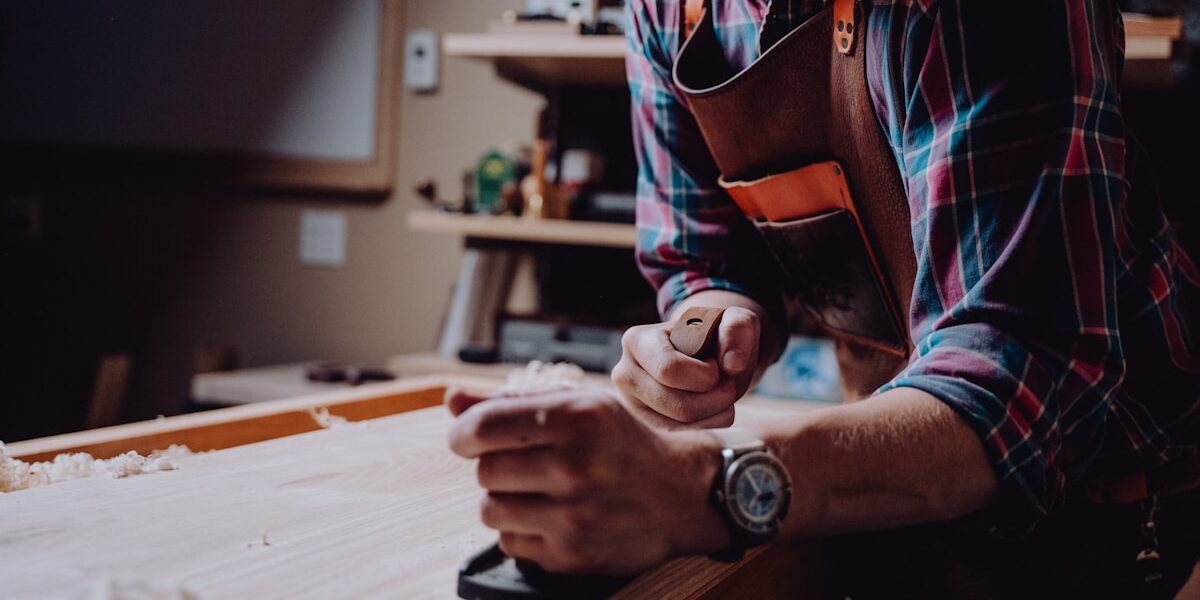
The first task is preparation. Start with sanding down your butcher block using a hand-held sander. Begin with a coarse-grit, 100-sandpaper to remove any stains or scratches. Then smooth it out with a higher-grit, 220-paper. Follow the grain of the wood when sanding. Keep a slow and steady pace to prevent the creation of valleys or dips, especially around the edges. Remember, the goal is a completely smooth, nick-free surface.
Step 2: Cleaning the Surface
Post-sanding, it’s vital to thoroughly clean the butcher block. Use a vacuum cleaner to suck up the dust from the sanding process. Follow this up with a slightly damp cloth to pick up any residual dust. Let the butcher block dry completely before proceeding further. A clean, dust-free surface ensures a smooth, flawless finish.
Step 3: Choosing the Right Finish
Choosing the right finish largely depends on what you intend to use your butcher block countertops for. For instance, if it will frequently come into contact with food, food-safe options like mineral oil, walnut oil, or beeswax are advisable. On the contrary, if you’re more interested in the aesthetic appeal and water resistance, you might consider polyurethane or tung oil. Always read and follow the manufacturer’s instructions when applying the finish.
Step 4: Applying the Finish
Use a clean, smooth cloth or sponge to apply the finish evenly. Wipe in the direction of the wood grain and repeat the process as necessary depending on your chosen product. A pro tip is to warm the oil slightly in a water bath before application for better absorption. Remember, patience and consistency are key to achieving an even application.
Step 5: Curing and Maintenance
After applying the finish, let it cure. The duration can range from several hours to a few days based on the product used and environmental conditions. Check the manufacturer’s instructions for specifics. Finally, maintenance is a critical part of retaining your countertop’s appeal. Re-oiling is essential every few months or whenever the wood begins to look dry. This will help retain the butcher block’s luster and durability.
Bonus Tips
- While sanding, make sure to don safety glasses and a dust mask for protection.
- Never use vegetable or olive oil to finish butcher block countertops. They can go rancid, resulting in a bad smell and unpleasant taste.
- Some choose to apply a few coats, letting each layer dry before applying the next, for better shine and protection.
- Before a finish application, consider sealing the butcher block. This helps prevent wood from soaking up the finish unevenly.
Indeed, finishing butcher block countertops may seem like a challenging job, but with a clear understanding and the right steps, it becomes a manageable task. Allowing for a bit of time, effort, and patience, you’ll find yourself with a beautifully finished butcher block countertop that enhances your kitchen’s aesthetics while promising long-lasting durability.


