Every woodshop accumulates scraps. Cutoffs too nice to throw away but too small for anything obvious pile up in boxes, on shelves, under benches. Charcuterie boards are the answer. These things use up miscellaneous pieces like nothing else, and the more species you combine, the better they look. Six woods together isn’t too many – it’s the sweet spot where visual interest peaks.
Species Selection: What Works Together
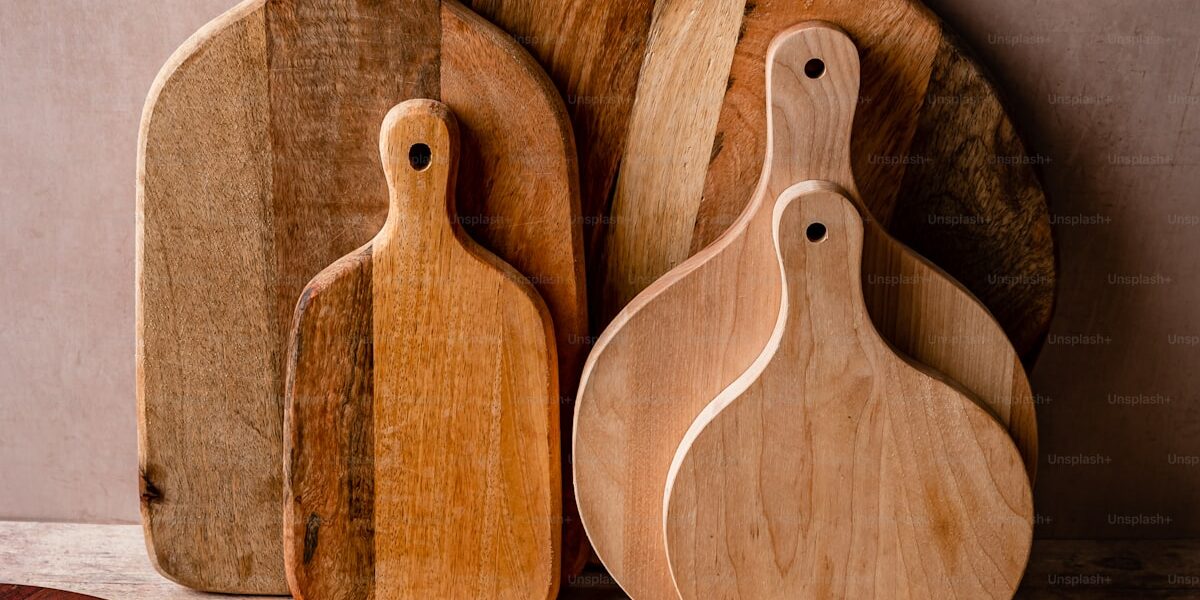
The goal is contrast without chaos. Mix light and dark, warm and cool, fine grain and dramatic figure. Here are combinations that consistently look stunning:
Classic: Walnut (dark brown), maple (creamy white), cherry (reddish), white oak (tan), purpleheart (purple), and padauk (orange). This covers the full color spectrum without any two woods looking similar.
Warm tones: Cherry, mahogany, sapele, hickory, white oak, and butternut. All woods in the red-to-tan range create a cohesive warm palette that feels harmonious.
Cool and neutral: Maple, ash, poplar, walnut, wenge, and zebrawood. Blues and grays mix with browns for a more subdued, contemporary look.
Whatever you choose, include at least one very dark and one very light wood. Without high contrast, the board reads as muddy from a distance.
Preparing the Strips
Thickness matters for glue-up success. All pieces must be exactly the same thickness, or you’ll spend hours planing and sanding after assembly. Joint one face of each piece, then run them all through the planer at the same setting – 3/4″ is standard for serving boards.
Width can vary – this is actually part of the appeal. Strips from 1/2″ to 2″ wide look intentional when combined. Cut your scraps into strips that work with what you have, rather than forcing everything to match.
Length should match or exceed your target board length. For a standard charcuterie board, 16″ to 20″ works well. Cut all strips to the same length so ends align during glue-up.
Arranging the Pattern
Before any glue touches wood, arrange all strips on your bench. Move them around. Step back and look from across the room. The arrangement should feel balanced – no cluster of all light woods on one end, no identical woods adjacent to each other.
Alternate grain direction between strips to help the glued-up panel stay flat. Wood moves, and if all grain runs the same way, the board will cup. Alternating grain creates internal tension that keeps things stable.
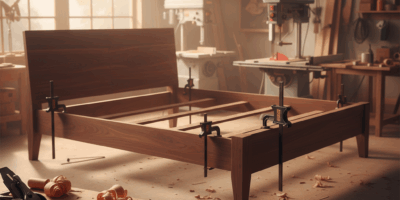
The Glue-Up
Edge-gluing a half-dozen strips isn’t complicated, but it does require organization. Have all your clamps ready before you start. Apply glue to one edge of each joint – you don’t need both sides. Use enough glue to see slight squeeze-out when pressure is applied, but not so much that it runs everywhere.
Clamp alternating sides to equalize pressure across the panel. Start in the middle and work outward. Check for flatness with a straightedge while you can still adjust clamp pressure – better to deal with it now than plane it out later.
Let the glue cure overnight. Yes, it says “dry in 30 minutes” on the bottle. Trust me on the overnight part.
Flattening and Shaping
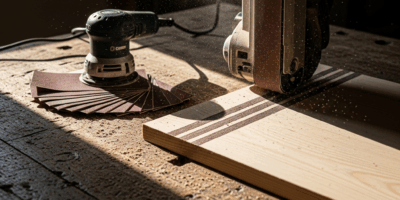
Even careful glue-ups need flattening. A drum sander is ideal if you have access to one. Otherwise, a hand plane across the grain (careful with tearout on figured pieces), followed by a belt sander, gets the job done.
Once flat, cut to final size. A gentle taper from one end to the other adds visual interest – wider at the handle end, narrower at the tip. Or keep it rectangular. Both work.
Add a handle by drilling a 1″ hole near one end, or cut a proper handle shape on the bandsaw. Round over all edges aggressively – a 1/4″ roundover on the edge router bit makes the board comfortable to handle and serve from.
Sanding Protocol
Start at 80 grit to remove any remaining machine marks. Work through 120, 150, 180, and 220. For a board that will contact food, consider going higher – 320 or even 400 creates a glass-smooth surface that’s easier to clean.
Sand the edges as thoroughly as the faces. Sand the handle area extra well – this is where hands go, and rough spots get noticed immediately.
Food-Safe Finishing
Mineral oil is the standard finish for cutting and serving boards. It’s food-safe, inexpensive, and easy to apply. Flood the surface, let it soak for 20 minutes, wipe off the excess. Repeat two more times over the next few days.
For more protection, follow the mineral oil with a coat of beeswax/mineral oil paste. This fills the grain slightly and adds a subtle sheen without building up a film.
Avoid polyurethane and other film finishes on food contact surfaces. They chip, scratch, and get eaten over time – not ideal.
Pricing for Craft Fairs
Here’s why woodworkers love this project: material cost from scraps is nearly zero, build time is about two hours, and market value is surprisingly high. Well-made hardwood charcuterie boards sell for $60 to $100 at craft fairs and farmers markets. Multi-species boards with exotic woods command even more.
The key is presentation. Include a small card describing the wood species used. Buyers love knowing they’ve got walnut from Pennsylvania and purpleheart from Brazil on the same board. It’s a story they can tell guests, and stories sell.
Total investment: your scrap pile, two hours of time, and some mineral oil. Return: cleared-out shop storage and a hundred dollars. That’s the math that keeps woodworkers making charcuterie boards.


Stay in the loop
Get the latest crafted wood creations updates delivered to your inbox.