Butcher block countertops have gotten complicated with all the finish options and maintenance debates flying around. As someone who has finished several of these — including one in my own kitchen that I wanted to get right — I’ve learned what actually works and what matters less than the guides suggest. Today, I’ll share everything I know.
How to Finish Butcher Block Countertops

Step 1: Prepping the Butcher Block
Sanding is the most important step and also the one most people rush. Start with 100-grit to remove stains, scratches, and any previous finish. Then work up to 220-grit for the final surface. Always sand with the grain — going across the grain leaves scratches that become visible after finishing. Keep the sander moving at a steady pace; dwelling too long in one spot creates low spots near edges that you’ll notice every time the light catches them. The goal is a completely smooth, uniform surface before any finish touches it.
Step 2: Cleaning the Surface
After sanding, vacuum the surface thoroughly, then wipe down with a slightly damp cloth to pick up the remaining fine dust. Let it dry completely — and I mean completely, not just until it looks dry. Any moisture trapped under the finish causes problems later. This step is quick but skipping it shows up in the final result.
Step 3: Choosing the Right Finish
The finish decision comes down to how you’ll use the surface. For a countertop that contacts food — actual cutting, preparing, anything that touches what you eat — stick with food-safe options: mineral oil, walnut oil, or beeswax. Mineral oil is the most common because it’s inexpensive, readily available, and effective. For a countertop that’s primarily decorative or used for non-food prep, polyurethane offers better water resistance and durability. Tung oil sits in the middle — better water resistance than mineral oil, still relatively food-safe when fully cured. Read the product’s own instructions either way; drying times and application methods vary significantly between products.
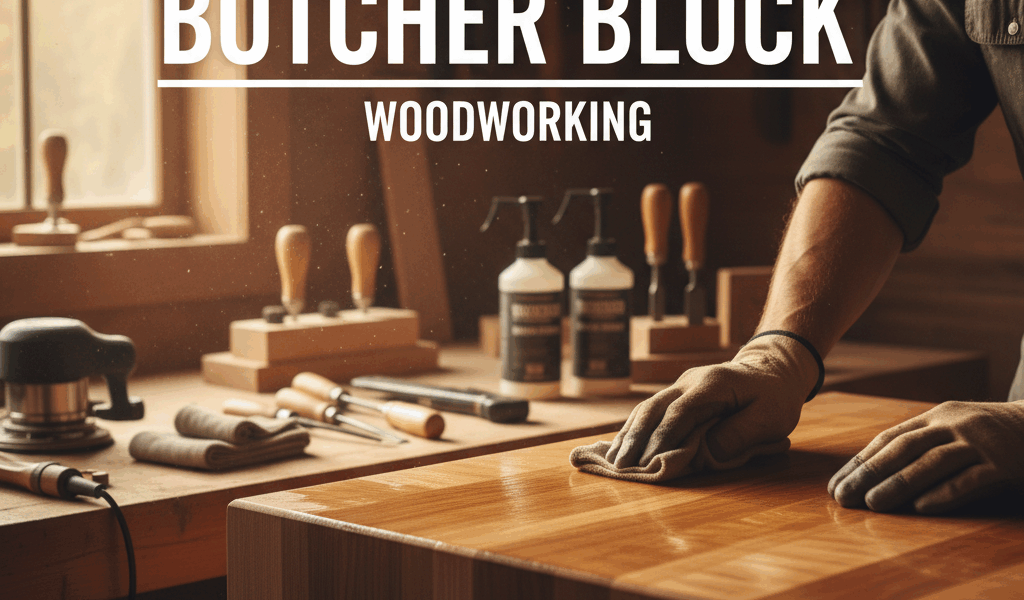
Step 4: Applying the Finish
Use a clean cloth or sponge applicator and wipe in the direction of the grain. Apply a thin, even coat rather than flooding the surface. For oil finishes, a pro technique is to warm the oil slightly in a warm water bath before applying — it penetrates noticeably better. Let each coat absorb fully before deciding whether to add another. With mineral oil especially, the wood will tell you when it’s saturated: fresh oil stops absorbing and sits on the surface. That’s when you’ve applied enough. Wipe off any excess that hasn’t absorbed after 20-30 minutes.
Step 5: Curing and Maintenance
Curing time ranges from hours to days depending on the finish. Oil finishes cure faster; polyurethane takes longer and shouldn’t have standing water on it until it’s fully cured. Once cured, maintenance is straightforward: re-oil every few months, or whenever the wood starts to look dry or dull. That’s what makes butcher block endearing to us woodworkers — it tells you what it needs and responds immediately to care. A well-maintained butcher block looks better after five years than it did new.
Bonus Tips
- Wear safety glasses and a dust mask during sanding — fine wood dust is a real respiratory irritant.
- Never use vegetable or olive oil. They go rancid in the wood and the smell is genuinely unpleasant.
- Multiple thin coats beat one heavy coat every time, especially with oil finishes.
- Consider a pre-finish sealer coat on end grain, which absorbs finish much faster than face grain and can look uneven without it.
Finishing butcher block is straightforward work with predictable results when you follow the steps without shortcuts. The preparation takes most of the time, the application is quick, and the result is a surface that functions well and ages beautifully. That’s a good trade for an afternoon’s work.